


For Customer Use:
Enter below the Model No. and Serial
No. which are located either on the rear,
bottom or side of the cabinet. Retain this
information for future reference.
Model No.
Serial No.
LVT0850-001A
[J]
INSTRUCTIONS
FM MODE
L
PTY–PTY SEARCH–PTY
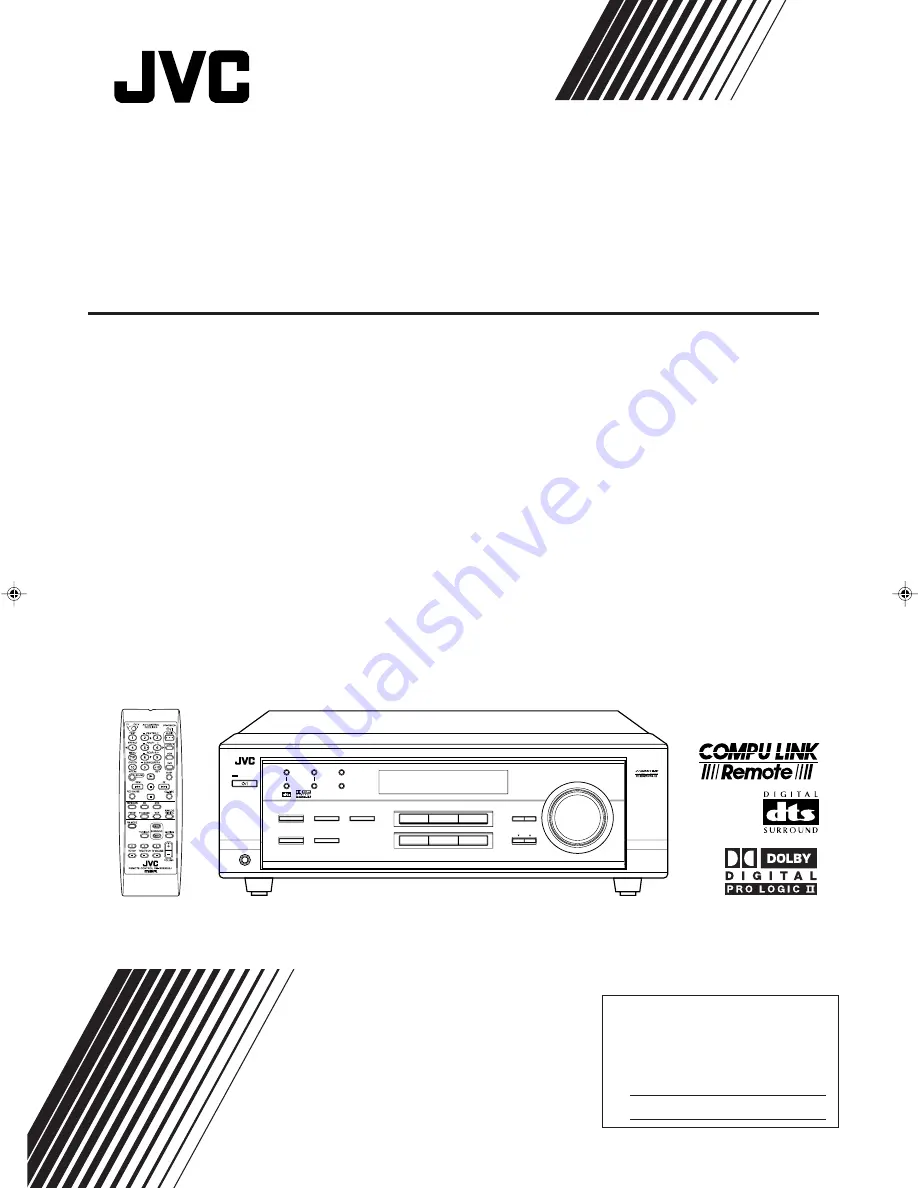
AUDIO/VIDEO CONTROL RECEIVER
RX-5020VBK / RX-5022VSL
DVD
VCR
TV SOUND
ADJUST
AUDIO/VIDEO CONTROL RECEIVER
SETTING
MASTER VOLUME
CONTROL
DOWN
UP
CD
TAPE/CDR
SOURCE NAME
INPUT DIGITAL
INPUT ANALOG
SPEAKERS ON/OFF
SURROUND MODE
PHONES
SURROUND ON/OFF
FM/AM TUNING
STANDBY
FM/AM PRESET
FM MODE
MEMORY
INPUT ATT
FM/AM
D I G I T A L
S U R R O U N D
STANDBY/ON
UP
DOWN
UP
DOWN
RX-5020/5022V[J]_COVER_f
01.12.7, 8:53 AM
1


