LYT0732-001A
EN
INSTRUCTIONS
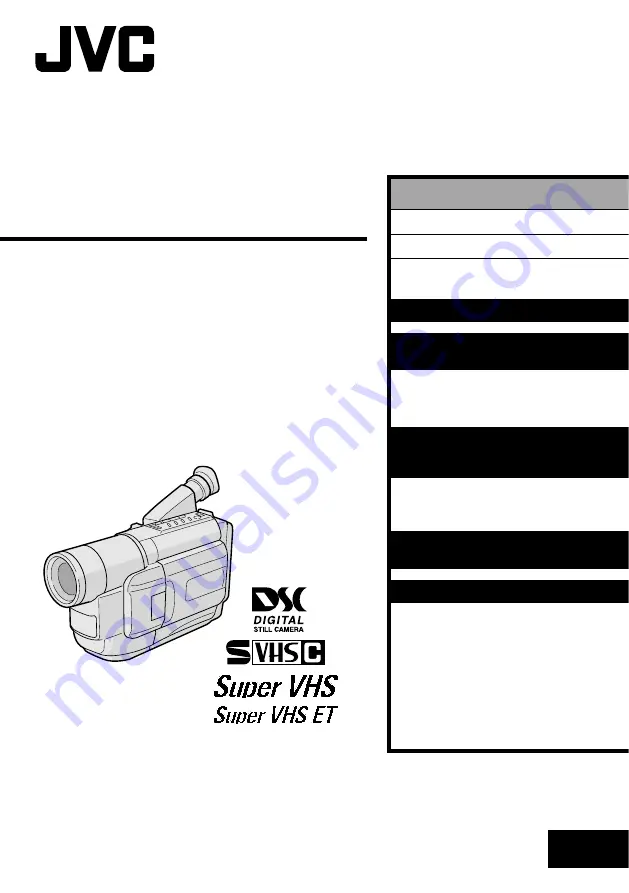
GR-SXM947UM
COMPACT
VHS CAMCORDER
ENGLISH
CONTENTS
SAFETY PRECAUTIONS
2 – 3
PROVIDED ACCESSORIES
4
AUTOMATIC
DEMONSTRATION
6
GETTING STARTED
7 – 16
VIDEO RECORDING &
PLAYBACK
17 – 26
VIDEO RECORDING
............ 18 – 21
VIDEO PLAYBACK
.............. 22 – 26
DIGITAL STILL CAMERA (D.S.C.)
RECORDING &
PLAYBACK
27 – 34
D.S.C. RECORDING
............ 28 – 29
D.S.C. PLAYBACK
.............. 30 – 34
ADVANCED
FEATURES
35 – 53
REFERENCES
54 – 69
TROUBLESHOOTING
............ 55 – 57
DETAILS
........................... 58 – 59
INDEX
............................. 60 – 63
TERMS
............................ 64 – 65
CAUTIONS
........................ 66 – 68
SPECIFICATIONS
......................... 69
Summary of Contents for GR-SXM947UM
Page 70: ...MEMO ...
Page 71: ...MEMO ...