English
PUB.DIM-713
NTSC
English
Français
Español
Digital Video Camcorder
Instruction Manual
Caméscope numérique
Manuel d’instruction
Videocámara digital
Manual de Instrucciones
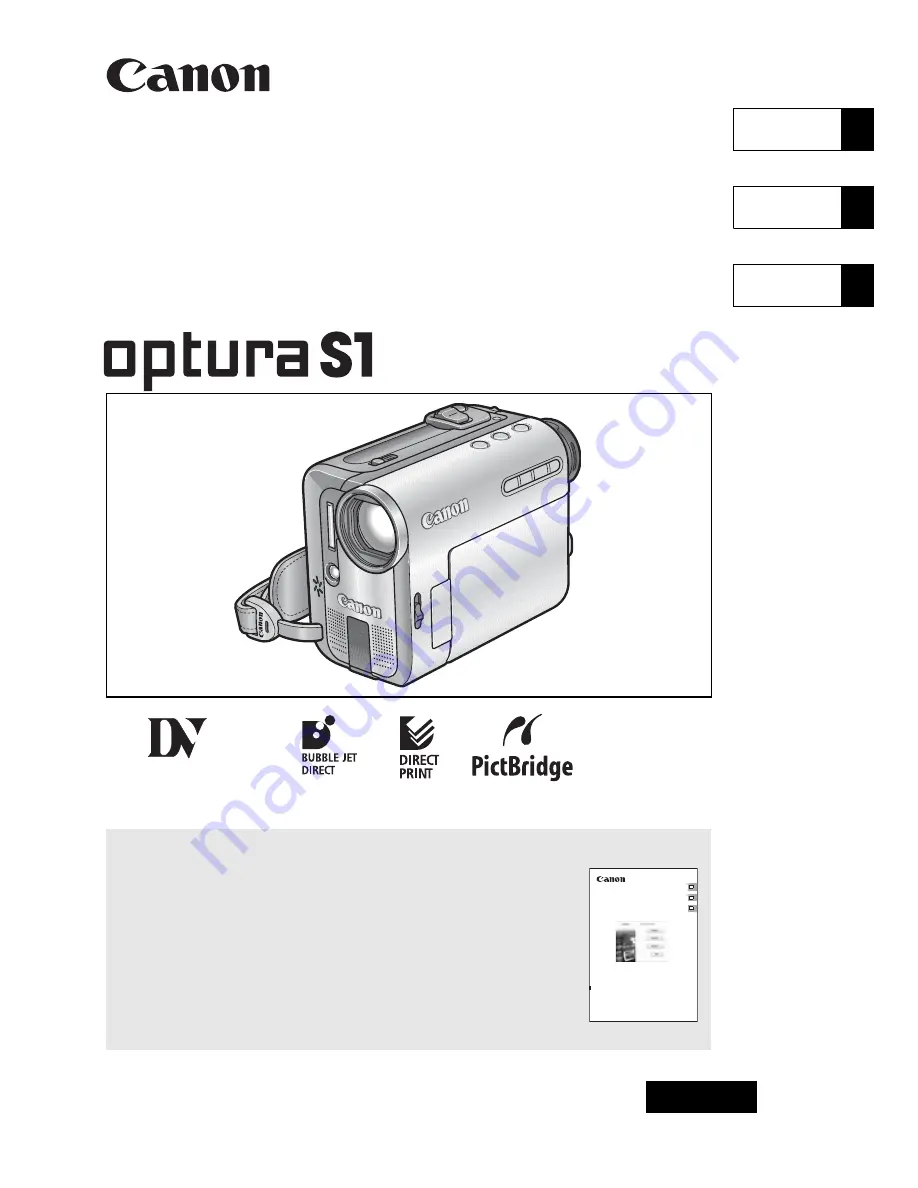
Mini
Digital
Video
Cassette
Please read also the following instruction manual.
Veuillez lire aussi le manuel d’instruction suivant.
Lea también el manual de instrucciones siguiente.
• Digital Video Software
E
F
Es
Digital Video Software
Version 15 / Version 16
Instruction Manual
Manuel d’instruction
Manual de Instrucciones
PUB.DIM-674
This instruction manual explains how to install the software and Canon USB Video Driver
(Windows XP only), connect the camcorder to a computer, and download images from a
memory card to a computer.
Ce manuel d’instruction explique comment installer le logiciel et le pilote Canon USB
Video Driver (Windows XP uniquement), connecter le camescope à l’ordinateur et
transférer des images à partir d’une carte mémoire sur un ordinateur.
En este manual de instrucciones se explica cómo instalar el software y el controlador
Canon USB Video Driver (Windows XP solamente), conectar la videocámara a un
ordenador, y descargar imágenes de una tarjeta de memoria a un ordenador.
Содержание Optura S1
Страница 198: ......