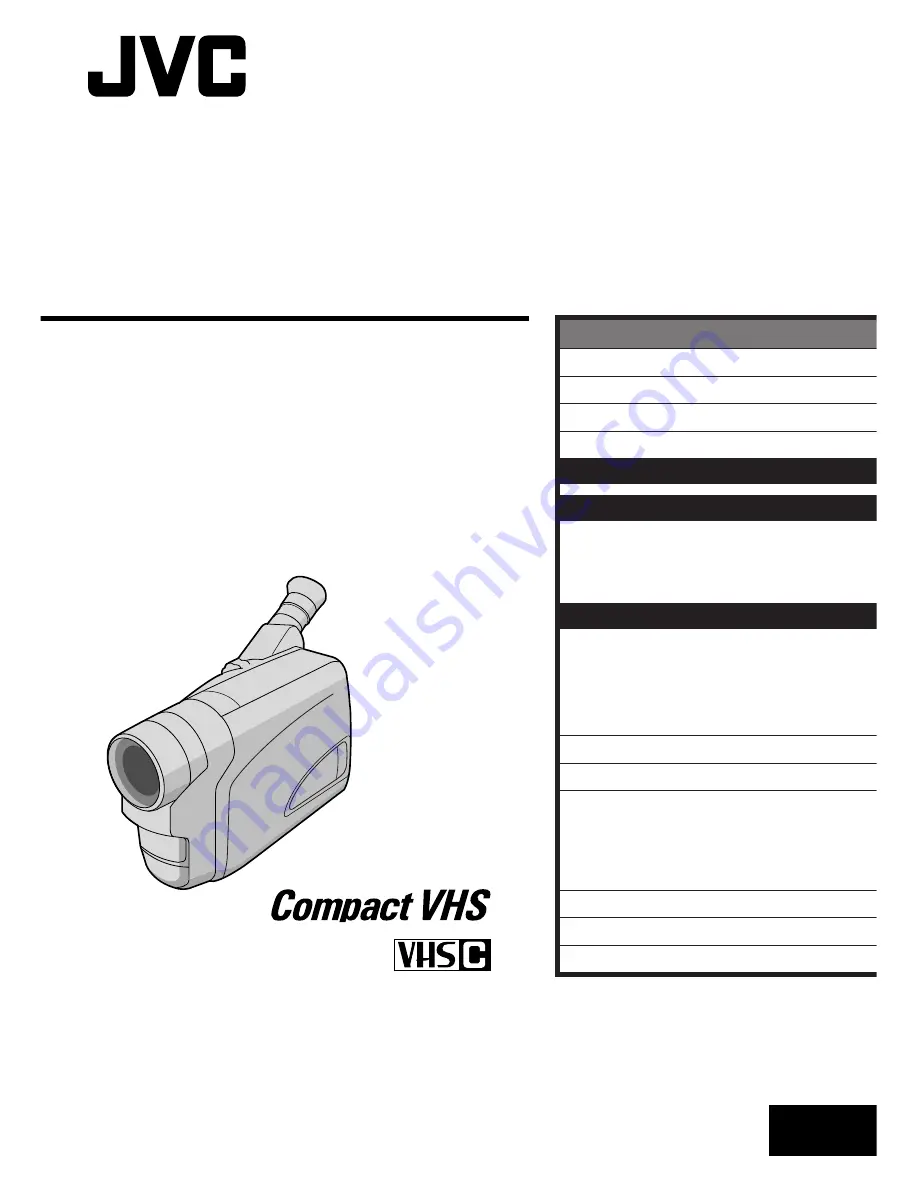
background image

LYT0503-001A

EN

COMPACT 

VHS CAMCORDER

INSTRUCTIONS

GR-AX767UM

ENGLISH

CONTENTS

SAFETY PRECAUTIONS

2 – 5

QUICK OPERATION GUIDE

6

MAJOR FEATURES

7

PROVIDED ACCESSORIES

7

GETTING STARTED

8 – 13

RECORDING

14 – 27

Basic Recording

.......................... 14

Basic Features

........................... 16

Advanced Features

...................... 18

PLAYBACK

28 – 32

Basic Playback

........................... 28

Features

.................................. 29

Connections

............................... 30

Using The Cassette Adapter

........... 32

USER MAINTENANCE

33

TROUBLESHOOTING

34 – 35

INDEX

36 – 39

Controls, Connectors And

Indicators

............................... 36

Indications

................................ 38

CAUTIONS

40 – 41

TERMS

42

SPECIFICATIONS

43

Summary of Contents for GR-AX767UM

Page 1: ...ED ACCESSORIES 7 GETTING STARTED 8 13 RECORDING 14 27 Basic Recording 14 Basic Features 16 Advanced Features 18 PLAYBACK 28 32 Basic Playback 28 Features 29 Connections 30 Using The Cassette Adapter 32 USER MAINTENANCE 33 TROUBLESHOOTING 34 35 INDEX 36 39 Controls Connectors And Indicators 36 Indications 38 CAUTIONS 40 41 TERMS 42 SPECIFICATIONS 43 ...

Page 2: ...sing the JVC Compact VHS camcorder Before use please read the safety information and precautions contained in the following pages to ensure safe use of this product CAUTIONS n To prevent shock do not open the cabinet No user serviceable parts inside Refer servicing to qualified personnel n When you are not using the AC Power Adapter Battery charger for a long period of time it is recommended that ...

Page 3: ... to enter this equipment fire or electric shock may be caused ATTENTION The product that you have purchased is powered by a rechargeable battery The battery is recyclable At the end of its useful life under various state and local laws it may be illegal to dispose of this battery into the municipal waste stream Check with your local solid waste officials for details in your area for recycling opti...

Page 4: ...s But improper use can result in potential electrical shock or fire hazards This product has been engineered and manufactured to assure your personal safety In order not to defeat the built in safeguards observe the following basic rules for its installation use and servicing ATTENTION Follow and obey all warnings and instructions marked on your product and its operating instruc tions For your saf...

Page 5: ...ing amplifiers that produce heat SERVICING 1 Servicing If your product is not operating correctly or exhibits a marked change in performance and you are unable to restore normal operation by following the detailed procedure in its operating instructions do not attempt to service it yourself as opening or removing covers may expose you to dangerous voltage or other hazards Refer all servicing to qu...

Page 6: ...r VHS Playpak Z pg 32 1 Turn the LENS COVER Open Close Ring to open the lens cover 2 Set the Power Switch to AUTO or PRO The power lamp will light and an image will appear 3 Press the Recording Start Stop Button Recording starts To stop recording temporarily momentarily press the Recording Start Stop Button once again For more details Z pgs 14 15 SUPPLY POWER INSERTING A VIDEO CASSETTE PLAYBACK SH...

Page 7: ...akes place when DEMO MODE is set to ON factory preset n Available when the Power Switch is set to AUTO or PRO n Operating the Power Zoom Lever during the demonstration stops the demonstration temporarily If the Power Zoom Lever is not moved for more than 1 minute after that the demonstration will resume n To cancel Automatic Demonstration set the Power Switch to PRO and press MENU while the demo i...

Page 8: ...ear a radio If you connect the camcorder s DC cord to the adapter during battery charging power is supplied to the camcorder and charging stops Since the AC Power Adapter Charger processes electricity internally it becomes warm during use Be sure to use it only in well ventilated areas When charging the battery pack for the first time or after a long storage period the CHARGE indicator may not lig...

Page 9: ...harger BH V3U can also be used to charge the battery pack except BN V20U V856U When using the optional Car Battery Charger or Car Battery Cord AP V7U refer to the respective instruction booklet NOTES Recording time is reduced significantly under the following conditions Zoom or Record Standby mode is engaged repeatedly Before extended use it is recommended that you prepare enough battery packs to ...

Page 10: ... STARTED cont Slot Battery holder Loading Unloading A Cassette 1 Slide EJECT until the cassette holder opens Do not use force to open 2 Insert or remove a cassette When inserting make sure the label is facing outward 3 Press PUSH to close the cassette holder until it locks into place NOTES The cassette holder can t be opened unless a power supply is attached Make sure that the tape is not slack wh...

Page 11: ... Wheel to move the highlight bar to EXIT and press it then go to step 7 To set only the time without changing the date go to step 5 4 To set YEAR MONTH or DAY rotate the Select Wheel to move the highlight bar to the desired item and press it When the setting begins blinking rotate the Select Wheel until the correct setting appears and then press it The setting stops blinking Repeat for other date ...

Page 12: ...ng Menu Select Wheel Power Switch MENU Button SP EP Recording Mode Button Viewfinder Tape Length Setting Set the tape length according to the length of the tape used 1 Set the Power Switch to PRO then press MENU 2 Rotate the Select Wheel to move the highlight bar to TAPE LENGTH then press it The TAPE LENGTH Setting Menu appears 3 Rotate the Select Wheel to move the highlight bar to the correct tap...

Page 13: ...t Control until the indications in the viewfinder are clearly focused Shoulder Strap Attachment 1 Following the illustration thread the strap through the eyelet 1 then fold it back and thread it through the buckle 2 Repeat the procedure to attach the other end of the strap to the other eyelet 3 making sure the strap is not twisted 2 Adjust as shown in the illustration 4 CAUTION When using a tripod...

Page 14: ...in the viewfinder 2 Press the Recording Start Stop Button appears in the viewfinder while recording is in progress To Stop Recording press the Recording Start Stop Button The camcorder re enters the Record Standby mode Power Switch Recording Start Stop Button Tape remaining time indicator Approximate Now calculating Blinking Blinking Blinking LENS COVER Open Close Ring RECORDING Basic Recording Po...

Page 15: ...r s power shuts off automatically Set the Power Switch to OFF and then back to CAMERA to turn the camcorder on again If the Recording Start Stop button is pressed after the Record Standby mode has continued for over 5 minutes recording may not start immediately If you are recording on a cassette from the middle such as when a tape is removed and re inserted during recording use the Retake function...

Page 16: ...digital processing When using Digital Zoom the quality of image may suffer To deactivate Digital Zoom set D ZOOM to OFF in the Menu Screen Z pg 21 FEATURE Picture Stabilizer PURPOSE To compensate for unstable images caused by camera shake particularly at high magnification OPERATION Press P STABILIZER appears n To switch off the Picture Stabilizer press P STABILIZER The indicator disappears NOTES ...

Page 17: ...pressing 2 reverses it 3 Press the Recording Start Stop Button to start recording NOTE Noise bars appear and pictures may become monochrome or darken during Retake This is normal FEATURE 5Sec Rec 5 sec Recording PURPOSE To record a scene for 5 seconds providing quick scene transitions like those seen in TV programs OPERATION n Make sure the recording mode is set to SP 1 During Record Standby press...

Page 18: ...mosaic pattern SHUTTER Wipe A black screen moves in from the top and bottom closing over the image like a shutter or a new image pushes open the black screen vertically from the center SLIDE Wipe A black screen moves in from the left to gradually cover the image or a new image moves in from right to left DOOR Wipe Wipes in as the two halves of a black screen open to the left and right revealing th...

Page 19: ...epia tinted reddish brown monochrome giving the effect of an older movie Use together with Wide Z pg 21 for the authentic look of a classic Hollywood movie SPORTS High shutter speed clearly captures fast moving action ND ND EFFECT A black mist darkens the picture as when an ND filter is used Helps to counter the effects of glare on the subject FG FOG Makes the picture look misty white as when an e...

Page 20: ...W B Z pg 27 DATE TIME Z pg 11 and perform each procedure from step 4 If you select JLIP ID NO rotate the Select Wheel until the desired number appears and press it Then rotate the Select Wheel to move the highlight bar to EXIT If you select any other functions rotate the Select Wheel to move the highlight bar to the desired setting To return to the previous setting place the highlight bar on RETUR...

Page 21: ...Standard for Low Light Sensitivity Measurement EIA Electronic Industries Alliance OFF Allows you to shoot dark scenes with no picture brightness adjustment Allows you to superimpose one of eight preset titles Z pg 23 Makes the date time settings appear in the camcorder or on a connected monitor Z pg 23 ON Allows you to use the Digital Zoom By digitally processing and magnifying images zooming is p...

Page 22: ...r using the J terminal JLIP The numbers range from 01 to 99 Factory setting is 06 ON Demonstrates certain functions such as Fade Wipe etc When DEMO MODE is set to ON and the Menu Screen is closed the demonstration starts Operating the Power Zoom Lever during the demonstration stops the demonstration temporarily If the Power Zoom Lever is not moved for more than 1 minute after that the demonstratio...

Page 23: ...O W C E F A U E A U E O X F P R R S P R D N I P R P P D G T Y V Y E Y N I R A C E N A B C C I H W G T T I A H A O U I R T R L L B D L T T I I I A A A L H O S D D B Y T E D N T A A Y I A M Y Y O Y A S N S S Instant Titles The camcorder has eight preset titles in memory You can superimpose one of them over the video image Instant Titles can be displayed not only in English but also in French Spanish...

Page 24: ...ve the highlight bar to MANU then press it The Menu Screen disappears and 00 exposure control level counter appears 5 To brighten the image rotate the Select Wheel upward The exposure control level counter increases maximum 06 To darken the image rotate the Select Wheel downward The exposure control level counter decreases maximum 06 6 Press the Select Wheel The setting is complete The Menu Screen...

Page 25: ...reset time spans Leaving the camcorder aimed at a specific subject you can record subtle changes over an extended period of time 1 Set REC TIME Z step 1 and 2 of Animation above 2 Rotate the Select Wheel to move the highlight bar to INT TIME and press it The INT TIME Menu appears Rotate the Select Wheel to move the highlight bar to the desired interval time then press it The Menu Screen reappears ...

Page 26: ...isappears and and appear The focus is locked at this point 5 To focus on a farther subject rotate the Select Wheel upward appears and blinks To focus on a nearer subject rotate the Select Wheel downward appears and blinks 6 Press the Select Wheel The setting is complete The Menu Screen reappears with the highlight bar on RETURN 7 Press the Select Wheel The Menu Screen disppears and reappears to in...

Page 27: ...en Sepia Z pg 19 is activated Manual White Balance Operation Perform Manual White Balance when shooting under various types of lighting 1 Follow steps 1 through 4 of the white balance adjustment and select MWB 2 Hold a sheet of plain white paper in front of the subject Adjust zoom or position yourself so that the white paper fills the screen 3 Press the Select Wheel until MWB begins blinking When ...

Page 28: ... PLAYBACK Basic Playback Rewind 2 Button Fast Forward 3 Button Play Pause 4 6 Button Stop 5 Button Set to PLAY Still Playback Pauses during playback 1 Press 4 6 during playback 2 To resume normal playback press 4 6 again Noise bars will appear and the picture will become monochrome during Still Playback Shuttle Search Allows high speed search in either direction 1 Press 3 for forward or 2 for reve...

Page 29: ...STABILIZER during playback for more than 1 second When the TBC mode is activated TBC is displayed The TBC indicator turns green gray with a camcorder equipped with a black white viewfinder while TBC is working TBC does not work during still playback and shuttle search The TBC indicator turns white while TBC is not operative It may take a few seconds before TBC actually starts working The picture m...

Page 30: ...able optional To VIDEO IN Audio cable optional To Video Output To Audio Output TV VCR Connector cover To TV or VCR To AUDIO IN A Connection to a TV or VCR equipped with an S VIDEO Connection For Tape Dubbing Use optional Video and Audio cables When connecting the cables open this cover Power Switch PLAY PAUSE 4 6 Button Connector cover Audio cable optional To Video Output Video cable optional To V...

Page 31: ...ust the TV sound volume to its minimum level to avoid a sudden burst of sound when the camcorder is turned on If you have a TV or speakers that are not specially shielded do not place the speakers adjacent to the TV as interference will occur in the camcorder playback picture Tape Dubbing 1 Following the illustration on pg 30 connect the camcorder and the VCR 2 Set the camcorder s Power Switch to ...

Page 32: ...then insert the cassette and close the compart ment door 3 Load the cassette adapter into the VCR and play the tape back as you would any other 4 Slide the latch and the compartment door opens automatically This may take around 10 seconds Do not attempt to force the adapter open Then insert your finger in the hole on the underside of the adapter as shown in the illustration at left and push up and...

Page 33: ...ow it with a blower brush then wipe gently with lens cleaning paper 3 To detach the eyepiece turn it counterclockwise and pull it out 4 Remove dust from the viewfinder using a blower brush 5 Re attach the eyepiece and turn it clockwise NOTES Avoid using strong cleaning agents such as benzine or alcohol Cleaning should be done only after the battery pack has been removed or other power units have b...

Page 34: ...ed Z pg 8 The power supply has not been correctly connected Z pg 9 The battery pack has completely discharged Remove the cassette and disconnect the power source then after a few minutes try turning the power back on If it still does not come on consult your nearest JVC dealer Make sure the Erase Protection tab is in the position that allows recording If not slide the tab Some cassettes have remov...

Page 35: ...ght red green or blue may appear constantly in the viewfinder These spots are not recorded on the tape This is not due to any defect of the unit Effective dots more than 99 99 Wipe them gently with a soft cloth Gently wipe in a semicircular motion as wiping strongly spreads the stain and it won t come out easily This is normal while recording in the EP mode Some noise may be present while recordin...

Page 36: ...36EN INDEX Controls Connectors And Indicators W E 3 4 5 r p Q Q e 6 7 9 8 0 1 y u t i w q 2 o ...

Page 37: ...op Button Z pg 14 Power Switch OFF AUTO PRO Z pg 14 28 Battery Release Switch BATTERY RELEASE Z pg 9 PUSH Button Z pg 10 Connectors DC IN Connector Z pg 9 The connectors q to e are located beneath the cover q Video Output Connector Z pg 30 w Audio Output Connector Z pg 30 e J Terminal JLIP Joint Level Interface Protocol Connector It is used to connect the camcorder to a device such as a personal c...

Page 38: ... remains at 8 4 Tape Length Indicator Z pg 12 5 Zoom Indicator Bar Z pg 16 Zoom Level Indicator Approximate Zoom Ratio INDEX Indications 1 R 4 B D 2 E 4 5 1 R E 0 C 4 M I C M I 2 G C I E N S H O 2 N P T T N 5 W G I R 9 L P A 9 I A T G U U H S L A T E A M T 6 I 1 O 1 N S 4 T M 5 4 0 W 0 2 B 1 8 1X 6 7 8 9 0 4 3 2 1 5 a b 6 Recording Indicator Z pg 14 9 Picture Stabilizer Indicator Z pg 16 0 Interva...

Page 39: ...all or replace the old battery with a new one Z pg 10 Appears when the tape ends during recording playback or fast forward Z pg 15 Blinks for approx 5 seconds when the camcorder is turned on with the lens cover closed Z pg 14 These 2 warnings appear alternately every 3 seconds if condensation occurs In this case all functions except tape eject and power on off are disabled Turn the unit off withou...

Page 40: ...eration 0 C to 40 C 32 F to 104 F Storage 10 C to 30 C 14 F to 86 F Recharging time is based on room temperature of 20 C 68 F The lower the temperature the longer recharging takes CAUTIONS Plug adapter Terminals When using the AC Power Adapter Charger in areas other than the USA n The provided AC Power Adapter Charger features automatic voltage selection in the AC range from 110 V to 240 V USING H...

Page 41: ...ions 1 During use make sure the cassette bears the VHS C mark be aware that recording onto prerecorded tapes automatically erases the previously recorded video and audio signals make sure the cassette is positioned properly when inserting do not load and unload the cassette repeatedly without allowing the tape to run at all This slackens the tape and can result in damage do not open the front tape...

Page 42: ... H High Speed Shutter Mode pg 19 I Instant Titles pg 23 J JLIP ID NO pg 22 L Load A Tape pg 10 M Manual Focus pg 26 Menu Screen pg 20 22 N ND Effect Mode pg 19 Nega Posi Mode pg 19 P Picture Stabilizer pg 16 Power Switch Position pg 14 Program AE With Special Effects pg 19 Provided Accessories pg 7 Q Quick Review pg 17 R Recording Mode pg 12 Record Standby pg 14 Retake pg 17 Rewind The Tape pg 28 ...

Page 43: ... standard Cassette cassette Tape speed SP 33 35 mm sec 1 5 16 ips EP 11 12 mm sec 7 16 ips Recording time max SP 40 minutes EP 120 minutes with TC 40 Operating temperature 0 C to 40 C 32 F to 104 F Operating humidity 35 to 80 Storage temperature 20 C to 50 C 4 F to 122 F Weight Approx 750 g 1 7 lbs Dimensions 198 mm x 119 mm x 91 mm W x H x D 7 13 16 x 4 11 16 x 3 5 8 with the viewfinder fully til...

Page 44: ...COPYRIGHT 2000 VICTOR COMPANY OF JAPAN LTD UM Printed in Japan 0100MKV UN YP1 VICTOR COMPANY OF JAPAN LIMITED EN GR AX767UM ...

Reviews: