background image

92-21354-78-01

SUPERSEDES 92-21354-78-00

13 & 14.5 SEER SERIES

CONDENSING UNITS

1

1

2

- 5 TONS FEATURING

EARTH-FRIENDLY R-410A REFRIGERANT

R-410

INSTALLATION INSTRUCTIONS

RECOGNIZE THIS SYMBOL AS AN INDICATION OF IMPORTANT SAFETY INFORMATION!

!

DO NOT DESTROY THIS MANUAL

PLEASE READ CAREFULLY AND KEEP IN A SAFE PLACE FOR FUTURE REFERENCE BY A SERVICEMAN

THESE INSTRUCTIONS ARE INTENDED AS AN AID TO
QUALIFIED, LICENSED SERVICE PERSONNEL FOR PROPER
INSTALLATION, ADJUSTMENT AND OPERATION OF THIS UNIT.
READ THESE INSTRUCTIONS

THOROUGHLY

BEFORE

ATTEMPTING INSTALLATION OR OPERATION. FAILURE TO FOL-
LOW THESE INSTRUCTIONS MAY RESULT IN IMPROPER
INSTALLATION, ADJUSTMENT, SERVICE OR MAINTENANCE
POSSIBLY RESULTING IN FIRE, ELECTRICAL SHOCK,


PROPERTY DAMAGE, PERSONAL INJURY OR DEATH.

WARNING

!

NOTE:

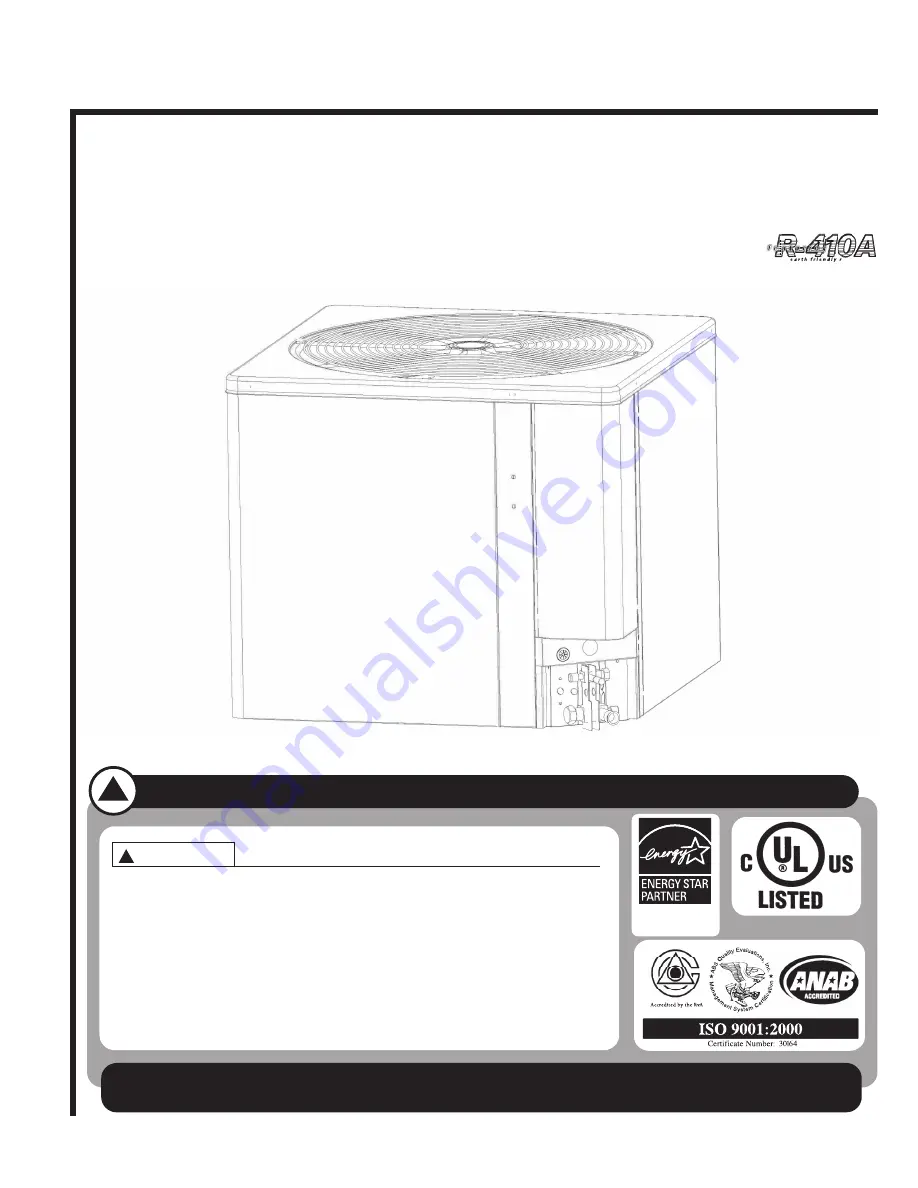
Appearance of unit may vary.

r e f r i g e r a n t

(13 & 14.5 SEER

MODELS IN CERTAIN

MATCHED SYSTEMS)

Summary of Contents for 13 SEER - GCGD

Page 1: ... SERVICEMAN THESE INSTRUCTIONS ARE INTENDED AS AN AID TO QUALIFIED LICENSED SERVICE PERSONNEL FOR PROPER INSTALLATION ADJUSTMENT AND OPERATION OF THIS UNIT READ THESE INSTRUCTIONS THOROUGHLY BEFORE ATTEMPTING INSTALLATION OR OPERATION FAILURE TO FOL LOW THESE INSTRUCTIONS MAY RESULT IN IMPROPER INSTALLATION ADJUSTMENT SERVICE OR MAINTENANCE POSSIBLY RESULTING IN FIRE ELECTRICAL SHOCK PROPERTY DAMA...

Page 2: ...stalled Above Indoor Coil 11 9 4 Outdoor Unit Below Indoor Coil 11 9 5 Tubing Installation 11 9 6 Tubing Connections 12 9 7 Leak Testing 14 10 0 EVACUATION PROCEDURE 14 11 0 START UP AND PERFORMANCE 14 12 0 CHECKING AIRFLOW 14 13 0 CHECKING REFRIGERANT CHARGE 15 13 1 Charging Using Charging Chart 15 13 2 Charging By Weight 16 13 3 Final Leak Testing 16 14 0 ELECTRICAL WIRING 16 14 1 Grounding 16 1...

Page 3: ...N SEVERE PERSONAL INJURY OR DEATH CAUTION The filter drier is located inside the control box The filter drier must be installed externally in the liquid line or the Warranty will be VOID WARNING DO NOT USE OXYGEN TO PURGE LINES OR PRESSURIZE SYSTEM FOR LEAK TEST OXYGEN REACTS VIOLENTLY WITH OIL WHICH CAN CAUSE AN EXPLOSION RESULTING IN SEVERE PERSONAL INJURY OR DEATH WARNING THESE INSTRUCTIONS ARE...

Page 4: ...r from the local distributor Check system components evaporator coil condensing unit evaporator blower etc to make sure they are properly matched 2 2 APPLICATION Before installing any air conditioning equipment a duct analysis of the structure and a heat gain calculation must be made A heat gain calculation begins by measuring all external surfaces and openings that gain heat from the surrounding ...

Page 5: ...R INLETS LOUVERED PANELS ALLOW 6 MINIMUM CLEARANCE Height H in mm 241 4 616 Length L in mm 235 8 600 Width W in mm 235 8 600 275 8 702 18 24 30 36 42 48 60 13 Seer Model Size 18 24 30 36 42 48 60 14 5 Seer Model Size 275 8 702 241 4 616 315 8 803 315 8 803 273 8 710 315 8 803 315 8 803 353 8 913 NOTE GRILLE APPEARANCE MAY VARY 2 3 SEE FIGURE 1 ...

Page 6: ...9 48 0 8 12 12 15 15 20 20 16 39 1 2805 112 154 171 1 52 1324 3175 69 8 77 6 24 1 60 208 230 13 5 13 5 58 3 0 8 18 18 25 25 30 30 16 39 1 2805 105 6 154 171 1 52 1324 2994 69 8 77 6 30 1 60 208 230 12 8 12 8 64 0 8 17 17 25 25 25 25 16 39 1 3000 112 157 175 1 52 1416 3175 71 2 79 4 36 1 60 208 230 16 7 16 7 79 0 8 22 22 30 30 35 35 21 85 1 3570 130 4 181 201 2 03 1685 3697 82 1 91 2 42 1 60 208 23...

Page 7: ...lines without protective guttering 3 4 FOR CONDENSERS WITH SPACE LIMITATIONS In the event that a space limitation exists we will permit the following clearances Single Unit Applications One condenser inlet air grille side may be reduced to no less than a 6 inch clearance Clearances below 6 inches will reduce unit capacity and efficiency Do not reduce the 60 inch discharge or the 24 inch service cl...

Page 8: ...ugh the basepan clearance holes drilled in Step 4 ensuring that the holes are at least 1 4 deeper than the concrete fastener being used Use the concrete screw or lag screw manufacturer s recommended hole diameter for the pilot holes STEP 7 Drive concrete screws or lag screws through 1 4 clearance holes in unit basepan and into the pad Use flat washers under the head of the screws Snug screws to ba...

Page 9: ...D 1 5 MINIMUM SCREWS HAVE TO BE PLACED ON THE BASE PAN AS SHOWN UNLESS OTHERWISE SPECIFIED IF ANY ACCUMULATOR IS UTILIZED ADD 3 5 TO THE A DIMENSION AND 2 TO THE C DIMENSION FOR THIS HOLE LOCATION ONLY CONCRETE PAD SPECIFICATIONS GREATER THAN OR EQUAL TO 2 1 2 THICK SOLID CONCRETE DENSITY GREATER THAN OR EQUAL TO 144 LBS FT3 OR EQUIVALENT PAD LENGTH GREATER THAN OR EQUAL TO UNIT LENGTH 2 PAD WIDTH...

Page 10: ...inimum working pressure of 600 psig Desiccant drying agent must be compatible for POE oils and R 410A 6 0 REPLACEMENT UNITS To prevent failure of a new condensing unit the existing evaporator tubing system must be correctly sized and cleaned or replaced Care must be exercised that the expansion device is not plugged For new and replacement units liquid line filter drier sould be installed and refr...

Page 11: ...th a minimum number of bends Additional compressor oil is not required for any length up to 150 feet NOTE Excessively long refrigerant lines cause loss of equipment capacity 9 3 OUTDOOR UNIT INSTALLED ABOVE INDOOR COIL Keep the vertical separation between coils to a minimum However the vertical dis tance can be as great as 120 feet with the condensing unit ABOVE the indoor coil Use the following g...

Page 12: ...insulations for this purpose Use 1 2 minimum insulation thickness additional insulation may be required for long runs Check Table 2 for the correct vapor line size Check Tables 4 and 5 for the cor rect liquid line size 9 6 TUBING CONNECTIONS Indoor evaporator coils have only a holding charge of dry nitrogen Keep all tube ends sealed until connections are to be made Use type L copper refrigeration ...

Page 13: ... 0 0 0 0 0 0 5 16 0 0 0 0 0 9 3 Ton 3 8 3 8 0 0 0 0 0 0 5 16 0 0 0 16 35 54 31 2 Ton 3 8 3 8 0 0 0 0 0 0 3 8 0 0 0 0 0 0 4 Ton 3 8 1 2 0 0 0 0 0 0 3 8 0 0 0 0 0 0 5 Ton 3 8 1 2 0 0 0 0 0 0 TABLE 3 LIQUID LINE SIZE OUTDOOR UNIT ABOVE INDOOR COIL Liquid Line Size Outdoor Unit Above Indoor Coil Cooling Only Does not apply to Heat Pumps System Capacity Line Size Connection Size Inch I D Line Size Inch...

Page 14: ...ince restrictive service connections may lead to false readings because of pressure drop through the fittings IMPORTANT Compressors especially scroll type should never be used to evacu ate the air conditioning system because internal electrical arcing may result in a damaged or failed compressor 11 0 START UP AND PERFORMANCE Even though the unit is factory charged with R410A the charge must be che...

Page 15: ...tem must be run until operating conditions stabilize 15 min to 30 min IMPORTANT Do not operate the compressor without charge in system Addition of R 410A will raise pressures vapor liquid and discharge and lower vapor temperature If adding R 410A raises both vapor pressure and temperature the unit is over charged IMPORTANT Use industry approved charging methods to ensure proper system charge 13 1 ...

Page 16: ...be checked for leaks If a leak is detected the refrigerant should be recovered before repairing the leak The Clean Air Act prohibits releasing refrigerant into the atmosphere 14 0 ELECTRICAL WIRING Field wiring must comply with the National Electric Code C E C in Canada and any applicable local code 14 1 GROUNDING A grounding lug is provided near the contactor for a ground wire 14 2 POWER WIRING I...

Page 17: ... values listed in Table 6 All heaters are located on the lower half of the compressor shell Its purpose is to drive refrigerant from the compressor shell during long off cycles thus preventing damage to the compressor during start up At initial start up or after extended shutdown periods make sure the heater is ener gized for at least 12 hours before the compressor is started Disconnect switch on ...

Page 18: ... is important that such systems be off for a minimum of 5 minutes before restarting to allow equaliza tion of pressure The thermostat should not be moved to cycle unit without waiting 5 minutes To do so may cause the compressor to go off on an automatic overload device or blow a fuse Poor electrical service can also cause nuisance tripping on overloads trip a breaker or cause light dimming This ge...

Page 19: ...to establish the shortcuts Remember that the chart will help clarify the logical path to the problem 17 1 ELECTRICAL CHECKS FLOW CHART Unit Running NO NO NO NO NO YES YES YES YES Thermostat Problem Transformer Problem Run Capacitor Compressor Contactor Hi Pressure Control Compressor Winding Open Grounded Capacitor Lo Pressure Control Compressor Time Delay Start Capacitor Potential Relay Go to Mech...

Page 20: ...e problems Low on Charge Dirty Filters Dirty Condenser Coil Recirculation of Condenser Air Inoperative Compressor Valves Low on Charge Faulty Metering Device Restriction in System Restricted Filter drier Non condensibles Higher than Ambient Air Entering Condenser Go to Electrical Checks Flow Chart High Head Pressure Inoperative Outdoor Fan Broken Indoor Blower Belt Restriction in System Recirculat...

Page 21: ...e between saturated temperature and liquid line temperature is the subcooling Subcooling normal range 9 to 12 DISCHARGE SUCTION SUPERHEAT SUBCOOLING COMPRESSOR PRESSURE PRESSURE AMPS Overcharge High High Low High High Undercharge Low Low High Low Low Liquid Restriction Drier Low Low High High Low Low Evaporator Airflow Low Low Low Low Low Dirty Condenser High High Low Low High Low Outside Ambient ...

Page 22: ...efrigerant Registers sweat Low indoor airflow Increase speed of blower or reduce restriction replace air filter High head low vapor pressures Restriction in liquid line expansion device or filter drier Remove or replace defective component Flowcheck piston size too small Change to correct size piston Incorrect capillary tubes Change coil assembly High head high or normal vapor Dirty outdoor coil C...

Page 23: ...23 FIGURE 4 18 1 PSC DIAGRAM SINGLE PHASE WIRING DIAGRAM 01 19 04 JHB 90 101229 01 01 18 0 WIRING DIAGRAMS ...

Page 24: ...24 CM 0509 FIGURE 5 18 2 ECM DIAGRAM ...

Reviews: