background image

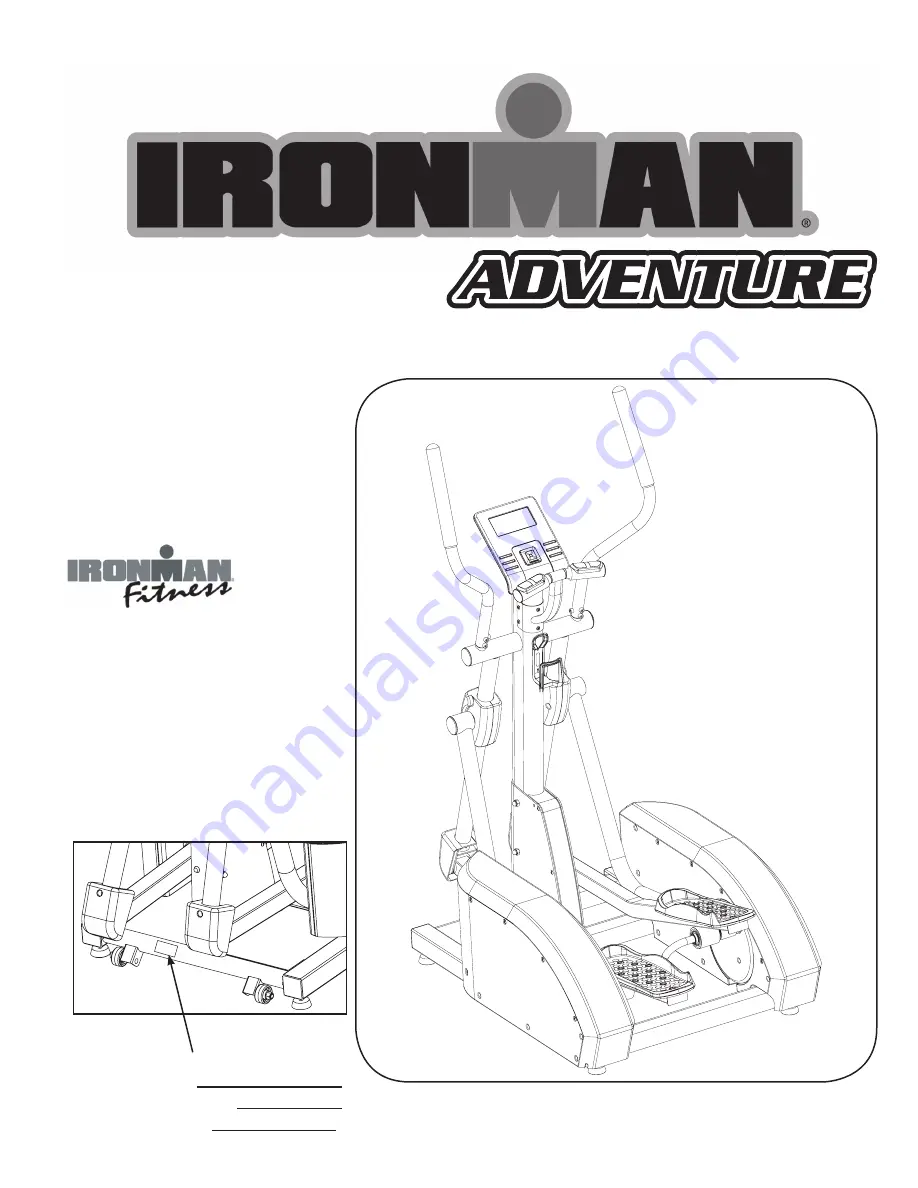
SERIAL TAG IS LOCATED ON THE FRAME

Model Name: Adventure
Date of Purchase:
Serial Number:

315-00121

08/07 Rev A 

Owner’s Manual

Customer Service

1.800.750.IRON

1.800.750.4766

4009 Distribution Drive

Suite 250

Garland, TX 75041

www.ironmanfitness.com

Adventure Elliptical

Summary of Contents for Adventure

Page 1: ...ME Model Name Adventure Date of Purchase Serial Number 315 00121 08 07 Rev A Owner s Manual Customer Service 1 800 750 IRON 1 800 750 4766 4009 Distribution Drive Suite 250 Garland TX 75041 www ironmanfitness com Adventure Elliptical ...

Page 2: ...ortant Safety Information 3 Assembly 5 Console Instructions 11 Monitoring Your Heart Rate 16 Warm Up Exercises 17 Troubleshooting 20 Parts List 21 Exploded Views 22 Warranty Information 23 Table of Contents ...

Page 3: ...t be placed under the unit to protect floor or carpet and for easier cleaning 4 Follow safety information in regards to plugging in your unit Do not run the power cord underneath your unit Do not operate the unit with a damaged or frayed power cord 5 Wear comfortable good quality walking or running shoes and appropriate clothing Do not use the unit with bare feet sandals socks or stockings 6 Alway...

Page 4: ...tion will have on your exercise heart rate If you have heart problems your are not active and or are over the age of 35 years do not use the pre set programs or start an exercise program without first contacting and receiving approval from your physician To avoid the risk of electrical shock always keep the console dry Do not spill liquids on the console Ironman Fitness recommends a sealed water b...

Page 5: ...tness at 1 800 750 4766 Tools have been provided to assist with prod uct assembly Note Do not tighten Screws until you have fully completed Figure 2 Assembly Figure 1 Locate bag labeled Figure 1 Locate console tube Attach console tube to main frame Slide tube down into main frame Connect upper console wire to lead wire assembly Secure using three M10 80 mm hex head screws extending through the fra...

Page 6: ...right handrail assemblies Secure left handrail assembly to console tube by using one washer one spring washer one M10 20 hex bolt and one end cap Repeat for the right side Note The handrail assembly will only go onto the console tube one way The connec tor on the middle of the handrail assembly will face outwards Figure 3 M5 0 8 12 SCREW END CAP M10 20 HEX BOLT SPRING WASHER WASHER CONSOLE TUBE HA...

Page 7: ...nded that 2 adults align and secure the pedal tube assemblies to the handrail assemblies Figure 4 Locate bag labeled Figure 4 Lift and place left linkage onto shaft sleeve and align holes Secure linkage to unit using four M8 12 mm hex bolts Repeat for right side Note The linkage is secured to the sleeve with three M8 12 hex bolts on the top of the linkage and one M8 12 hex bolt on the bottom of th...

Page 8: ...w M5 0 8 12 Repeat for other side Note Do not overtighten screw this will damage bracket cover Figure 6 Figure 7 Locate bag labeled Figure 7 Locate han dlebars Attach left handlbar to handlebar assembly using three M8 16mm hex bolts Repeat for other handlebar Figure 7 BRACKET COVER SCREW LEFT HANDLEBAR M8 16 HEX BOLT RIGHT HANDLEBAR CONSOLE TUBE HANDRAIL ASSEMBLY ...

Page 9: ...d ground wire to the appropriate location on the back of the con sole Figure 8 Assembly Figure 9 Secure console to console tube using four screws Note The four console screws will already be installed into the back of console when you remove it from the box Figure 9 ...

Page 10: ...ptical Figure 10 Locate bag labeled Figure 10 Connect the pulse wires coming from the pulse handle bar assembly to the pulse wires from the console Secure pulse handlebar assembly to console tube using six M6 10 hex socket head bolts Note Ensure that all wires are secure inside console tube Be careful not to pinch wires Figure 10 M6 10 HEX SOCKET BOLT PULSE WIRE ...

Page 11: ... tance calories and pulse RESET This button is used to return to main menu screen when workout is paused Its also used to reset all values to zero START STOP This button is used to start or stop training RECOVERY This button is used to begin the Recovery feature of the console refer to Fitness Test for more information UP DOWN These buttons are used to change programs and settings TOTAL RESET This...

Page 12: ... 0 calories to 990 calories PULSE Displays your current heart rate as soon as both hands are holding the pulse sensor The mon itor will detect your heart rate through hand grip sensors that are located on the upright and near the seat Note It may take several seconds for the electronics to detect and display an accurate heart rate reading WATT Displays current training watt figures A watt is a mea...

Page 13: ...ss MODE ENTER to confirm value Press START STOP to enter pro gram mode PROGRAM INSTRUCTIONS MANUAL PROGRAM Allows the User to manually adjust tension settings throughout their workout The default tension level is 6 You may set Time or Distance for your workout Use the UP DOWN buttons to scroll to this program Press MODE ENTER to select this pro gram TIME will flash in the display Use the UP DOWN k...

Page 14: ...Grasp Pulse Grips loosely with both hands to activate PULSE function HEART RATE PROGRAMS Heart rate control programs are designed to automatically adjust the elliptical s resistance to keep your heart rate at a predetermined level based on the selected Heart Rate program Each Heart Rate program is designed with a specific goal There are three Heart Rate Programs 55 HRC Heart Rate Control 75 HRC an...

Page 15: ... fitness During your first several months of exercising the AHA recommends aiming for the lower part of the target heart rate zone 60 then gradually progressing up to 75 According to the AHA exercising above 75 of your maximum heart rate may be too strenu ous unless you are in top physical condition Exercising below 60 of your maximum will result in minimal cardiovascular conditioning Check your p...

Page 16: ... until you feel a stretch in your back or hip Hold for 30 60 seconds or until muscles feel looser Repeat on opposite side Knees to Chest Lie on your back Bend your knees and lift your feet off the floor Grasp your knees with your arms and pull your knees toward your chest Hold for 20 seconds Repeat three to five times Cat and Camel Rest on your hands and knees Round your back by contracting your a...

Page 17: ...ive times with each leg Groin Adductors Stretch Sitting with your back straight bring the soles of your feet together Let your knees lower toward the floor Hold for 30 60 seconds or until muscles feel looser One Arm Pectoralis Stretch Stand against an immobile structure like a wall or a tree While facing the wall raise your right hand out to your side at chest height palm against the wall Turn you...

Page 18: ...oes straight ahead Bend both knees press your hips forward and lean into the wall Keep both heels down and both knees in line with your feet Hold for 20 seconds repeat three to five times with each leg Calf Stretch Face a solid structure such as a wall with your left foot ahead of your right toes straight ahead Bend your left knee press your hips forward and lean into the wall Keep both heels down...

Page 19: ...re not damaged The sensor is faulty If all above checks are okay then replace sensor Strides Min or Speed shows 0 The computer is faulty Call the Ironman Fitness service number Check that the pulse plugs are firmly inserted into the sockets No HR signal or incorrect HR signal Computer is receiving a faint or intermittent pulse signal If problem still exists then call the Ironman Fitness service nu...

Page 20: ...CDT 3 2LXT 302 01455 BOLT HEX SOC HD CAP M12X1 75 55 BLAC 2 22LR 302 01401 C RING A 16 T 1 2 BLACK 1 2MPT 330 00098 CENTER SHAFT 90 DEGREE 1 22QV 302 01277 HEX SOC TRUSS HD SCREW M10 1 5 20 4 2MPU 306 00815 COLLAR ADVENTURE 2 22RR 302 01276 HEX NUT M10 1 5 T8 ZINC 2 2MPV 302 01489 RETAINGING RING ADVENTURE 2 240E 310 00216 HOLDER WATER BOTTLE CG1 HR 1 2MPY 306 00808 GRIP CG1 2 25VV 302 01347 C RIN...

Page 21: ...J3P 2JAX 0K71 2 01FE 294S 22QV 2 2 2LGS 2 0K3X 01FE 2KGJ 2K84 2 01FE 01FD 01FD 01FD 0JEE E 0K94 0K4R G 0KR0 2D2K 2CU7 4 J 0J4Z 4 2 J 2 2J78 8 0K4T 16 24 0KRK 16 H 2GPW 4 27JR 4 2DUD 6 C 2HMD 3 26LH 4 H 0J6C 3 0KNM 4 2H7B 0JEG 0K2W 21X8 3 3 Q 22LR 2H4J 2GVB N 2HNU 2GTU 0J93 2 2J6N 2GTT K F 2GQS 22QV 2 2DM4 0J93 2H66 2 2 2CU3 2 G I D 0K2C D Q L K 4 0KR0 A 4 2GS1 2 2 A M 2GVA N 2 21BA 0K4R 2DZV 2AX2 ...

Page 22: ...defect has not been repaired or the Product is deemed non repairable by Ironman technical service and support staff Ironman based on a case by case review may opt to replace the Product or recommend an alternate resolution such as a warranty buy out Product cost subject to deduction of a reasonable charge for usage or a credit Ironman as a manufacturer reserves the right to replace the Product wit...

Page 23: ...23 Notes ...

Page 24: ...Customer Service 1 800 750 IRON 1 800 750 4766 Ironman Fitness 4009 Distribution Drive Suite 250 Garland TX 75041 www ironmanfitness com ...

Reviews: