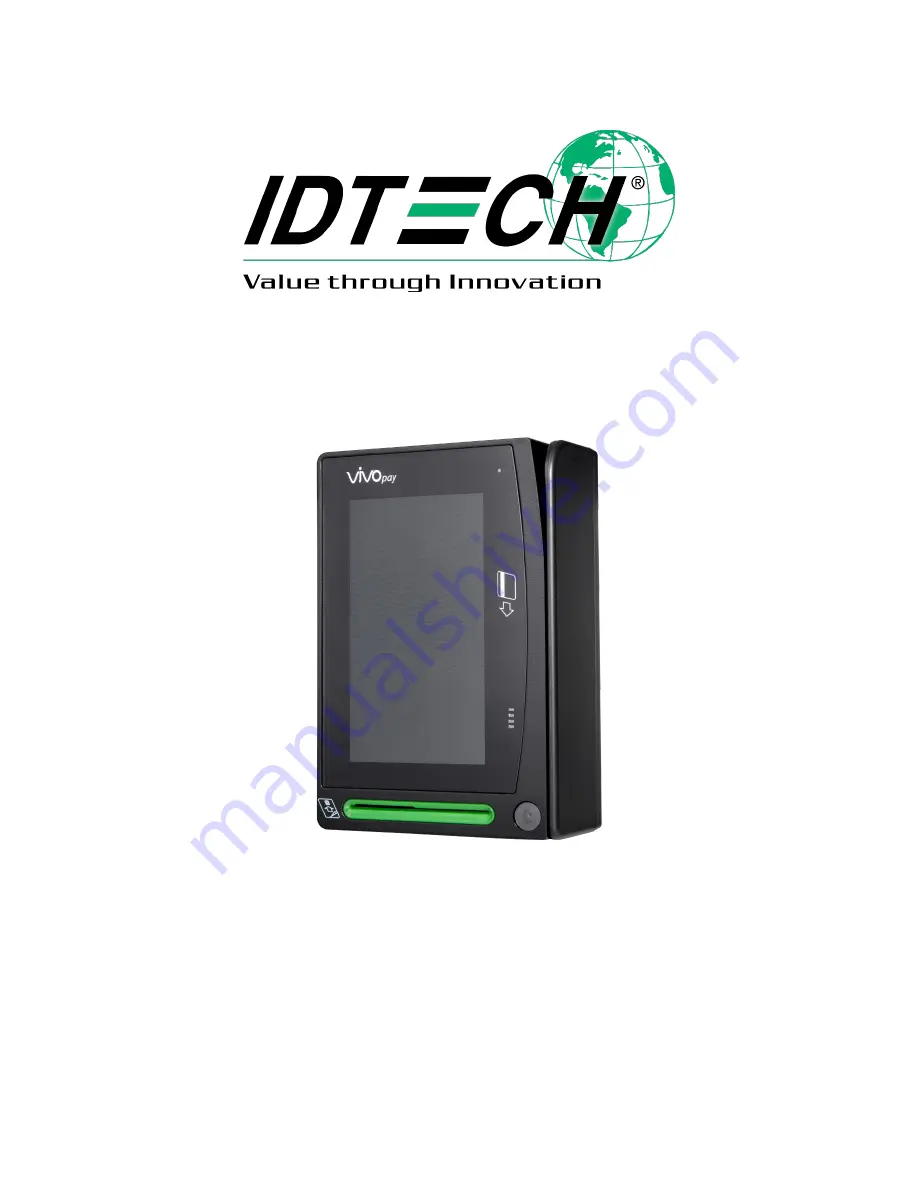
background image

ID TECH® 

10721 Walker Street Cypress, CA 90630 

(714) 761-6368 

www.idtechproducts.com [email protected] 


VP6800® User Manual 


80159500-001 Rev V 
7 May 2021 

Summary of Contents for VP6800

Page 1: ...ID TECH 10721 Walker Street Cypress CA 90630 714 761 6368 www idtechproducts com support idtechproducts com VP6800 User Manual 80159500 001 Rev V 7 May 2021 ...

Page 2: ... Except as permitted by such license no part of this publication may be reproduced or transmitted by electronic mechanical recording or otherwise or translated into any language form without the express written consent of ID TECH ID TECH and ViVOpay are trademarks or registered trademarks of ID TECH Warranty Disclaimer The services and hardware are provided as is and as available and the use of th...

Page 3: ...tions may cause harmful interference to radio communications However there is no guarantee that interference will not occur in a particular installation If this equipment does cause harmful interference to radio or television reception which can be determined by turning the equipment off and on the user is encouraged to try to correct the interference by one or more of the following measures Reori...

Page 4: ...for readability specifically condensed section and Basic Operations sections Added Durability section to Specifications Added LED indicator specs Updated Agency Approvals and Compliances list Added card interface insertion tap diagram CB 04 22 2021 Updated power supply part number Added power supply photo to section 7 1 CB 05 7 2021 V Added Grounding Requirements to Installation section CB ...

Page 5: ... Installation 17 7 3 Connecting Cable and Power 18 7 4 Bluetooth Connection 20 8 VP6800 CONFIGURATION SETTINGS 21 8 1 Configuring Ethernet Settings 22 8 1 1 Setting the Device IP 23 8 1 2 Setting the Remote IP 23 8 2 Configuring Wi Fi Settings 25 8 2 1 Setting the Device IP 26 8 2 2 Setting the Remote IP 26 8 2 3 Setting the SSID and Password 27 8 3 Configuring BLE Settings 28 8 3 1 Selecting Wi F...

Page 6: ...pport a variety of different payment methods digital advertising and guidance using visual payment prompts 1 2 Integration Options ID TECH provides a feature rich Universal SDK to aid rapid development of external non device resident payment applications that talk to the VP6800 The Universal SDK is available for the C language on Windows and comes with sample code for demo apps To obtain the SDK a...

Page 7: ...era or 2D scanner Supports EVA standard external mounting Support for contactless loyalty protocols Apple Pay VAS Google Pay SmartTap Contactless payments Apple Pay Google Pay Samsung Pay Supports the latest EMV Contactless L2 kernels AMEX Discover Interac JCB Mastercard Visa Union Pay Environmental certifications RoHS REACH RED Encryption support TDES AES DUKPT Remote Key Injection Support PCI va...

Page 8: ...2 1 Agency Approvals and Compliances CE EMV Contact L1 L2 EMV Contactless L1 EMV Contactless L2s o Amex o Discover o Interac o JCB o MasterCard o UPI o Visa FCC Part 15 Class B FelCa MIC Japan PCI 5 X REACH RoHS3 Telec Japan UL USB 2 0 ...

Page 9: ...ing Humidity Up to 95 non condensing Storage Humidity 10 to 90 non condensing duration three months IK Rating IK 08 IP Rating IP 65 Durability MBTF 200 000 POH MSR Swipe Durability 500 000 times ICC Connector Reliability 500 000 times Note Boot up time can vary for VP6800 readers depending on configuration boot up is usually complete within 15 seconds Power On is defined as the length of time from...

Page 10: ...h a host via serial RS 232 Wi Fi Bluetooth USB or Ethernet connections The diagram below illustrates the layout of various ports 4 1 Audio Support While the VP6800 does not have an internal speaker it can host 16mb WAV files and connect to an external speaker via the 3 5mm audio jack ...

Page 11: ...connectors follow the schematic illustrated below Note For development purposes ID TECH can supply a serial port interface cable that supports RS 232 or USB If you wish to develop your own cable ID TECH uses a JST PADP 12v 1 S housing with JST SPH 002T P0 5L crimp terminals See the schematic above for pin outs ...

Page 12: ...nector at the powered DB9 connection using an ID TECH P N AC0005R 26 or equivalent power supply Optionally also connect a standard Ethernet cable between the RJ45 ports on the back of the VP6800 and the network port of the host system 6 1 VP6800 Card Interfaces VP6800 readers have the following card interface points shown below Interface Note 1 Contactless antenna 2 ICC slot Smart chip must face u...

Page 13: ...ur virtual LEDs blink green Contactless transaction complete ICC slot LED is on ICC transaction started MSD LEDs on MSR transaction started 6 3 Device State and UI State Beep LCD Indicating De activated Short beep for 5 seconds Deactivated Device is in Manufactory mode no security functions enabled Activated No Beeper Activated Manufactory data and certificate loaded into device but no working key...

Page 14: ...k Indicators The VP6800 displays the following indicators when it has been tampered or has any of the other following internal issues such as an expired certificate missing key or similar fault discovered during a self check Note that the Tampered screen also displays configuration information used to diagnose the cause of the issue similar to the image below on the right Indicator Tampered Status...

Page 15: ... MSR failure usually caused by the abnormal state of the MSR module No sound FW BL Fail Firmware self check has failed Abnormal Key Status No sound Keys Fail Encryption key self check has failed No sound Need More Key Self test Fail The reader is activated but not ready for sensitive functions The reason is most likely due to missing working keys the reader being suspended due to self test failure...

Page 16: ...al Page 16 7 Installation The sections below describe VP6800 installation 7 1 Parts List for Development Verify that you have the following hardware for the installation of the VP6800 Cable 80159217 001 Power supply AC0005R 26 ...

Page 17: ...floor Warning The antenna s RF field is sensitive to the proximity of metal There are three options for mounting the VP6800 on a metal surface Mount with the RF emitting surface of the antenna at least 1cm in front of any metal Mount with the RF emitting surface of the antenna at least 1cm behind any metal This will reduce the effective range of the antenna and is not recommended Mount flush with ...

Page 18: ...e on the back of the card swipe area of the VP6800 is not designed for grounding this plate is used only to prevent wear of the plastic housing during card swipes 7 4 Connecting Cable and Power Note The VP6800 requires a power supply whether connected by RS 232 or USB 1 When developing for the VP6800 connect the power supply to the RS 232 interface 2 Connect the RS 233 interface to PC serial port ...

Page 19: ...ID TECH VP6800 User Manual Page 19 ...

Page 20: ...age 20 7 5 Bluetooth Connection When using Bluetooth communication with the host follow these steps 1 Search for Bluetooth name of VP6800 on the mobile host 2 Select Pairing 3 The VP6800 will display a window with a random passkey ...

Page 21: ...s Note that users can change many of the settings below via firmware commands To use firmware commands to configure a VP6800 unit refer to the NEO 2 Interface Developer s Guide available from your ID TECH representative Follow the steps below to access the main menu 1 Power on the VP6800 2 Perform a quick press in the top right corner then a long press in the top left corner to enter the Settings ...

Page 22: ... VP6800 User Manual Page 22 8 1 Configuring Ethernet Settings Follow the steps below to configure ethernet settings 1 Enter the main menu and select Ethernet Settings 2 Select Device IP or Remote IP as needed ...

Page 23: ...o clear a field select Cancel d To exit the menu without making changes select Cancel again 2 The VP6800 s screen displays an IP is Set dialog on success 8 1 2 Setting the Remote IP 1 To set the Remote IP enter IP address information in the field highlighted in blue ID TECH s Encryption protocol port is 1443 make sure to enter that number as the port a Select Next to move to the next field b Selec...

Page 24: ...creen displays an IP is Set dialog on success 3 Next on a Windows computer open Network Internet Settings by right clicking the internet connection icon in the taskbar 4 Click Change Adapter Options 5 Right click on your Network Connection and select Properties 6 Select Use the following IP address enter the required IP information then click OK ...

Page 25: ...P6800 User Manual Page 25 8 2 Configuring Wi Fi Settings Follow the steps below to configure Wi Fi settings 1 Enter the main menu and select Wi Fi Settings 2 Select Device IP Remote IP or SSID Password as needed ...

Page 26: ...o clear a field select Cancel d To exit the menu without making changes select Cancel again 2 The VP6800 s screen displays an IP is Set dialog on success 8 2 2 Setting the Remote IP 1 To set the Remote IP enter IP address information in the field highlighted in blue ID TECH s Encryption protocol port is 1443 make sure to enter that number as the port a Select Next to move to the next field b Selec...

Page 27: ...s 8 2 3 Setting the SSID and Password 1 To set the SSID and Password enter the required information in the field highlighted in blue a Select Next to move to the next field b Select Enter after completing the configuration to save c To clear a field select Cancel d To exit the menu without making changes select Cancel again 2 The VP6800 s screen displays an Account is Set dialog on success ...

Page 28: ... the main menu and select BLE Settings 2 Select Name 3 Enter the desired Bluetooth identifier name in the Name field a Select Enter after completing the configuration to save b To clear a field select Cancel c To exit the menu without making changes select Cancel again 3 The VP6800 s screen displays a Name is Set dialog on success ...

Page 29: ...commands in the NEO 2 Interface Developer s Guide Enable Disable Communication Port D2 03 Set Wireless Work Mode D1 19 When using an iOS device make sure to enable Bluetooth communication Follow the steps below to choose either Wi Fi or Bluetooth 1 Enter the main menu and select Wi Fi Bluetooth 2 Select Wi Fi or Bluetooth to choose the desired communication format a Select Cancel to exit the menu ...

Page 30: ...to make sure they are intact Power on the device check the beeper and the display message making sure there is no tamper indication see earlier chart for beeper interpretation Also read the firmware version making sure the firmware version is correct Check the touchpad to make sure there is no physical overlay on the touchpad Check the appearance of device to make sure there isn t any hole on the ...

Page 31: ...firmware For a comprehensive guide to the device s firmware level commands ask your ID TECH representative for the NEO 2 Interface Developer s Guide or IDG It is available at no charge to customers on request 14 Software Development Support To facilitate integration of the VP6800 into vending POS and other environments ID TECH makes available a Universal SDK that enables the rapid development of s...

Page 32: ...o Note Before you begin contact your ID TECH representative to receive the most recent VP6800 firmware Download the ZIP file and extract it to your computer 1 Connect the VP6800 to your PC via USB or serial port 2 Download and install the latest USDK Demo app from the ID TECH Knowledge Base if you cannot access the link please contact support 3 Open the USDK Demo app from the Windows Start menu ...

Page 33: ...ware update select the FW file that starts with NEO_II_vp6800_ and click Open 7 The VP6800 reboots and enters the bootloader at which point the USDK Demo app begins updating the device s K81 firmware 8 When the K81 firmware update completes the VP6800 reboots again and the USDK Demo app prints Firmware Update Successful in the Results panel 9 Next to update the RT1050 Firmware select Firmware sele...

Page 34: ...ectory where you saved the RT1050 firmware update select the RT1050 FW file that starts with VP6800FW_RT1050_ and click Open 12 The VP6800 reboots and enters the bootloader again to update the device s RT1050 firmware 13 When the RT1050 firmware update completes the VP6800 reboots again and the USDK Demo app prints Firmware Update Successful in the Results panel ...

Page 35: ... Efficiency 70 min Temperature protect Ethernet Data 10 100M LED LED Color Green Sleep Mode Blinking Run Mode Constantly bright Operating Temperature 25 C 70 C at least 5V 2 4A Storage Temperature 40 C 80 C Working Humidity 10 95 Storage Humidity 5 95 Certifications FCC part 15 class B CE RoHS2 ESD Contact 8KV Air 10KV Isolation 1 0KV Power Data cables 23cm Length 17 Appendix B Supported Micro SD ...

Reviews: