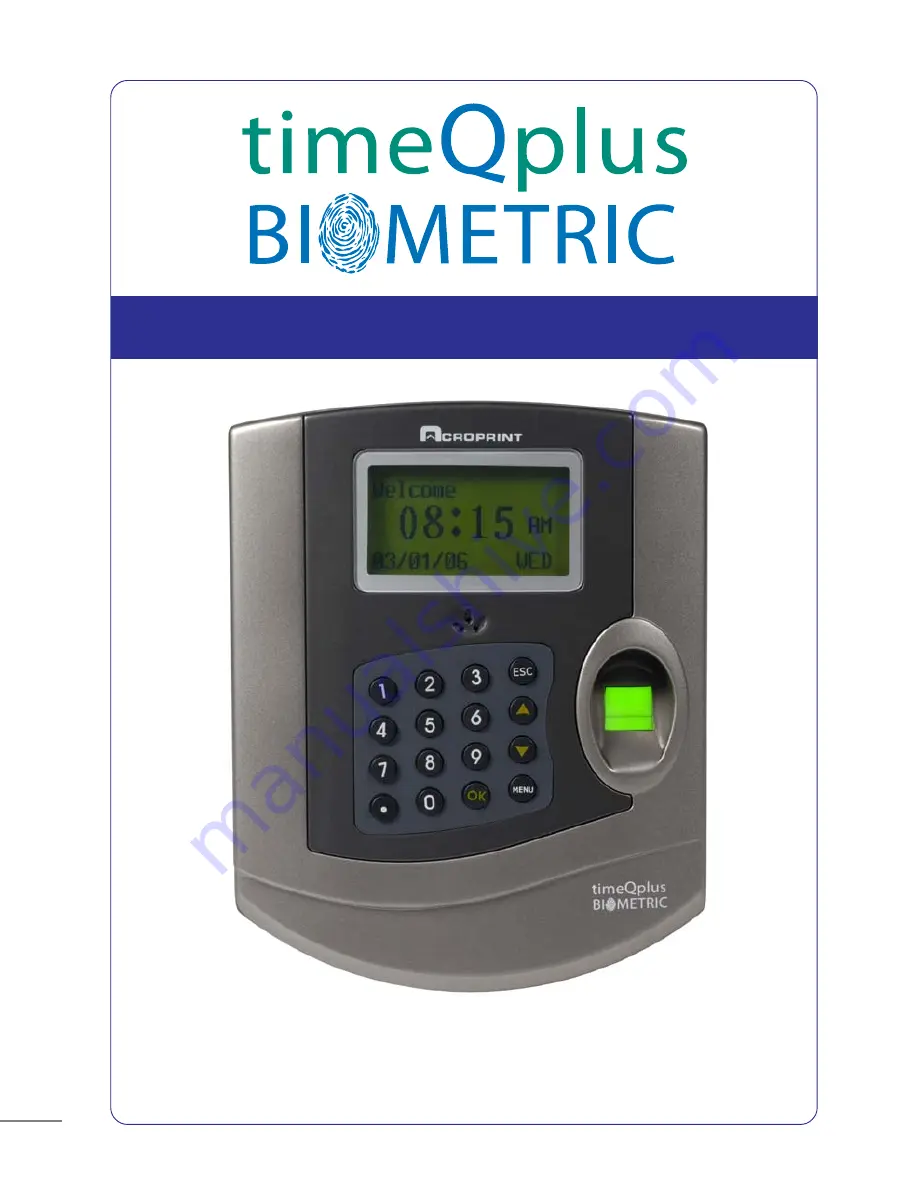
BIOMETRIC FINGERPRINT TECHNOLOGY
TQ100 Terminal User Manual
NOTE: This equipment has been tested and found to comply with the limits for a Class B digital
device, pursuant to Part 15 of the FCC Rules. These limits are designed to provide reasonable
protection against harmful interference in a residential installation. This equipment generates,
uses and can radiate radio frequency energy and, if not installed and used in accordance with
the instructions, may cause harmful interference to radio communications. However, there is
no guarantee that interference will not occur in a particular installation. If this equipment does
cause harmful interference to radio or television reception, which can be determined by turning
the equipment off and on, the user is encouraged to try to correct the interference by one or
more of the following measures: Reorient or relocate the receiving antenna; Increase the
separation between the equipment and receiver; Connect the equipment into an outlet on a
circuit different from that to which the receiver is connected; Consult the dealer or an
experienced radio/TV technician for help.
PN: 06-0349-000 Rev C.
44
timeQplus BIOMETRIC
™
Terminal User Manual
FIREWALL INFORMATION
Attention Microsoft Windows XP and Windows 2003 Users!
Microsoft Windows Firewall:
Microsoft has included firewall protection on Windows XP with Service Pack
2 and on Windows 2003 Server with Service Pack 1. If you will be installing
your timeQplus BIOMETRIC server on either of these two operating
systems you will need to grant access on the firewall to the following
applications and services after your installation is complete.
•
Attendance Rx Note: You will be prompted to unblock this
application after the installation is complete, or you can grant
access via the firewall.
•
arxsvc.exe
•
ARXTQ100N.exe
• File and Printer Sharing
Other Firewalls:
Some firewalls block ports, and authorized applications can be granted
access to use specific ports. If you have this type of firewall you should
open the following ports:
•
TCP
Open ports 49183 to 49188
•
UDP
Open ports 49211 to 49212
Содержание TQ100 Terminal
Страница 2: ...43 ...
Страница 4: ...41 ...
Страница 6: ...39 RJ11 s to he d the should e andard ...
Страница 8: ...ace 85 37 ...
Страница 10: ...35 e ...
Страница 12: ...33 3 teway es PC be bps 0bps 0bps ...
Страница 14: ...31 ws t ow ue is d ...
Страница 16: ...29 n ...
Страница 18: ...27 lay rint ...
Страница 20: ...25 e t ord g ...
Страница 22: ...face ete ds 23 ...
Страница 24: ...21 ed ...
Страница 26: ...19 ...
Страница 28: ...17 s ay ...
Страница 30: ...15 ...
Страница 32: ...13 ion ws ...
Страница 34: ...11 d to ...
Страница 36: ...9 u s ...
Страница 38: ...u 7 ...
Страница 40: ...5 n lds ...
Страница 41: ...timeQplus BIOMETRIC Terminal User Manual 41 user the to ss e and Ethernet Communication Diagram ...
Страница 42: ...3 t t ...
Страница 43: ...timeQplus BIOMETRIC Terminal User Manual 43 ...
Страница 44: ......