


This instruction manual describes the contents for ELECYLINDER Wireless Link.
For how to use the position (CON/SEP/MEC system) controllers and ELECYLINDER wired link, refer
to the following instruction manual.
"Touch Panel Teaching Pendant TB-03 Position Controller and ELECYLINDER Wired Link Instruction
Manual" (ME0376)
For how to use the Program (SEL system) controllers wired link, refer to the following instruction
manual.
"Touch Panel Teaching Pendant TB-03 Program Controller and Wired Link Instruction Manual"
(ME0377)
For details of applicable controllers, refer in the section for the supported models.
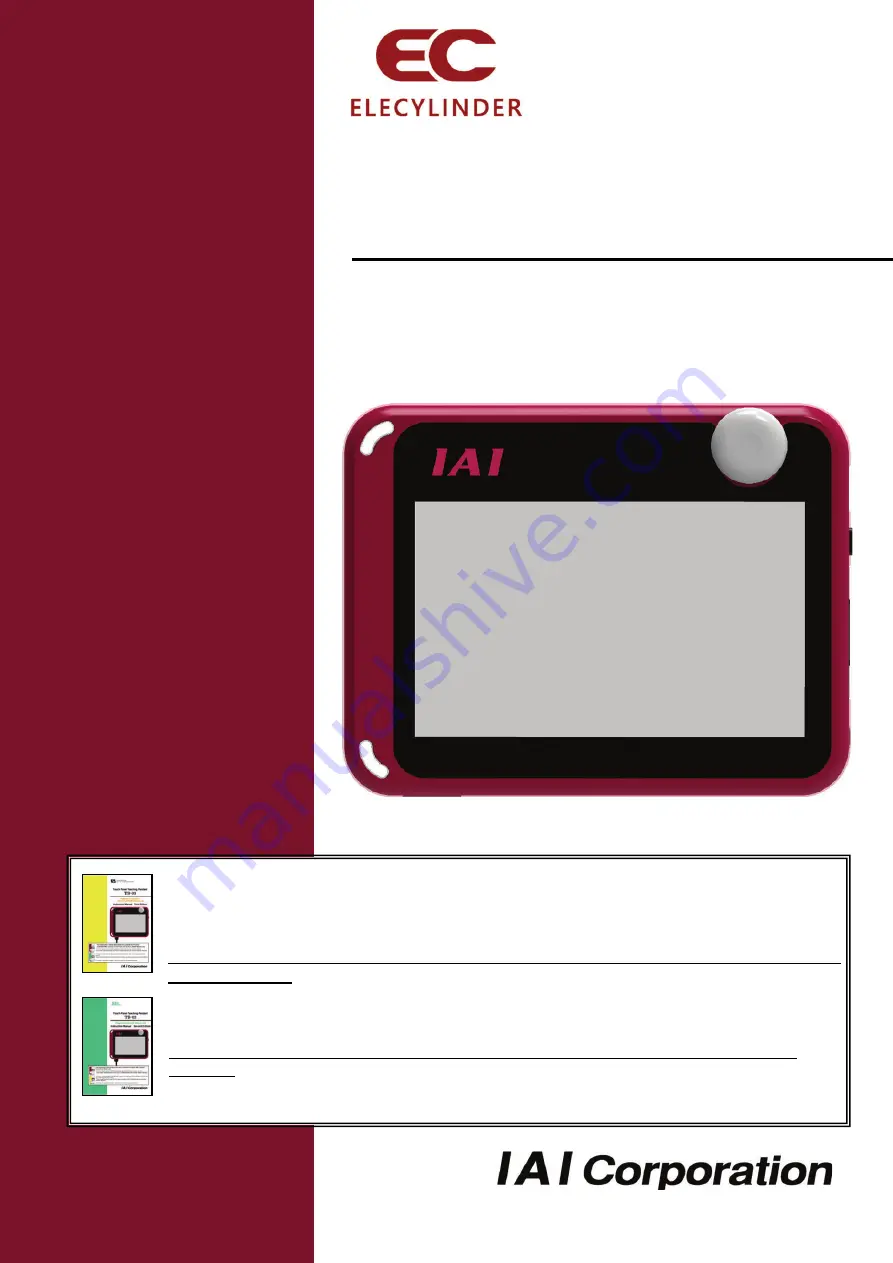
Touch Panel Teaching Pendant
TTB
B--0033
ME0376
ME0377
ELECYLINDER Wireless Link
Instruction Manual Fourth Edition
Summary of Contents for ELECYLINDER TB-03
Page 2: ......
Page 38: ...1 Confirming the Specifications 30 ME0375 4A ...
Page 94: ...3 Operation of ELECYLINDER 86 ME0375 4A ...
Page 104: ...5 Error Display 96 ME0375 4A ...
Page 112: ......
Page 113: ......
Page 114: ......


