background image

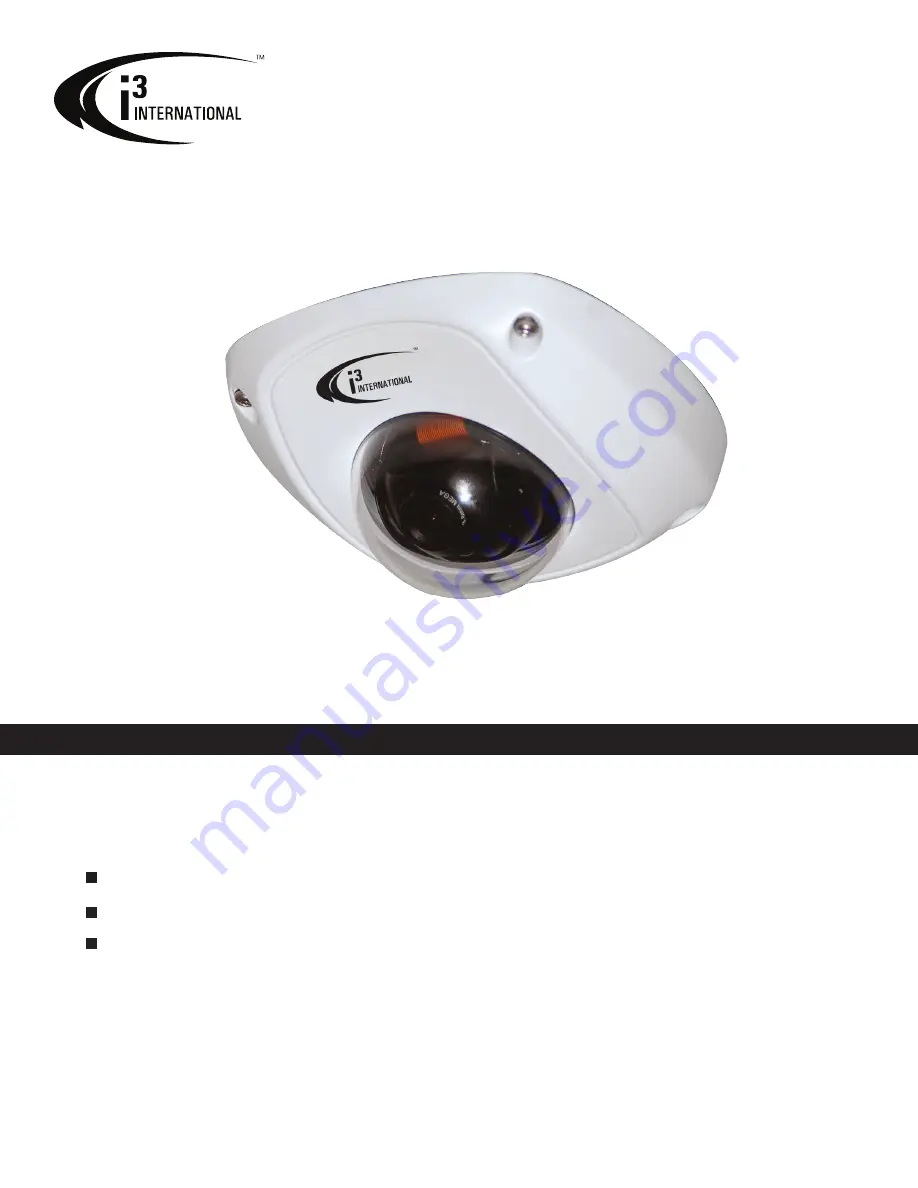
Ax32V Camera Series  

Instruction Manual                   

Before attempting to connect or operate this product, please read these instructions carefully and save this 

manual for future use.

CONTENTS

INTRODUCTION .................

....................................................

SPECIFICATIONS ............................................................... 

INSTALLATION.................................................................. 

2

3

5

Summary of Contents for Ax32VD14

Page 1: ...Series Instruction Manual Before attempting to connect or operate this product please read these instructions carefully and save this manual for future use CONTENTS INTRODUCTION SPECIFICATIONS INSTAL...

Page 2: ...ness for any particular purpose Neither i International Inc nor its dealers or distributors shall be liable to any person or entity with respect to any liability loss or damage caused or alleged to ha...

Page 3: ...is designed for users who have an adequate knowledge of network cameras 2 Do not touch the imaging surface of the sensor Use a soft cloth moistened with alcohol to clean the surface if it is touched a...

Page 4: ...solution 1600 x 1200 Frame Rate 15fps 1600 x 1200 30fps 1280 x 720 Function e PTZ Yes Storage Support NAS ISCSI Intelligent Alarm Motion Detection Video Tampering Video Loss Network Broken IP address...

Page 5: ...Image Max Image Resolution 640 480 Frame Rate 30fps 640 480 Function Storage Support NAS ISCSI Intelligent Alarm Motion Detection Video Tampering Video Loss Network Broken IP address conflict Storage...

Page 6: ...2 2 Network Camera Default IP Configurations The RJ 45 Network Port on the network camera will connect to an Ethernet Fast Ethernet standard 10 100Base TX network complying with the IEEE 802 3U stand...

Page 7: ...veX controls and plug ins enable the following three functions Download signed ActiveX controls Run ActiveX control and plug ins Script ActiveX controls marked safe for scripting Click OK 4 Open Inter...

Page 8: ...4 of this manual for more information 2 3 2 Changing IP Address Your Ax32V2M series Network camera comes with the pre assigned IP scheme IP Address 192 0 0 16 Subnet mask 255 255 255 0 To change came...

Page 9: ...nced Setup button Four setup tabs are available in Advanced Setup Device Information Channels Network and User Management In the bottom of each setup window there are four control buttons Restore Rebo...

Page 10: ...ideo channels sensor inputs control outputs and internal storage devices connected to the network the current device firmware version and the device s serial number Authorized users can also assign ch...

Page 11: ...settings I Interval BitRate Type BitRate and Frame Type 2 4 3 Network Setup The RJ 45 Network Port on the IP camera allows it to be connected to an Ethernet Fast Ethernet standard 10 100Base TX netwo...

Page 12: ...me stamp on snapshots will not match the time of the time zone 2 4 4 User Management Setup One administrator account and up to 15 additional accounts can be configured for the network camera Administr...

Page 13: ...tab right click on the Administrator account in the left hand pane and select Modify from the context menu 2 Type in the new password in Password and Re enter Password fields The password may only con...

Page 14: ...he operator to view live video Save Settings Check off to allow the operator to make changes to Annexxus setup Control PTZ only applies to Ax32V2M series model Check off to allow operator to control t...

Page 15: ...ng Annexxus Web Viewer Interface Topics covered Introduction to Annexxus Web Viewer Live video streaming Taking a live snapshot 3 1 Introduction to Annexxus Web Viewer Annexxus Web Viewer contains the...

Page 16: ...l on the left side of the live view screen is disabled for the Ax32VD1 series because this model does not support the video adjustments function The Annexxus Web Viewer contains the following buttons...

Page 17: ...f date time is not correct access the desktop and double click the Windows time display in the right hand corner Set the appropriate time and click Apply Video Adjustments panel Ax32V2M series only ad...

Page 18: ...network camera ePTZ can be controlled through the Annexxus Web Viewer or through the SRX Pro iP Pro software see SRX Pro iP Pro software manual for more information It is important to note that certa...

Page 19: ...nexxus Web Viewer these presets are factory defaults and cannot be changed Each preset from 1 9 shifts the iris to a different preset position changing the live image view Note that users can set the...

Page 20: ...backup The Live Backup button on the main screen will turn blue to indicate that a live backup is in progress Each time a live backup is initiated a new axv file is created in the storage location fo...

Page 21: ...nstant bmp snapshot of the video channel and saves it to the local PC storage local HDD network HDD or USB storage device The default location is C IP_Module_Snapshot The saved bmp snapshots can be op...

Page 22: ...ystem s CD drive On the CD locate and open the Annexxus_Finder folder To install the Annexxus Finder application follow the steps below 1 Double click the Setup exe file 2 In the first setup window cl...

Page 23: ...ting a device in the list with the mouse cursor detailed information about it will be displayed underneath IP Address Subnet Mask Port MAC Address Firmware version Serial Number 4 3 IP Address Subnet...

Page 24: ...to the factory default setting 1234 Appendix B Annexxus Player The Annexxus Player video application comes on the Resource CD that accompanies the Ax32V network cameras Insert the CD into your system...

Page 25: ...lation Complete window click Close 6 Open Annexxus Player by double clicking the icon 7 Once the Annexxus Player window is open click File at the top left of the screen then click Open 8 Select the de...

Page 26: ...Annexxus Player viewer NOTE The default storage file for snapshots taken with Annexxus Player is not the same as for snapshots with the Annexxus Web Viewer interface Similarly they do not follow the s...

Page 27: ...locate and select the newest anx firmware file and click Open 5 Click Upgrade The remote Upgrade Status message will change to Device is updating please wait 6 Wait until the Status message changes to...

Page 28: ...rary Internet Files and History Settings window click View objects A Download Program Files folder window will be displayed 15 Remove the i Annexxus ActiveX control and re connect to the Annexxus came...

Reviews: