background image

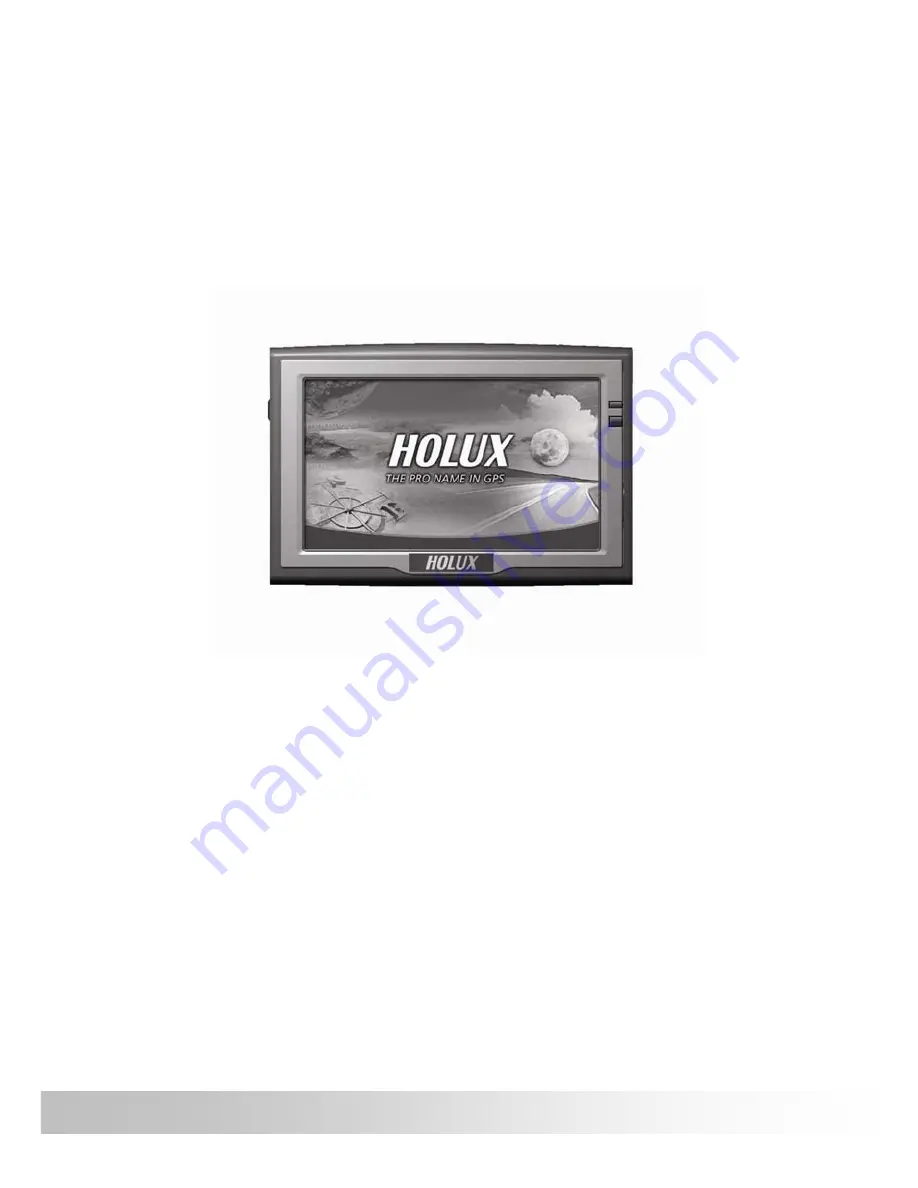
GPSmile 55   Portable Automobile 

Navigation System 


Product User Manual 


Version: V1.0 

July 2007 

Registered info 

HOLUX and GPSmile are trademarks of HOLUX Technology, Inc. 

All other trademarks belong to registered companies.  

Note 

z


The contents of this manual will be modified without further notice.  

z


The operation temperature for the product is between 0

~40

.  

Operating or recharging in an environment with a temperature over 45


might cause the system to stop functioning. However, this should be 
considered a normal phenomenon. Please do not operate under extreme 
temperatures. 


i

GPSmile55 

Summary of Contents for GPSmile 55

Page 1: ...long to registered companies Note z The contents of this manual will be modified without further notice z The operation temperature for the product is between 0 40 Operating or recharging in an environment with a temperature over 45 might cause the system to stop functioning However this should be considered a normal phenomenon Please do not operate under extreme temperatures i GPSmile55 ...

Page 2: ...ii GPSmile55 ...

Page 3: ...evice If device is damaged or is in a wet environment replace the device immediately 4 It is not recommended to charge from a PC because the PC power voltage is not enough to supply the device About the battery 1 Use only the original factory approved charger 2 A Lithium battery is built into the device To prevent fire or skin burns do not disassemble pierce impact or expose the battery to fire Th...

Page 4: ...ructions Note This warranty does not cover damage or malfunction from the below causes unauthorized disassembly modification of unit abuse or incorrect usage accidental and other unpreventable causes operation under variables mentioned that are different from those in this product user manual using parts not made or sold by Holux Technology or repairs done by anyone other than Holux Technology and...

Page 5: ...website www holux com and see the FAQ If answers cannot be found on the website please send us an e mail at info holux com stating your query and location Maintenance Service HOLUX Technology Inc 886 3 6687000 Web Site www holux com E mail info holux com HOLUX Technology Inc www holux com v GPSmile55 ...

Page 6: ...First time use 3 Copyright 3 Important Notice 3 Package Contents 4 Basic Operation 5 Introduction 5 Front View 5 Rear View 5 Left Side 6 Right Side 6 Top View 6 Getting Started 7 SD memory card installation 7 Using the stylus 8 Charging 9 Using Home Travel adapter 9 Using the In Vehicle Bracket 12 Operating Methods 14 Startup 14 GPSmile55 ...

Page 7: ...eset GPS 28 Version 30 Startup Message 31 Click Voice 31 Hot Key 32 Troubleshooting 33 System reset 33 Quick Troubleshooting 34 Normal Care and Maintenance 34 Keep dry 34 Do not drop the unit 34 Avoid sudden temperature changes 34 Keep away from strong magnetic fields 35 Operating temperature 35 Avoid exposure to sunlight 35 Using the stylus 35 Cleaning the screen 35 Do not disassemble 35 Storage ...

Page 8: ...Specifications 36 Federal regulations 38 GPSmile55 ...

Page 9: ... The first GPS positioning should be performed at a single set point in a wide open area without building shelters The length of time it takes to position will depend on the satellite signal strength and cloud levels It will possibly taking up to 10 minutes GPS Global Positioning System is the satellite system used by the United States of America Department of Defense All maintenance and operation...

Page 10: ...not to follow the planned course The planned navigational route is for reference only changes in roadside conditions one way streets no right turns may happen so please respond according to the situation and decide whether or not to follow the planned course When placing this system in the vehicle please secure it on the car with brackets to ensure safety The recommended installation location is i...

Page 11: ...s Copyright 2006 HOLUX Technology Inc All rights reserved Important Notice Please thoroughly read this manual of operating instructions and explanations Only use original factory approved batteries and accessories to prevent unexpected damage If the correct procedures were not followed for operation or incompatible accessories were connected this is a violation of the warrantee agreement and will ...

Page 12: ...ge Contents Your product should include the following accessories NAV 55 Unit In vehicle Bracket Bracket fixing Car Adapter Home Travel Adapter Optional SD Memory Card Optional CD ROM Quick Guide 4 GPSmile55 ...

Page 13: ... Introduction Front View Rear View 4 3 TFT LCD with touch screen System power switch I O interface Stylus Charging indicator LED Auto backlight sensor Charging indicator LED Charging Orange Full Green N A 5 GPSmile55 ...

Page 14: ...Left Side Left Side External Antenna port Earphone port USB port Right Side SD card slot Reset key Top View Hot key Power button 6 GPSmile55 GPSmile55 ...

Page 15: ...f the unit To remove the memory card 1 Gently press the top of the memory card and the card will eject automatically 2 Then pull to remove the memory card 9 The included memory card contains the digital map files that are required for the GPS navigational data Please do not delete 9 When removing the memory card please make sure the card is not reading data or it will cause a system crash 9 Do not...

Page 16: ...us is an assist tool for operating this unit and is concealed in a pen slot at the rear Pull out to use This unit can be controlled easily though the touch screen The stylus is an assist tool for operating this unit and is concealed in a pen slot at the rear Pull out to use Stylus 8 GPSmile55 GPSmile55 ...

Page 17: ...suggest you use a fully charged battery 1 Turn on the system power switch 2 Insert the USB connector into the unit 3 Plug the adapter into a power outlet 4 Press and hold the power button on the top to turn off device If the system power switches off the battery can t be charged 9 GPSmile55 ...

Page 18: ... using the device in a vehicle use the included car charger for long periods of usage 1 Plug the small plug into the power jack on the rear of the in vehicle bracket 2 Insert the other end into the cigarette lighter 10 GPSmile55 ...

Page 19: ... please turn off the system switch When charging a completely depleted battery wait at least one minute before starting up the system This will prevent excessive battery discharge When charging starts the charging indicator light will be red please wait for the charging to complete this might take several hours After charging is completed the indicator light will be green If the system power switc...

Page 20: ...GPS unit in the vehicle Follow the procedures below to secure the bracket 1 Follow the arrows and secure the unit into the in vehicle bracket fitting holes 2 Gently push the unit until the unit is tightly fixed with the bracket Note Please note the directions of the arrows When secured the assembly should be tight If these directions are not followed a loose fit will result and components must be ...

Page 21: ... to insert the bracket into the slots on the bracket and slide to fix the set A Æ B 5 The in vehicle bracket assembly is complete 9 When using the in vehicle secure bracket do not install it in a location that will block the view of the driver 9 Recommended installation requirements The bracket base should rest securely on the dashboard to prevent excessive shock 13 GPSmile55 ...

Page 22: ... the power Note Before using for the first time please switch the system power on Note Before using for the first time please switch the system power on Shutdown Shutdown 1 While power is on press the power button to turn the power off 1 While power is on press the power button to turn the power off 2 If the unit will not be used for a long time turn the system power switch at the rear side Off 2 ...

Page 23: ...rectly select an icon on the screen to use the function GPS Loads the navigation program and navigation screen Note If an SD card with navigator software is inserted the system will automatically enter GPS function after startup MP3 Plays MP3 music PHOTO Plays images VIDEO Plays video eBOOK Can read file with __txt format SETTING System setup 15 GPSmile55 ...

Page 24: ...st first convert the music from an audio CD into MP3 files on your computer Then save them onto the SD memory card All the files need to be stored under the MP3 directory and the file format needs to be mp3 Starting music playback 1 Insert the SD memory card with stored MP3 files into the SD memory card slot on the unit 2 Turn the power on and select the MP3 icon on the main menu 16 GPSmile55 ...

Page 25: ...layback function 11 10 13 12 14 9 8 7 6 1 2 3 4 5 1 Play Pause 8 Music Status 2 Stop 9 Progress bar 3 Previous 10 Repeat mode indicator 4 Next 11 Battery indicator 5 Normal All Random Repeat mode 12 Timer 6 Exit 13 Help 7 Volume display 14 Play List 17 GPSmile55 ...

Page 26: ...7 GPSmile55 6 5 4 3 2 1 1 MP3 List On SD Card 5 Delete One 2 Add All 6 Exit 3 Add One 7 MP3 List on the Device 4 Delete All 18 GPSmile55 ...

Page 27: ...irectory and the file format needs to be jpg 2 Insert the SD memory card with stored image files into the SD memory card slot on the unit 3 Turn the power on and select the Photo icon on the Main Menu 4 The Image Browsing Window Help 19 GPSmile55 Next Rotate Zoom in Previous Viewing Size Slide show Information Photo title Next Previous Photo Status Slide show Delete Exit Zoom out Delete Exit ...

Page 28: ...f Please convert files into a readable format and save them on the SD memory card in a folder named film 1 Insert the SD memory card with Video files into the SD memory card slot on the unit 2 Turn the power on and select the Video icon from the Main Menu Screen 20 GPSmile55 ...

Page 29: ...ilm Video Status Previous Next Play Delete Exit Help Use the right left arrow key to move forward backward in the film Video Status Bar Exit Displayed Total length Next Delete Double Display speed Play pause Stop Previous All Screen 21 GPSmile55 ...

Page 30: ...card with ebook files into the SD memory card slot on the unit 1 Insert the SD memory card with ebook files into the SD memory card slot on the unit 2 Turn the power on and select the eBook icon from the Main Menu Screen 2 Turn the power on and select the eBook icon from the Main Menu Screen Use the up and down arrow key to change between books Help Previous File Previous Page File Status Exit Nex...

Page 31: ...23 GPSmile55 ...

Page 32: ... SETTING icon to enter 1 After starting up the system select the SETTING icon to enter 2 Select Backlight from the main screen to access the Power settings screen Select the time to turn off the backlight when running off the battery external power 24 GPSmile55 GPSmile55 ...

Page 33: ... settings screen 2 Access the Date pull down menu and choose the correct value 3 Access the Time pull down menu and choose the correct value 4 Access the Time Zone pull down menu and choose the correct value 5 Select to return to main menu screen 25 GPSmile55 ...

Page 34: ...us by touching writing on the screen If the system cannot correctly identify your stylus input please run through the screen calibration procedure 1 From the settings window select Panel Adjustment to start the screen calibration procedure 26 GPSmile55 ...

Page 35: ... center of the screen once 3 Touch the cross in the second position once 4 Touch the cross in the third position once 5 Continue the calibration by touching the cross 6 The setting page will return when stylus adjustment is finished 27 GPSmile55 ...

Page 36: ...t GPS 1 Select Reset GPS from the main screen to access the GPS settings screen 2 Select the YES icon to start the GPS reset procedure 3 Select the NO icon to return to the main Setting screen 28 GPSmile55 ...

Page 37: ...4 The following information is for GPS reset fail 5 The following information is for GPS reset OK 29 GPSmile55 ...

Page 38: ...Version 1 Select Version from the main screen to access the Version screen 2 The screen display will show the version information 30 GPSmile55 ...

Page 39: ...s window check the Warning Voice to F check uncheck if you would like the startup message is to be broadcast Click Voice 2 Under the setting windows check the click voice to F check uncheck to enable disable the click voice 31 GPSmile55 ...

Page 40: ...me Select the MUTE icon to mute the Volume Select the MUTE icon to mute the Volume 2 Control the LCD Brightness with light bulb icon There are ten levels of brightness 2 Control the LCD Brightness with light bulb icon There are ten levels of brightness Select the AUTO icon The LCD Select the AUTO icon The LCD Brightness will be changed automatically to the suggested value according to the environm...

Page 41: ...e heavy lag while refreshing a screen or operations which results in an inoperable system 2 Cannot turn off the system with the power button 3 No response from a selection made on the screen Switch the system power off and then switch it back on System Power switch The system will immediately reset You will now see the main screen and the system is ready for use 33 GPSmile55 ...

Page 42: ...ildings or other interferences Normal Care and Maintenance To ensure the unit s normal operation and extended life span please note the following while using and storing Keep dry This product is not waterproof If it comes into contact with water or is submerged into water it will seriously damage the components and result in irreversible damages Do not drop the unit A serious damage may be caused ...

Page 43: ... scratched Please only use the stylus for operation Do not use any other sharp objects on the screen to avoid damaging the LCD screen Cleaning the screen Use a soft clean cloth to wipe the screen Do not use ordinary tissue to wipe the screen Do not disassemble Please do not disassemble the product This may void the warranty and damage the unit Storage For storage keep the unit in a dry box Please ...

Page 44: ...A 400 MHz Operating System Microsoft Windows CE Net 5 0 Core Version Memory 64 MB Flash 64 MB SDRAM Weight 190 g Size 121 4 L x80 5 W x18 25 H mm Car Holder Charger Input voltage 10 30V 1 3A max Output voltage 5 4V 1 2A Battery Rechargeable 1150 mAh Li Ion Battery Extension Slot SD Display 4 3 16 9 TFT LCD with touch screen 95 04 H 53 86 V mm 480 x 272 pixels 16 M colors LED Orange Green LED for b...

Page 45: ...n Backlight Adjustment Auto Backlight Adjustment Software MP3 Photo Video eBook Bluetooth Optional Function Hands Free Calling SMS Receiver File Transfer TMC Optional Function TMC Traffic Receiver Flash Memory Optional Function Built in 2G Flash 37 GPSmile55 ...

Page 46: ...Federal regulations This equipment is in compliance with the essential requirements and other relevant provisions of directive 1999 5 EC 38 GPSmile55 ...

Reviews: