For Your Safety
1
Instruction Manual
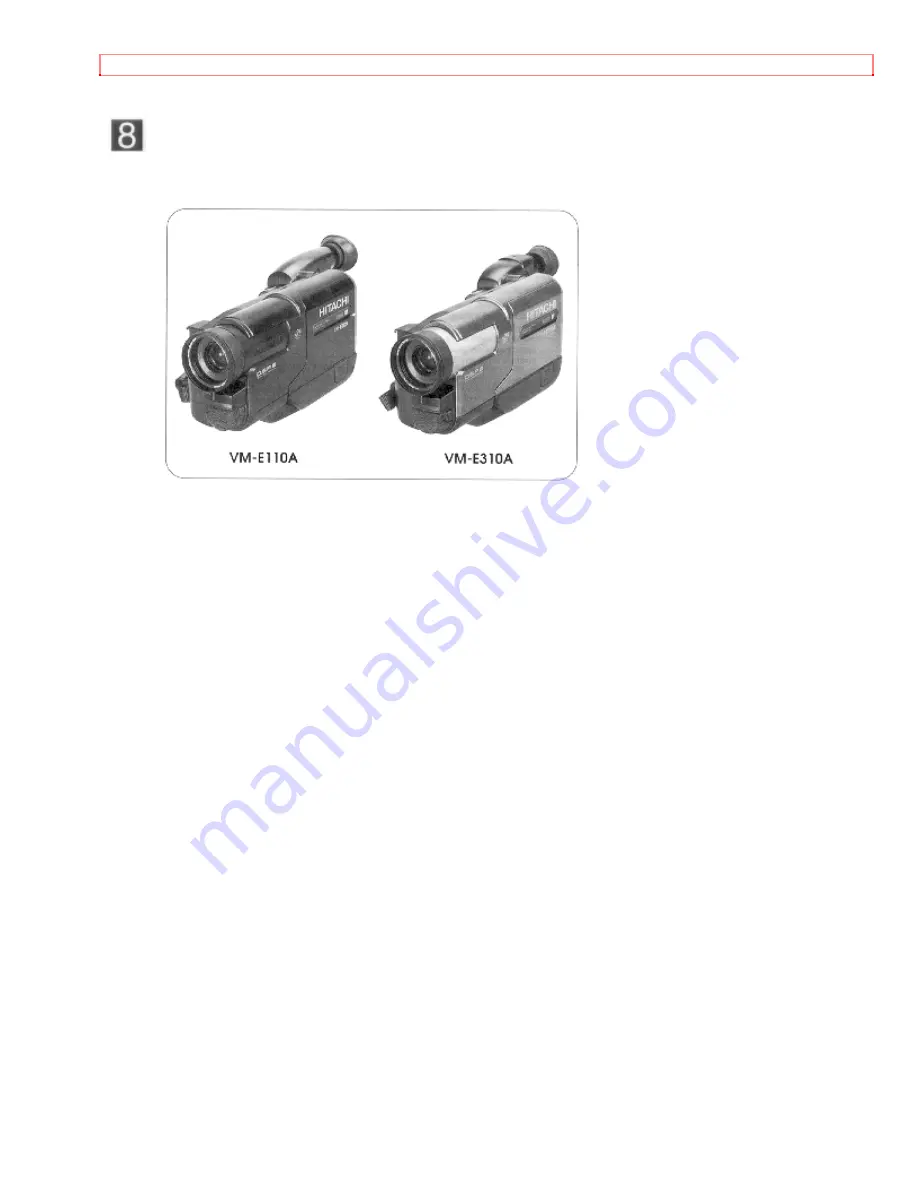
8mm Video Camcorder
VM-E110A/310A
Hitachi Home Electronics (America),
HITACHI (HSC) CANADA, INC.
Inc.
3300 Trans Canada Highway, Pointe
Claire,
3890 Steve Reynolds Blvd., Norcross, GA 30093
Quebec, H9R1B1, CANADA
Tel.
404-279-5600
Tel.
514-697-9150
HITACHI SALES CORPORATION OF
HAWAII, INC
3219 Koapaka Street, Honolulu, Hawaii 96819
Tel. 808-836-3621
Thank you for buying a Hitachi product. You've chosen the best 8 mm video camcorder
for you, and we want to help you make the most of your purchase. Please take time to
become familiar with the manual and how it is set up. Keep it handy for feature
reference.
QR12521 © Hitachi, Ltd. 1995
Printed in Japan KG-M(N)