ENGLISH
SA
MS
UN
G
CA
M
CO
RD
ER
LE
N
S
10
XZ
O
O
M
SA
MS
UN
G
CA
M
CO
RD
ER
LE
N
S
10
XZ
O
O
M
EAS
Y
EASY
REV
REV
FWD
FWD
S SH
OW
S SHOW
DEL
ETE
DELETE
REC
SEA
RCH
FAD
E
BLC
SA
MS
UN
G
CA
M
CO
RD
ER
LE
N
S
10
XZ
O
O
M
SA
MS
UN
G
CA
M
CO
RD
ER
LE
N
S
10
XZ
O
O
M
EAS
Y
REV
FWD
S SH
OW
REC
SEA
RCH
FAD
E
BLC
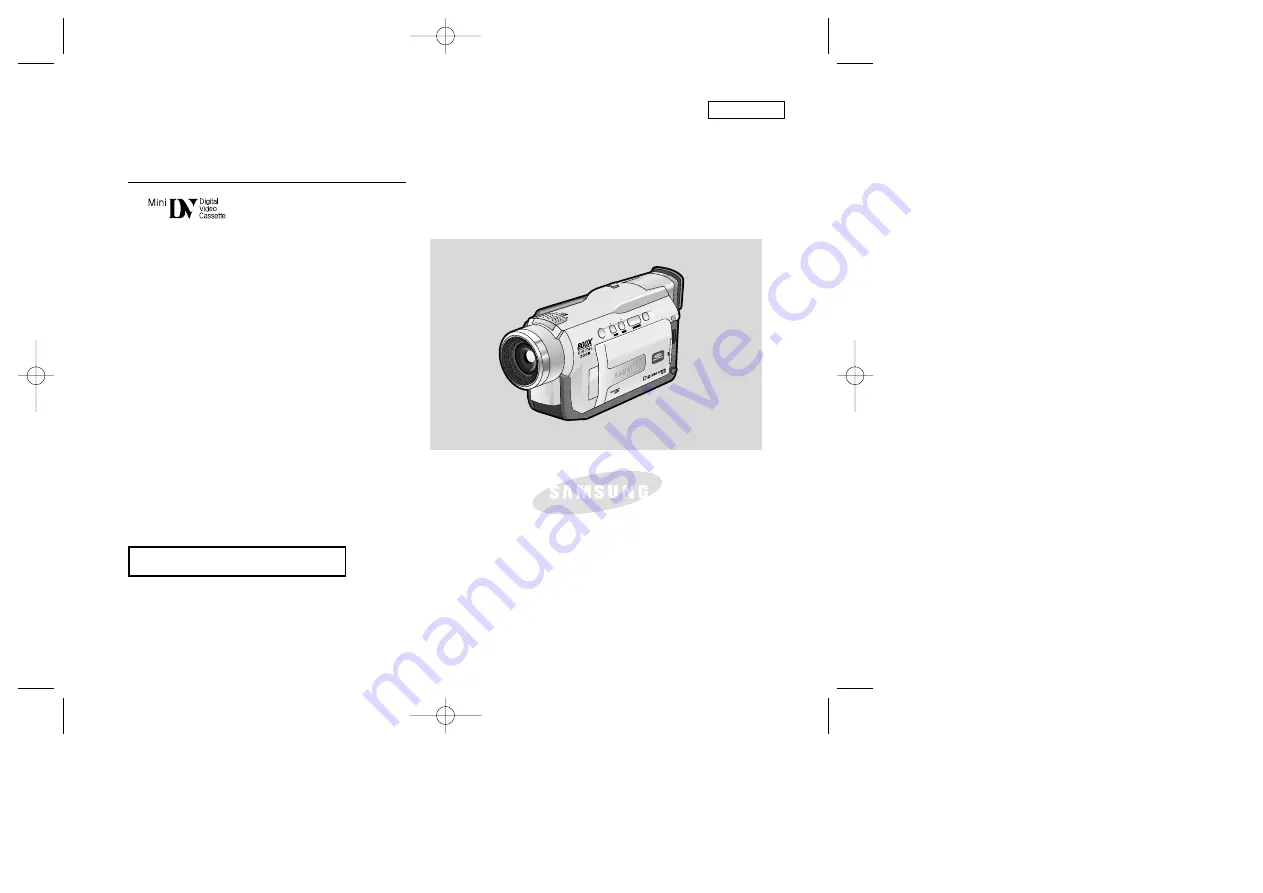
Digital Video Camcorder
Owner’s Instruction Book
Before operating the unit, please read this
instruction book thoroughly, and retain it for
future reference.
AF
Auto Focus
CCD
Charge Coupled Device
LCD
Liquid Crystal Display
SCD23/D24
ELECTRONICS
US PATENT 4415844
00616B SCD23-SEA(01~27) 5/12/03 9:46 AM Page 101