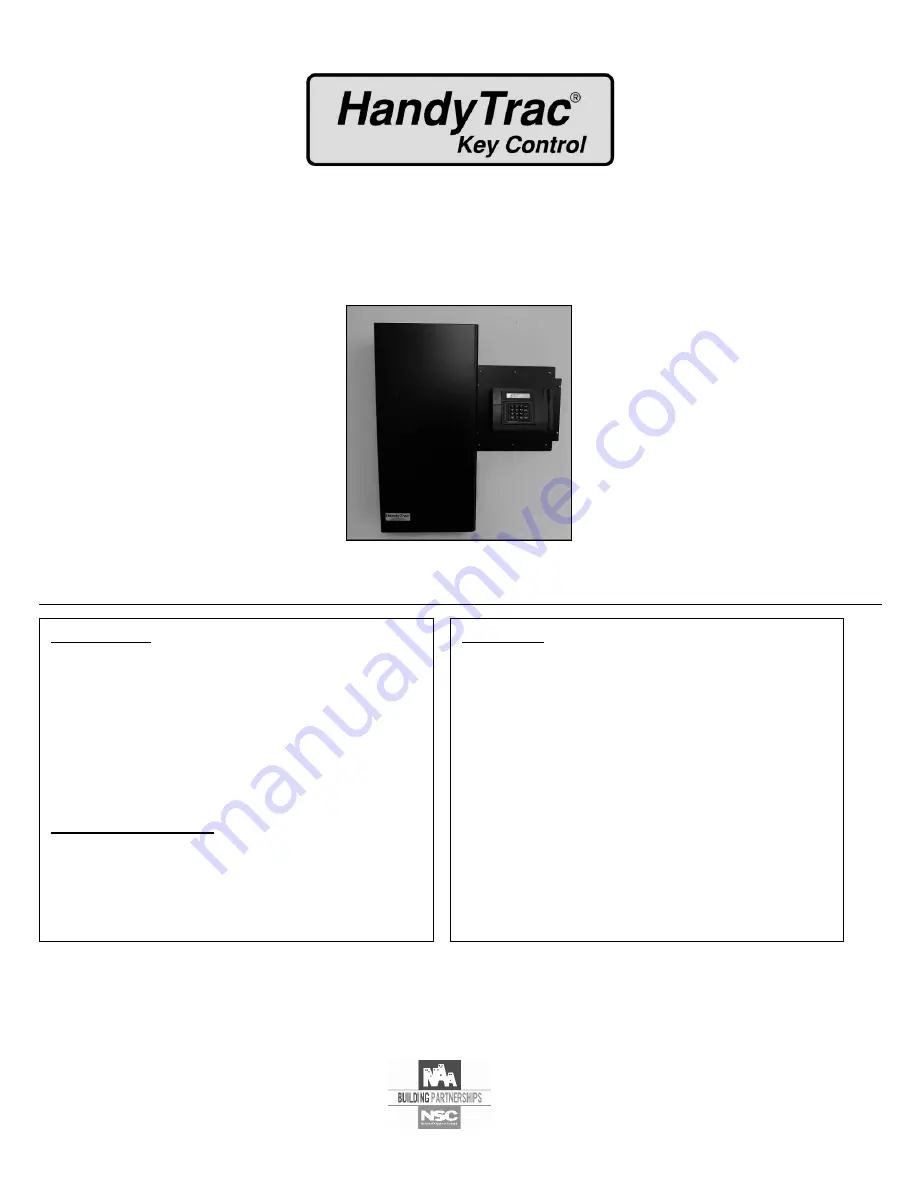
background image

HT

 Scan 2.0 

HandyTrac EASY GUIDE 

Installation and Operation

888-458-9994


www.handytrac.com


[email protected]


Dallas 

16990 North Dallas Parkway 

Suite 206 

Dallas, TX  75248 

Toll Free:  800.665.9994 

Fax:  972.380.9978

Atlanta 

510 Staghorn Court 

Alpharetta, GA  30004 

Toll Free:  800.665.9994 

Fax:  678.990.2311

INSTALLATION 

Parts include ....................................................... 2 
What you need .................................................... 3 
Mounting cabinet & checking door alignment ...... 4 
Mounting control box & key panels ...................... 5 
Double cabinet setup ........................................ 6-7 

PREPARING FOR SET UP 

Establishing communications ............................... 8 

Activating System.


...............................................


9

Moving keys into System ..................................... 9 

OPERATION 
HandyTrac.com ............................................. 10-11 
Accessing the system ......................................... 12 
Programming fingerprints (biometric equipped) . 12 
Pulling a key ...................................................... 13 
Using building pull ............................................. 13 
Work order number key pull .............................. 14 
Returning a key ................................................. 15 
Review keys out ................................................ 15 
Show last transaction ........................................ 15 
Edit key tag ....................................................... 16 
Change APT/UNIT .............................................. 17 
Activity codes .................................................... 18 

Summary of Contents for Key Control

Page 1: ...arts include 2 What you need 3 Mounting cabinet checking door alignment 4 Mounting control box key panels 5 Double cabinet setup 6 7 PREPARING FOR SET UP Establishing communications 8 Activating System 9 Moving keys into System 9 OPERATION HandyTrac com 10 11 Accessing the system 12 Programming fingerprints biometric equipped 12 Pulling a key 13 Using building pull 13 Work order number key pull 14...

Page 2: ...everything you ll need to set up the system If you have any questions regarding this process please contact a HandyTrac technician at 888 458 9994 or email service handytrac com Here is what this kit includes Datalog Key Pad Control Box Key Panels Key Cabinet Master Badge Employee Badges KeyMap Spare Key Tags ...

Page 3: ... battery power 2 Mounting Fasteners capable of holding 50 lbs for masonry drywall wood or metal studs Tools Needed 1 Drill Drill Bits 2 Level 3 Flat Head Screwdrivers 4 Phillips Head Screwdrivers 5 Pliers An Internet Connection 1 HandyTrac will supply a 7 foot network cable If you need a longer length you will need to purchase one ...

Page 4: ...ollow the manufacturer s directions for wall anchors ϳͿ Mounting the cabinet Lift the cabinet into place Tighten all fasteners snug but not too tight Place your level on top of the cabinet and check repeatedly as you tighten all of the fasteners Familiarize yourself with these steps before you start Door Alignment Check the gap between door and door frame at the top bottom and side If gap is not u...

Page 5: ...Snap the cable into the retaining clips on the inside of the cabinet to prevent contact with the Key Panels during operation Don t forget about your UPS Uninterruptable Power Supply Warranty will be voided if a UPS is not used Mount the Key Panels Each Panel is labeled with a letter in the lower outside corner and each hook has a number The panels should be placed in alphabetical order from front ...

Page 6: ... Box Setup pack and Datalog touchpad labeled CB DL Installation Procedure 1 Select the location where you are going to mount the system Remember that you will need a minimum of 42 of wall space for the system 2 Mount the cabinet marked LH 2 0 to the far left of the space provided Make sure to leave enough space for the door to swing open 3 Mount the control box flush against the primary cabinet ma...

Page 7: ...e control box through the hole provided in the cabinet 5 Connect the corresponding control box light and lock cables to each cabinet s lock and light assemblies 6 Route and clip down all cable harnesses in the cabinets using the clips mounted inside each cabinet Push all extra cable lengths into the control box 7 Install the panels to the corresponding cabinets ...

Page 8: ...on the Datalog Keypad will confirm an active connection D Plug the power cable for your new Datalog Keypad into a UPS Battery Backup Time date should appear on the display and you can test your connection by pressing the ENTER button on the Datalog Keypad E When the ENTER button is pressed the Datalog Keypad will display Data transfer successful This indicates that communication is established wit...

Page 9: ...s will hold the keys correctly spaced and organized so that they are easy to find during use A Call HandyTrac for activation at 888 458 9994 During activation you will be given your User Name and Password for HandyTrac com B Your HandyTrac system is now ready for you to attach your keys to the bar coded key tags ...

Page 10: ...ring the activation of your HandyTrac system you will be issued a User Name and Password for HandyTrac com Once logged in you are able to view various reports such as the keys out report reports by unit employee and activity ...

Page 11: ...eckmark in the Active box to activate this employee G Click on Add Update Employee H Press the blue enter button on the Datalog Keypad to run the EOP update To Edit an Employee A Click on EMPLOYEES located on the gray task bar B Click on the drop down arrow in Active Employees field C Highlight then click on the employee you wish to Edit D Enter edits to employee information E Click on Add Update ...

Page 12: ... using any Master access badge 2 Select activity code 03 Scroll through the list of employees using the Enter button 3 Press the number 1 to program the fingerprint once you have reached the correct employee badge Datalog will prompt you to touch finger to Biometric reader 4 Place finger firmly on the biometric reader so that the crease of your finger is on ridge of the reader 5 The Datalog keypad...

Page 13: ...e 40 to activate Work Order Number Key Pull 4 The Unit will prompt you to enter the work order number associated with this key pull 5 Type in the work order number and press the Blue ENTER button Example work order 1234 6 The system will now prompt you to enter the unit number associated with this key pull and press the Blue ENTER button 7 Enter the unit number and press the Blue ENTER button ENTE...

Page 14: ...you to pull the first bar coded key tag for that building and also display the unit number that is being pulled 8 Pull the bar coded key tag and scan it through the scanner 9 The unit will then prompt you to pull the next unit s key tag in that building until all key tags for the building have been pulled 10 When the entire building s keys have been pulled the unit will prompt you to enter another...

Page 15: ...cess the system using your badge and pin Biometric users can use fingerprint reader 2 Enter Activity Code 06 Audit Keys Out 3 The screen will display a list of all of the keys out one at a time It will give the unit person date and time the key was taken 4 Press enter to scroll through the list 5 When last unit is displayed you receive the message END OF LIST PRESS CLEAR OR OUT How to Show Last Tr...

Page 16: ...ve Master Access to edit Keytags 2 Enter Activity Code 04 Edit key tag 3 Enter the old key tag number If you don t have the old tag you ll need to look it up on the Key Map 4 SCAN the new tag to enter it 5 The screen confirms the tag has been replaced When you press ENTER the screen will return to ENTER OLD TAG screen in step 3 Enter the next unit number you want to replace or press OUT ...

Page 17: ...The system will beep and prompt you to enter the old unit Type the APT UNIT you want to change and press ENTER 3 System will prompt you to enter new APT UNIT Type new APT UNIT and press ENTER to replace APT UNIT 4 The system confirms replacement is complete Press ENTER to replace APT UNIT Press CLEAR to change to another activity or press OUT to end this session NOTE If you are using Alpha letters...

Page 18: ...HVAC Fan 55 HVAC Thermostat 56 HVAC Filter 57 HVAC No Heat 58 Vendor 1 59 Vendor 2 60 Vendor 3 61 Appliances 62 Refrigerator 63 Stove 64 Oven 65 Dishwasher 66 Vent Hood 67 Microwave 68 Trash Compactor 69 Washer 70 Dryer 71 Electrical 72 Power Out 73 Switch 74 Outlet 75 Light 76 Fan 77 Interior 78 Interior Paint 79 Interior Leak 80 Interior Flooring 81 Carpentry 82 Crp Lock 83 Crp Door 84 Crp Windo...

Page 19: ...nnected at all times to the touchpad 3 Automatic door lock function must be in good working order As Needed 1 Check cabinet square and door gap for proper door operation 2 Check Cabinet level and plum for proper function with level 3 Inspect system for worn damaged or unserviceable key tags and replace as needed see operations guide 4 Review Active Employee list to insure only authorized users are...

Page 20: ......

Reviews: