Guardian ACS0, Installation Instructions And Owner'S Manual
The Guardian ACS0 is a top-of-the-line security system designed to keep your home safe and secure. Ensure proper installation and operation by downloading the Installation Instructions and Owner's Manual for free from our website. This comprehensive manual will guide you through the setup process and help you maximize the benefits of your Guardian ACS0.
Share
Download


Reviews:
No comments
Related manuals for ACS0
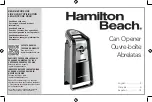
76700
Brand: Hamilton Beach Pages: 20
76607
Brand: Hamilton Beach Pages: 20
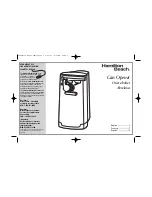
76375 - CleanCut Extra-Tall Can Opener
Brand: Hamilton Beach Pages: 10

WINNER PRO
Brand: Pujol Pages: 16

iS300
Brand: Elsema Pages: 12

LiftMaster Professional 78LM
Brand: Chamberlain Pages: 2

Lids-Off OPEN-IT-ALL JW400
Brand: Black & Decker Pages: 2

9100
Brand: Wayne-Dalton Pages: 22

UGP-712
Brand: Platinum Access Systems Pages: 34

BARRIER
Brand: Platinum Access Systems Pages: 36

502
Brand: Polaris Automatic Gate Operators Pages: 43

XX325
Brand: moore o matic Pages: 32

FREEVIA 400
Brand: SOMFY Pages: 44

PowerLife Plus CS100EVO
Brand: Chamberlain Pages: 24

Security+ 4620DI
Brand: Doit Pages: 40

Security+ 3245
Brand: Chamberlain Pages: 36

ES82
Brand: Elvox Pages: 36

DC00EGMA07
Brand: CAME Pages: 2


