background image

This manual provides information for:
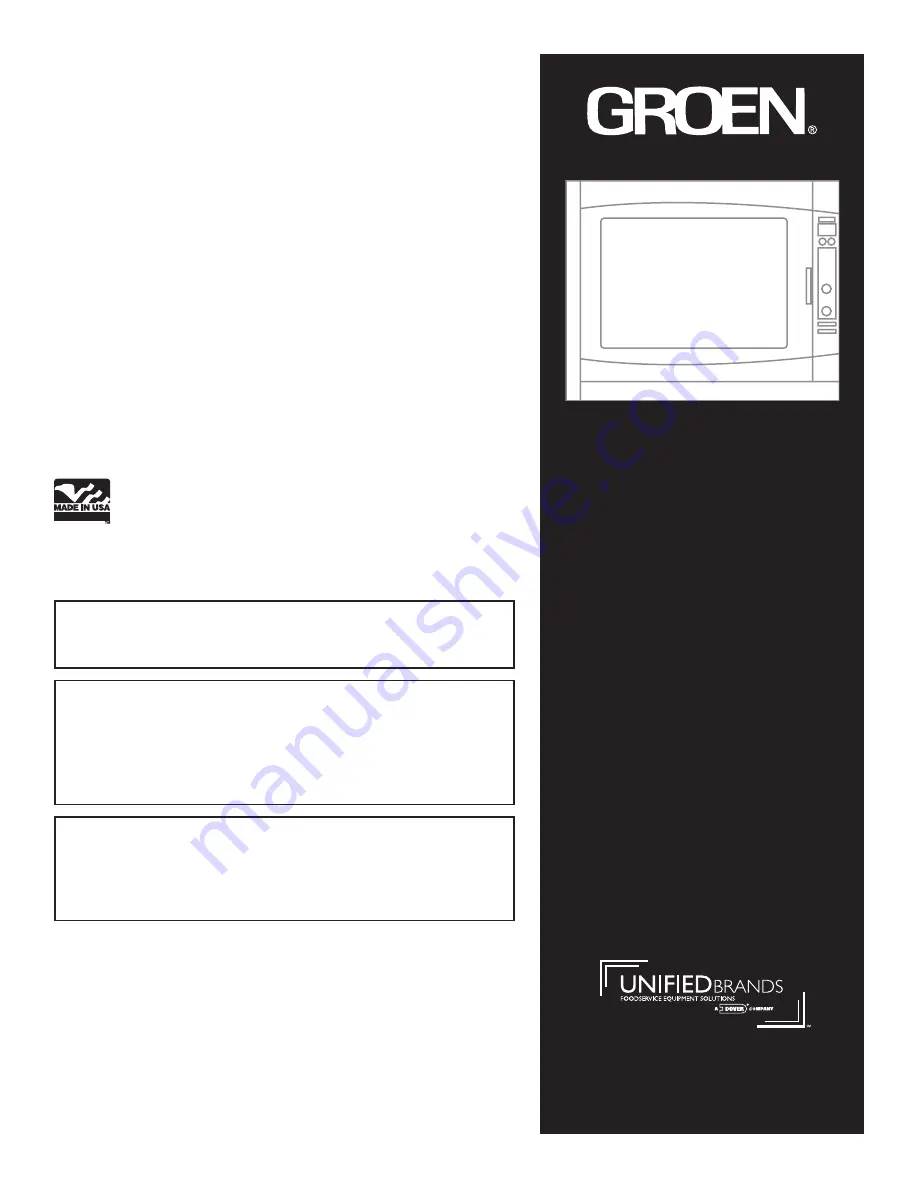
MODELS TRI-RES-20G
& (2)TRI-RES-20G
COMBINATION OVEN

· Self Contained
· Gas Heated
· Capacity: 

TRI-RES-20G = 10 Steamer Pans Per Cavity

SERVICE MANUAL

IMPORTANT INFORMATION, KEEP FOR OPERATOR

1055 Mendell Davis Drive 

Jackson, MS 39272

888-994-7636,  fax 888-864-7636

groen.com

PART NUMBER 152797, REVISION A

  .

E

C

N

E

R

E

F

E

R


E

R

U

T

U

F


R

O

F


D

E

N

I

A

T

E

R


E

B


T

S

U

M


L

A

U

N

A

M


S

I

H

T
READ,  UNDERSTAND  AND  FOLLOW  THE  INSTRUCTIONS  AND 
WARNINGS CONTAINED IN THIS MANUAL.

FOR YOUR SAFETY

Do not store or use gasoline or other flammable vapors 

and liquids in the vicinity of this or any other appliance.

POST IN A PROMINENT LOCATION

Instructions to be followed in the event user smells gas.  

This  information  shall  be  obtained  by  consulting  your 

local gas supplier.  As a minimum, turn off the gas and 

call your gas company and your authorized service agent.  

Evacuate all personnel from the area.

WARNING

Improper  installation,  adjustment,  alteration,  service  or 

maintenance can cause property damage, injury or death.  

Read the installation, operating and maintenance instructions 

thoroughly before installing or servicing this equipment.

NOTIFY CARRIER OF DAMAGE AT ONCE

It is the responsibility of the consignee to inspect the container upon receipt of 
same and to determine the possibility of any damage, including concealed dam-
age. Unified Brands suggests that if you are suspicious of damage to make a 
notation on the delivery receipt. It will be the responsibility of the consignee to file 
a claim with the carrier. We recommend that you do so at once.

Manufacture Service/Questions 888-994-7636.

Information contained in this document is known to be current and accurate at the time 

of  printing/creation.    Unified  Brands  recommends  referencing  our  product  line  websites, 

unifiedbrands.net, for the most updated product information and specifications.

Summary of Contents for 2TRI-RES-20G

Page 1: ...our gas company and your authorized service agent Evacuate all personnel from the area WARNING Improper installation adjustment alteration service or maintenance can cause property damage injury or death Readtheinstallation operatingandmaintenanceinstructions thoroughly before installing or servicing this equipment NOTIFY CARRIER OF DAMAGE AT ONCE It is the responsibility of the consignee to inspe...

Page 2: ...g Procedure 8 9 10 11 2 3 Controls 12 Installing cleaning and testing 3 1 Gas Model Installation 13 14 3 2 Installation 15 3 3 Installation Checklist 16 Water Treatment 17 3 4 General Cleaning 18 Interior Cleaning 19 20 Diagnostics TroubleShooting 4 1 Troubleshooting procedures and quick reference 21 27 Assembly disassembly 5 1 General Information 28 5 2 Cavity Compartment Side Panels 29 5 3 Top C...

Page 3: ...ion 6 1 Control Panel Sub Assembly 33 6 2 High Voltage Panel Assembly Gas 34 6 3 Assembly Motor Mount 35 6 4 Water System Assembly 36 6 5 Gas Valve and Piping Assembly 37 6 6 Door Assembly 38 6 7 Burner Assembly 39 Specifications 6 1 Wiring Diagram 40 6 2 Ladder Diagram 41 table of contents ...

Page 4: ...o date information for field maintenance and service personnel 1 3 Warranty and Non Warranty Repair Groen Warranty provisions are clearly presented in the customer s Operator Manual Certain procedures for the cleaning and or adjustment of the Tri Res are presented in this manual for reference but not war ranty related 1 4 Safety The Groen Tri Res has been designed with safety in mind This includes...

Page 5: ...N P T National Pipe Thread NSF National Sanitation Foundation PSI Pounds per Square Inch Pressure U L Underwriter s Laboratory Inc 1 6 Tools and Supplies This Section identifies the tools instruments and supplies which will be required and useful in the inspection repair and testing of the equipment and described in this manual Most likely many of these tools and supplies are already in your tool ...

Page 6: ...differences between the various models described in the manual Before making repairs you should have knowledge of the Tri Res operation as described in the Operations Section of this manual and a good understanding of service techniques as presented by the Groen Service School This service manual should be taken with you on all service calls Use the correct tools in accordance with the procedures ...

Page 7: ...elected the main burners will ignite automatically The unit will indicate that it s ready to cook within 25 minutes or less The ready condition is indicated as follows In oven mode Temperature display red LED will stop flashing In combination mode Temperature display red LED will stop flashing In steamer mode The dashes in temperature display red LED will stop flashing 7 In order to use the timer ...

Page 8: ... tempera ture the ready condition All three burners cycle on and off to maintain the selected temperature C Push Moisture Level HI The HI indicator lights The two side reservoirs fill and the center reservoir empties The temperature knob operates the same way as in COMBO LO except that the upper limit is reduced to 350 degrees D Push OVEN to start oven mode The OVEN indicator lights All three rese...

Page 9: ...turned off Drain timeout could mean that the drain is plugged Clean it Whenever a drain valve is first opened the associated water valve is opened for one second to help open the pinched drain hose and to flush food particles out of the drain line 5 Door The door may be opened for brief periods to move food into and out of the cavity without disturbing the burners However if the door is open for f...

Page 10: ...eriod CLEAN MODE DRAIN TIME followed by another one minute rinse When this is com plete the message CLEAN COMPLETE TIME LEFT is displayed for a minute and the oven turns itself off If the oven is hot at the beginning of the soaking period the message OPEN DOOR TO COOL OVEN is displayed Do it While the door is open the message COOLING is displayed When the oven has cooled sufficiently to allow it t...

Page 11: ...PLETE TIME LEFT and turns itself off Once a deliming cycle has been started all other cooking modes are inactive locked out The deliming cycle must run to completion before the oven will operate in the cooking modes The oven may be turned off at any time during the deliming cycle However since the two rinses have not been complete there is probably some delimer in the cavity reservoirs When the ov...

Page 12: ...ed during pre heat B Steamer cooking mode Shows dashes Flashes until steamer is ready during pre heat TEMPERATURE Knob Turn to set cooking temperature in oven and combination cooking modes Maximum temperature that can be set is 350 F for Combo HI 450 F for Combo Lo and Oven the minimum temperature that can be set is 200 F TIMER Display Shows remaining time when kitchen timer is operating Beeper so...

Page 13: ...elow Supply pressure must be at least 5 W C maxi mum 14 W C for natural gas or 12 W C maximum 14 W C for LP gas In Canada the installation must conform to the Canadian Gas Code CAN 1 B149 Installation Codes for Gas Burning Appliances and Equipment and or local codes Check all gas connections for leaks prior to unit operation Ratings for Gas Tri Res Measured at gas manifold After the unit has been ...

Page 14: ...16 and a quick disconnect device that complies with the standard for quick disconnect devices for use with gas fuel ANSI Z21 41 CSA 6 9 B Adequate means must be provided to limit the movement of the appliance without depending on the connector and the quick disconnect device or its associated piping to limit the ap pliance movement C The location where the restraining device may be attached to the...

Page 15: ...nual of the Food and Drug Administration FDA NOTE Local code may also require check valves in the water supply line ANSI 21 69 CSA 6 16 and a quick disconnect device that complies with the standard for quick disconnect devices for use with gas fuel ANSI Z21 41 CSA 6 9 Adequate means must be provided to limit the movement of the appliance without depending on the connector and the quick disconnect ...

Page 16: ...ons conform to all local codes and the NEC requirements _____ Make sure the power supply branch circuit conforms to the specifications indicated on the Tri Res nameplate Tri Res Door Check _____ Make sure the door gasket is making good contact with the cavity frame _____ Instruct operators to leave the door open when the Tri Res is shut down overnight or longer Cold Water Supply Connections _____ ...

Page 17: ...y on unproven water treatments sold for scale preven tion and removal They are not specifically designed to work with Groen steamers and combination ovens 2 A well maintained water treatment system and a regular cartridge replacement schedule is essential 3 Using a Groen water treatment system will provide longer steam generator boiler life higher steam capacity and reduce maintenance requirements...

Page 18: ...a plastic or rubber scraper with a detergent solu tion c Stainless steel surfaces may be polished with a recognized stainless steel cleaner such as Zepper WARNING Disconnect the power supply before cleaning the outside of the Tri Res Keep water and cleaning solutions out of controls and electrical components Never hose or steam clean any part of the unit Avoid contact with any cleanser deliming ag...

Page 19: ...ve or wait till clean cycle is over 7 If the oven is hot when the clean cycle has started the display will read OPEN DOOR TO COOL OVEN Open the door display reads COOLING When the oven has cooled sufficiently the display reads CLOSE THE DOOR Close it The clean cycle continues with the soaking period 8 After soaking the oven interior will be automatically sprayed with rinse water to remove the clea...

Page 20: ... before cleaning STEP 3 After the unit has cooled completely press LIGHT While the LIGHT is on press CLEAN The message OPEN DOOR AND REMOVE STEAM LID appears in the display Remove the pans and racks STEP 4 Remove any spilled foods from the steam lid Remove the steam lid from the steam reservoir NOTE Use protective gear including eyewear for the following steps involving delimer descaler STEP 5 Wit...

Page 21: ...s as part of the cleaning procedure and clean the Water level probes with a non abrasive stiff brush Two 2 water level probes are located on the rear wall of the unit below the fan c Open the inner glass door and check the light assembly for proper operation and fit 3 Monthly a Check the hinges and other moving parts of the inner and outer glass doors for smooth operation and signs of misalignment...

Page 22: ...stops flashing Gas valve Verify 24VAC across valve coil SETUP EXPECTED RESULTS PROBABLE DEFECT TEST or COMMENTS Measure Input voltage and amps Input voltage is within 10 of rated voltage and 5 7 amps Wrong model voltage installed to incoming power supply Notify customer Verify gas supply Propane or Natural and pressures Correct gas source and pres sure Wrong model ordered Gas conversion not perfor...

Page 23: ...01665 3 0 089 43 152696 2001 4000 NG 1 0 029 69 101665 3 0 085 2 15mm 152014 4001 6000 NG 1 0 026 71 112603 3 0 082 45 152015 6001 8000 NG 1 0 026 71 112603 3 0 0787 2 0 mm 152016 8001 10000 NG 1 0 026 71 112603 3 0 076 48 152017 up to 2000 LP 1 0 020 76 101625 3 0 055 54 152018 2001 4000 LP 1 0 020 76 101625 3 0 052 55 152019 4001 6000 LP 1 0 020 76 101625 3 0 049 1 25mm 152020 6001 8000 LP 1 0 0...

Page 24: ... light or the burners didn t light The igniter may have failed the igniter wire may be shorted there is a problem in the gas distribution system or the main gas valve may be shut off Fan not running The cavity fan stopped running It may be open or one of its connectors may have become disconnected All fills long The water level in all three reservoirs didn t reach the water level probes within the...

Page 25: ...tely 70 on the display If the air inlet at the bottom of the housing becomes plugged or if the internal muffin fans fail then the air temperature around the control board will rise If it rises to 180 degrees F the danger temperature the display will read 138 BUTTON 5 This test checks all the control panel buttons Push all the buttons one at a time When the buttons are pushed the associated LED lig...

Page 26: ...This test checks the drain valves for the outer two reservoirs Push START Check that the plunger on the outer two drain valves rises If there is water in the any of the outer reservoirs it should begin to drain out Release START The plunger should drop back down If not check the connections and the drain valve MAIN VALVE 18 This test checks the igniter the pilot and pilot valve the flame sensor th...

Page 27: ... push buttons Open the door The Door bar should light c Close the door The bar should go out If not check the connections the magnet in the door the door alignment and the door sensor inside the control panel housing The power switch should be on and the Power On bar d should be lit If not then push the ON switch On the Relay board unplug the Hi Limit connector two e white wires in a small 4 pin c...

Page 28: ...ews are removed the panel can be pulled for ward about 1 inch then raised above the top panel overhang 5 3 Top Cover For Part Number see Parts Identification Section Note Under normal conditions the top cover should never have to be removed The most likely reason for removing it is if the panel itself has been damaged by a falling object 1 Remove right side and left side panels and upper rear pane...

Page 29: ...sen the clamp and remove the other end of the silicone hose from the drain box Inspect the hose for any damage or lime buildup Clean or replace the hose if required then reat tach to the steam reservoir drain fitting Installation 7 Attach new drain valve to valve bracket Slide the silicone hose through the drain valve housing and install hose clamp over the exposed end of the hose Check that the h...

Page 30: ...i Res power and allow to cool 2 Remove the door using one of the following two methods a Support the door and remove hinge pin or b Support weight of the door and remove the two door to hinge bolts 3 Place the door on flat clean smooth table or similar support with handle hanging over edge Be careful not to scratch the door 4 Remove four or eight 8 32 truss head screws and remove inner door panel ...

Page 31: ...plied to the unit 2 Remove the left side panel by removing the three exterior screws 3a Remove the side access plate by removing the two 10x32 nuts 3b Remove the four 4 bolts that attach the damper and com bustion chamber plate and pull out the drawer 4 Unplug the HSI and flame sensor 5 Remove the 5 1 4 screws on the holding plate near the ignition tube and the two on the bottom of the holding pla...

Page 32: ...ighten the 3 4 compression fitting 3 Install the 5 1 4 screws into the holding plate 4 Plug in the HSI and flame sensor 5 Turn on gas supply and power to the unit 6 NOTE The ignition tube does not receive gas until the burn ers are active 7 Install the side access plate with 2 10x32 nuts 8 Re install the left side panel with the three exterior screws ASSEMBLY DISASSEMBLY ...

Page 33: ...Part No Qty 1 Panel Control Tri Res 151109 1 2 Control Panel Mounting Bracket Assembly 152992 2 3 Hour Meter Redington 149295 1 4 Knob 1 5 Dia 160921 2 5 Rocker Switch 160920 1 6 Switch Door 096857 1 7 Control Panel Display 152904 1 8 Control Board Tri Res not shown 160650 1 9 Overlay Front Panel Tri Res not shown 160652 1 10 Gasket Control Panel not shown 152998 1 ...

Page 34: ...ART IS TO BE FREE OF BURRS AND SHARP EDGES 2 PART IS TO BE FREE OF SCRATCHES NICKS AND ANY OTHER IMPERFECTIONS ON FINISH SIDE 3 ALL WELD MARKS MUST BE CLEANED AND OR BLENDED INTO 4 VENDOR IS TO PACK PARTS AS TO ENSURE NO DAMAGE TO PARTS 3 2 9 1 6 5 7 8 4 ECN A REV 17282 RELEA CHECKED APPROVALS MATERIAL FINISH DRAWN D UNAUTHORIZED REPRODUCTIO PROPERTY OF GROEN A DOVER IN DOCUMENT IS CONFIDENTIAL AN...

Page 35: ...Standoff Assembly 152827 1 6 5 O D Fan 152640 1 7 Screw Hex Head Cap 1 4 20 005608 4 8 Nut Hex Keps 1 2 20 012940 4 ITEM NO PA 1 15282 2 15263 3 07129 4 15282 5 15282 6 15264 7 00560 8 01294 7 2 5 2 6 1 4 3 8 ECN A REV 17282 MATERIAL UNAUTHORIZED REPRO PROPERTY OF GROEN A D DOCUMENT IS CONFIDEN THE INFORMATION CONTA EXPRESSLY FORB UNLESS OTHERWISE SPECIFIED WITH TOLERANCES AS FOLLOWS DIMENSIONS SH...

Page 36: ...ne 7 5 Long 0 1 Thk 0 75 OD 152946 1 10 Hose Silicone 9 5 Long 0 0625 Thk 0 75 OD 152947 1 11 Hose Silicone 9 Long 0 0625 Thk 0 75 OD 152949 1 12 Hose Silicone 8 625 Long 0 0625 Thk 0 75 OD 152949 1 13 CopperWash Line 23 75 Long 0 0625 Thk 0 5 OD 152950 1 14 Hose Silicone 23 625 Long 0 0625 Thk 0 5 OD 152951 1 15 Hose Silicone 15 5 Long 0 0625 Thk 0 5 OD 152952 1 16 Hose Silicone 11 5 Long 0 0625 ...

Page 37: ...le 1 2 NPT x Close 008877 1 3 Union 3 8 NPT 005686 1 4 Nipple 1 2 NPT x 3 Long 005553 1 5 Elbow 90 DEG 1 2 NPT 008747 1 6 Nipple 1 2 NPT x 4 Long 005554 1 7 Valve Gas 1 2 098458 1 8 Fitting Compression 90 004584 2 9 Manifold Gas 3 Burner 152807 1 10 Plug Pipe 1 8 NPT Recessed Hex 010286 1 11 Pipe Dope 078938 0 5 oz 12 Valve Gas 24Volt HY 6G 099906 2 13 Fitting Compression 057218 1 14 Connector Mal...

Page 38: ...y 1 Assembly Door Front Single Point Latch 152921 1 2 Assembly Panel Back 151040 1 3 Screw Flat HD 10 32 x 3 8 LG 069723 8 4 Assembly Bracket Single Point Latch Door 152924 1 5 Hinge Door Tri Res 20G 152007 1 6 Screw Hex Head Cap 1 4 20 005608 4 7 Gasket Door Inner 151045 1 PARTS IDENTIFICATION A B C D 4 5 6 2 3 1 7 ...

Page 39: ...8 Orifice Connector Assy See p 24 3 9 Orifice Igniter Tube 39 See p 24 1 10 Clamp Igniter Tube 085107 3 11 Washer Plain 1 4 005472 8 12 Nut Hex Head 1 4 20 005601 2 13 Screw Truss Head 072189 3 14 Screw Hex Head Cap 1 4 20 005608 13 15 Screw Truss Head 012700 6 16 Orifice Spud Nat Gas 025 152006 1 17 Coupling Full 1 8 NPT 059908 1 18 Connector 1 4 Tube to 1 8 NPT 056899 1 19 Coupling Full 3 8 NPT ...

Page 40: ...PART NUMBER 152797 REVISION A CALL 888 994 7636 FOR TECHNICAL SUPPORT 40 Wiring Diagram ...

Page 41: ...PART NUMBER 152797 REVISION A CALL 888 994 7636 FOR TECHNICAL SUPPORT 41 Ladder Diagram ...

Page 42: ...V D 01 08 PART NUMBER 145702 REV C 01 07 CALL 888 994 7636 FOR TECHNICAL SUPPORT 51 Call 1 800 676 9040 for Technical Support INSTALLING CLEANING AND TESTING Notes PART NUMBER 145702 REV B 7 06 PART NUMBER 152797 REVISION A CALL 888 994 7636 FOR TECHNICAL SUPPORT 42 ...

Page 43: ......

Page 44: ... ENDELL AVIS RIVE s ACKSON 3 s s AX GROEN COM 0 24 5 2 PART NUMBER 152797 REVISION A ...

Reviews: