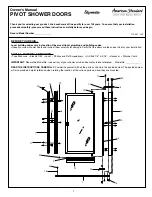
Step 1
• Fold template where indicated.
• Position template on door edge at
desired height, align with operating
Eclipse on opposite door.
• Firmly hold template and mark 4 off
10mm holes centres & 1 off 54mm
hole centre.
Note:
it is important to drill these
holes squarely.
• Drill pilot holes [suggested size
3mm (1/8")]. Then enlarge holes as
per template, drilling from both sides
of the door.
Step 3
To rehand external lever & set lever
operation (if required).
• To rehand, remove the stop screw
and rotate the lever 180˚ and refit
the stop screw.
Step 4
• Fit 4 off mounting screws from inside
into threaded posts.
• Align both face plates to door edge
& each other and tighten screws.
Step 2
• Install 4 off M4 threaded posts to
Eclipse external faceplate
Please note:
Ensure the template
position and orientation is as shown,
incorrect installation voids warranty.
NOTE:
•
carefully follow these instructions when installing.
•
do not overtighten screws.
•
use of power driver is not recommended.
•
fully remove the Trilock prior to painting the door
to avoid harming the product's finish.
PAIT 171
NOV ‘12
Patent Pending
Installation Instructions for Trilock Eclipse Dummy
Suits 35mm to 45mm door thickness
Stop
Screw