Fagor DOUBLE INDUCTION BUFFET WARMER, Руководство пользователя
"Fagor DOUBLE INDUCTION BUFFET WARMER" - надежное устройство для поддержания тепла блюд в гостиницах и ресторанах. Скачайте бесплатное Руководство Пользователя на нашем веб-сайте для ознакомления с функциями и настройками этого удивительного обогревателя буфета. {Website}.
Поделиться
Скачать


Отзывы:
Нет отзывов
Похожие инструкции для DOUBLE INDUCTION BUFFET WARMER
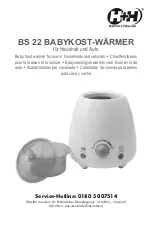
BS 22
Бренд: H+H Страницы: 32

WTBS-2
Бренд: Cadco Страницы: 2

DHWBI Series
Бренд: Hatco Страницы: 28

VS110
Бренд: Rival Страницы: 9

3M-Matic 7000r
Бренд: 3M Страницы: 192

HC-6
Бренд: Taiji Страницы: 8

MD-950 NanoPak Series
Бренд: Van Der Stahl Страницы: 60

SMW12
Бренд: Salton Страницы: 2

Bollente DQ-N01
Бренд: CANGAROO Страницы: 57

OD-0704
Бренд: odass Страницы: 5

H-8013
Бренд: U-Line Страницы: 6

TSP100
Бренд: Oster Страницы: 16

H4-4002
Бренд: McCall Страницы: 2

H-1256
Бренд: U-Line Страницы: 6

423PDW18D1
Бренд: SERVIT Страницы: 12

HC-BW10
Бренд: König Electronic Страницы: 26

UGA-18
Бренд: Hatco Страницы: 2

HYDRO-HEATER FR2-3
Бренд: Hatco Страницы: 2


