


Your Smart Gym Control System has been programmed to match your exact
project, so it should be very user friendly. You operate the system by reading
the on-screen instructions and touching the appropriate buttons. Buttons
react to touch, not pressure, so it is not necessary to push buttons, simply
touch anywhere in the on-screen button to make it react.
Touch pads should be mounted so they have a clear view of all items to be
operated. If there is not a clear view of a device being operated, one or more
additional people should form a communication chain so that the operator
can be warned of any problems. All gym equipment controls are momentary
contact, meaning you must always touch the button in order for the device to
operate.
When operating the Smart Gym Control System, be sure to adhere to the
following procedures or you run the risk of damage to the control system or
devices being operated:
1.
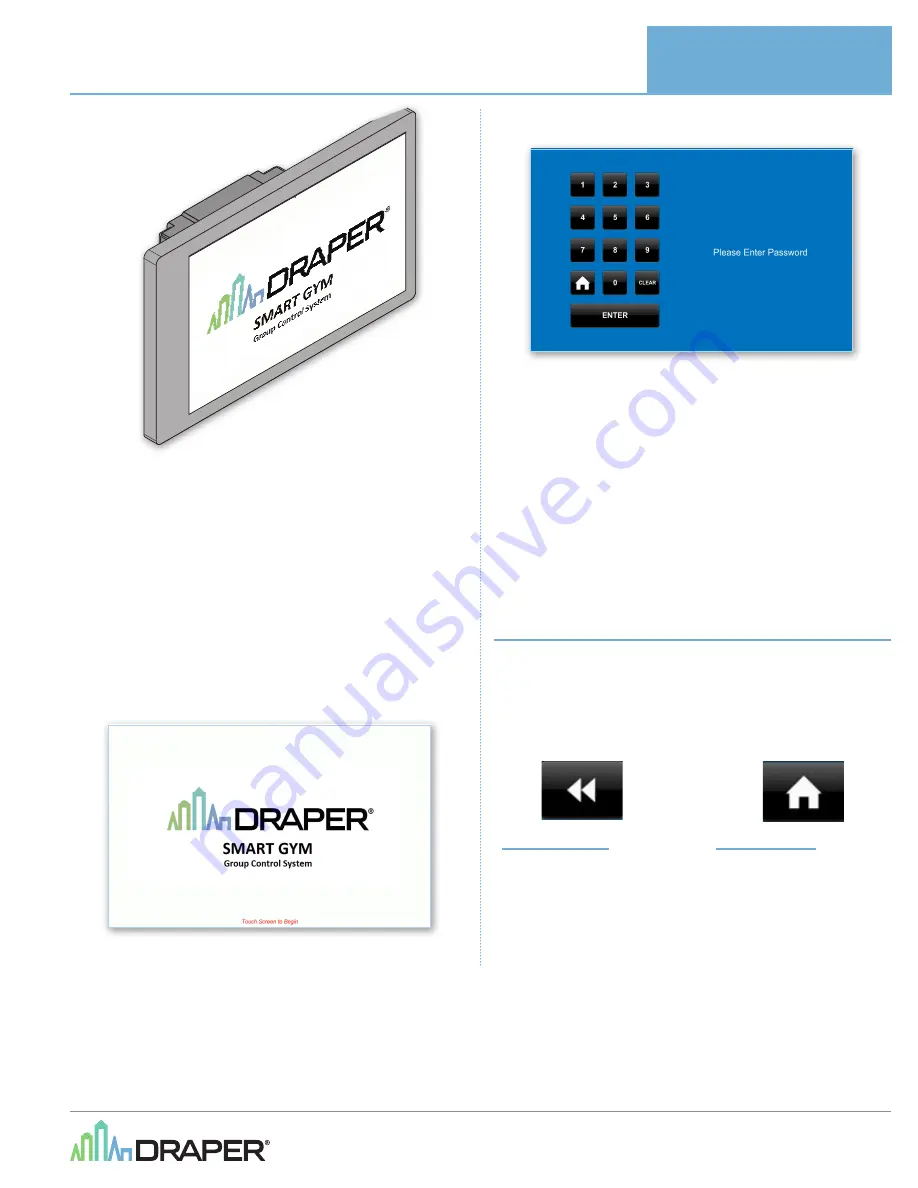
If the Touch Screen is blank, touch the screen to “wake” it up. The initial
welcome screen should be displayed.
2.
Touching the screen a second time will display the Password Entry Screen.
3.
After verifying that all persons in the gymnasium are a safe distance away
from device
(s)
to be operated, enter the appropriate password. Your Smart
Gym is pre-programmed with a default password of 1234. Password should
be immediately changed at the time the system is made operational to
protect against unauthorized usage. Password should never be given to
students or other unauthorized or untrained people and the password
should be changed periodically to ensure security. If password is lost or
forgotten, contact Draper at 800-238-7999 for assistance.
4.
Navigate screens and operate equipment per the guide tha follows.
5.
When finished operating equipment, operator should press the Home
button that is visible on every screen to return the system to the initial
screen. This will prevent unauthorized usage and operation of equipment by
untrained individuals. After about 3 minutes the system will automatically
return to the initial screen.
Smart Gym Navigation and Screens
Following pages are detailed explanation of navigation and operation of
a typical Smart Gym Group Control System. Your Smart Gym has been
programmed for your specific project conditions, so it may not exactly match
the example. However, the basic steps will be the same. You should always
carefully read each screen and make the proper selection based on the
desired operation.There are two specific buttons that are used throughout
every Smart Gym. Below are detailed explanations of each of these buttons.
Return Button
When pressed, the touch screen
will return to the screen that
was viewed prior to the screen
currently displayed.
Home Button
When pressed, the touch screen will
return to the initial screen. You will
need to re-enter the password after
returning to the initial screen
If you have any difficulties installing or servicing your
Graphic Touch Screen, call your dealer or Draper, Inc.
Draper, Inc. | 411 S. Pearl St. Spiceland, IN 47385
draperinc.com | 765.987.7999 | 800.238.7999
© 2018 All Rights Reserved
|
FORM: SmartGym_Op_7&10_Display_Inst18
503339 - 7" Graphic Touch Screen
503340 - 10.1" Graphic Touch Screen
OPERATING
INSTRUCTIONS


