Contex HD iFLEX, User Manual
Get a thorough understanding of your Contex HD iFLEX scanner with the free user manual available for download on manualshive.com. This comprehensive manual covers all the features and functions of the scanner, ensuring you get the most out of your device. Access the manual today for a smooth scanning experience.
Share
Download


Reviews:
No comments
Related manuals for HD iFLEX
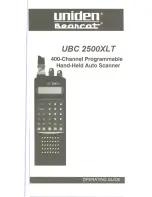
USC 2500XLT
Brand: Uniden Pages: 36

DC9263A
Brand: RIOTEC Pages: 3
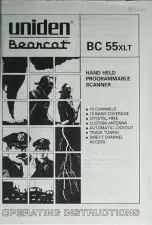
Bearcat BC 55XLT
Brand: Uniden Pages: 20

Drake
Brand: Thor 3D Pages: 2

Q-SCAN
Brand: Konica Minolta Pages: 40

SL1000 Digital Film Scanner
Brand: Konica Minolta Pages: 152

OptiCard 821
Brand: Plustek Pages: 2

SCANNY 4
Brand: Portronics Pages: 2

IRIScan Book 3
Brand: Irislink Pages: 201

FeverWarn FW100
Brand: MachineSense Pages: 16

F-235 Series
Brand: Pakon Pages: 29

DocuMate 510
Brand: Xerox Pages: 135

Xerox DocuMate 4790
Brand: Xerox Pages: 201

Photon 20
Brand: Faro Pages: 87

AstraNET e3420
Brand: UMAX Technologies Pages: 82

CL-FS20
Brand: Camlink Pages: 138

X-431 Torque LINK
Brand: Launch Pages: 83

ImageFormula DR-9080C
Brand: Canon Pages: 366


