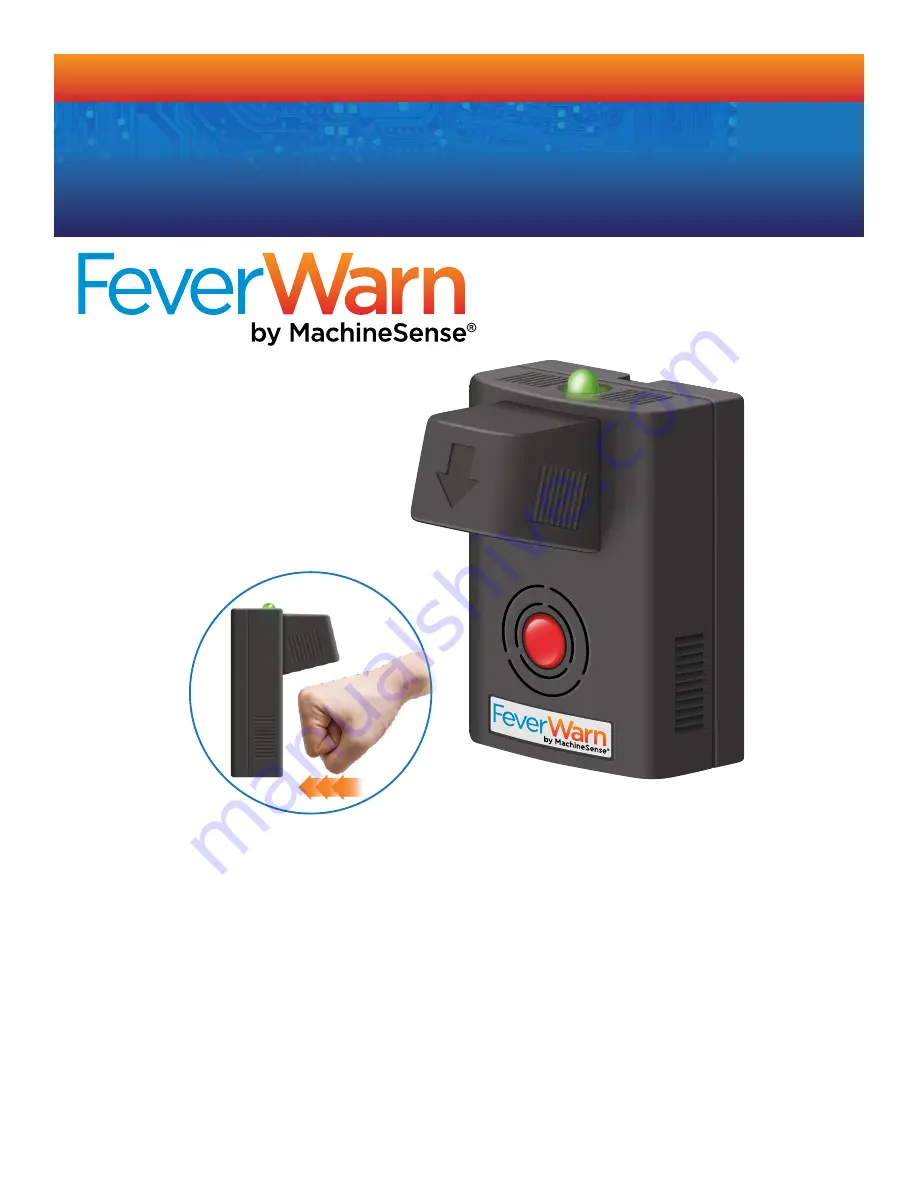
Summary of Contents for FeverWarn FW100

Page 1: ...Contents Overview 2 Unpacking the Box 2 Initial Testing 3 Connecting to the FeverWarn App 4 Using the FeverWarn App 5 8 Setting up Cloud Storage and Retrieval of Scan Information 9 12 Hardware Instal...

Page 2: ...arn customers we suggest you read through the entire document before starting If you have experience with the product and only need specific instructions please use the Table of Contents to navigate t...

Page 3: ...r port on the USB power adapter 3 Your scanner should boot up This process may take as much as two minutes Please be patient 4 After the scanner has finished the bootup process you should see the LED...

Page 4: ...re and search for FeverWarn Mobile Support for Android devices or MachineSense IoT Support App for iOS Apple devices and install it following the directions for your device 2 With the scanner powered...

Page 5: ...you to turn tethering on and since you did this in the previous set of instructions tap NEXT 3 The next screen Figure 10 reads the MAC address and serial number from the scanner There should be a lab...

Page 6: ...ation has been entered correctly you will see the Device On Boarded Successfully screen as shown in Figure 12 Note the Please reboot your device note just below the green circle If you do not reboot t...

Page 7: ...sing the FeverWarn App continued 6 If you have an existing account and want to add a new scanner begin here 7 When opening the app you ll be prompted to log in to your account Fill in the username and...

Page 8: ...d make the necessary connections click the ON BOARD ANOTHER DEVICE button and repeat the last few steps Continue until all your scanners have been onboarded and then tap CLOSE to exit the app IMPORTAN...

Page 9: ...rWarn scanner s permanent location but have WiFi available you can use it to connect your scanner to CrystalBall and send scan data to the cloud NOTE You should have your scanner in the general area o...

Page 10: ...ivated USB tethering as well 7 In the scanner that you re selecting Gate2 in our example click on the CONNECT area which will take you to the Device Details screen Figure 20 8 See the third line on th...

Page 11: ...u should now be connected from your scanner through the USB USB cable to your cellphone and through the internet to the MachineSense CrystalBall cloud Figure 23 Tap NEXT 12 You are now on the Dashboar...

Page 12: ...will take some time please be patient If after two minutes the screen has not changed to show that you are now connected to the chosen network tap the Refresh button in the upper right corner of the...

Page 13: ...the heat source or choose another location for your scanner 2 Once you re satisfied with your mounting location mount the FeverWarn scanner using the included Dual Lock tape to make the attachment to...

Page 14: ...using the included Dual Lock tape It must be close to the scanner so that the included audio cable will reach between the scanner and speaker 2 Connect the speaker to the scanner using the included 3...

Page 15: ...urn from white resting state to blue indicating a warm object person in range After it scans for a second or two the LED will either turn green indicating that you are within the normal body temperatu...

Page 16: ...MachineSense Sales 1 443 457 1165 feverwarn machinesense com www feverwarn com QC FW004 0820...

Reviews: