background image

Introduction

2

E

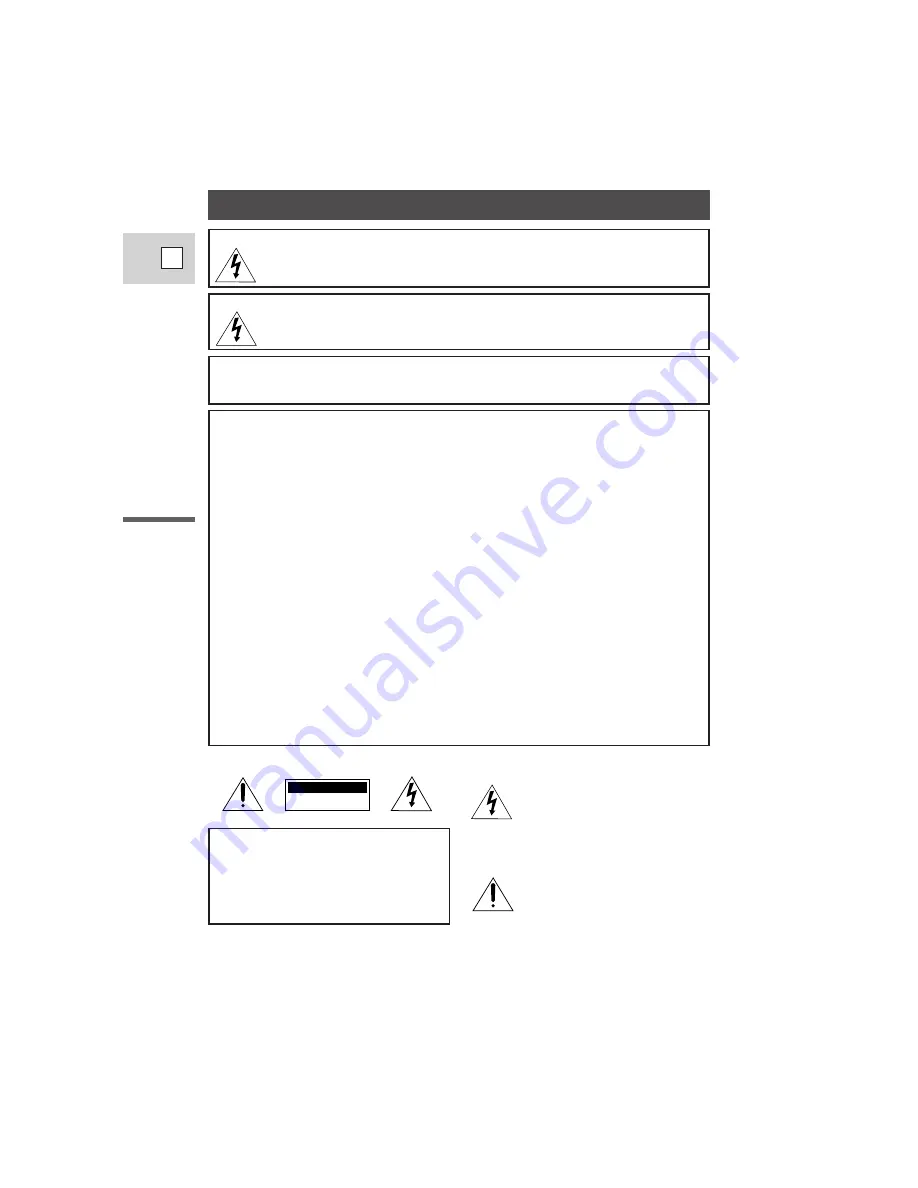
WARNING: TO REDUCE THE RISK OF FIRE OR ELECTRIC SHOCK, DO NOT

EXPOSE THIS PRODUCT TO RAIN OR MOISTURE.

Important Usage Instructions

WARNING: TO REDUCE THE RISK OF ELECTRIC SHOCK AND TO REDUCE

ANNOYING INTERFERENCE, USE THE RECOMMENDED
ACCESSORIES ONLY.

COPYRIGHT WARNING:

Unauthorized recording of copyrighted materials may infringe on the
rights of copyright owners and be contrary to copyright laws.

Important Warning

CAUTION:
TO REDUCE THE RISK OF ELECTRIC
SHOCK, DO NOT REMOVE COVER (OR
BACK). NO USER SERVICEABLE PARTS
INSIDE. REFER SERVICING TO QUALI-
FIED SERVICE PERSONNEL.

The lightning flash with arrowhead
symbol, within an equilateral triangle,
is intended to alert the user to the
presence of uninsulated “dangerous
voltage” within the product’s
enclosure, that may be of sufficient
magnitude to constitute a risk of
electric shock to persons.

The exclamation point, within an
equilateral triangle, is intended to
alert the user to the presence of
important operating and maintenance
(servicing) instructions in the literature
accompanying the product.

CAUTION

RISK OF ELECTRIC SHOCK

DO NOT OPEN

Digital Video Camcorder, ZR

This device complies with Part 15 of the FCC Rules. Operation is subject to the following two
conditions: (1) This device may not cause harmful interference, and (2) this device must accept any
interference received, including interference that may cause undesired operation.

Note: This equipment has been tested and found to comply with the limits for class B digital device,
pursuant to Part 15 of the FCC Rules. These limits are designed to provide reasonable protection
against harmful interference in a residential installation. This equipment generates, uses and can
radiate radio frequency energy and, if not installed and use in accordance with the instructions, may
cause harmful interference to radio communications. However, there is no guarantee that interference
will not occur in a particular installation. If this equipment does cause harmful interference to radio or
television reception, which can be determined by turning the equipment off and on, the user is
encouraged to try to correct the interference by one or more of the following measures:
• Reorient or relocate the receiving antenna.
• Increase the separation between the equipment and receiver.
• Connect the equipment into an outlet on a circuit different from that to which the receiver is

connected.

• Consult the dealer or an experienced radio/TV technician for help.

Use of shielded cable is required to comply with class B limits in Subpart B of Part 15 of FCC Rules.
Do not make any changes or modifications to the equipment unless otherwise specified in the manual.
If such changes or modifications should be made, you could be required to stop operation of the
equipment.

Canon U.S.A. Inc.
One Canon Plaza, Lake Success, NY 11042, U.S.A.
Tel No. (516)328-5600

Summary of Contents for ZR

Page 1: ...nterference received including interference that may cause undesired operation Note This equipment has been tested and found to comply with the limits for class B digital device pursuant to Part 15 of...

Page 2: ...may cause the product and cart combination to overturn 10 Power Sources The CA 600A Compact Power Adapter should be operated only from the type of power source indicated on the marking label If you ar...

Page 3: ...battery and refer servicing to qualified service personnel under the following conditions a When the power supply cord or plug is damaged b If any liquid has been spilled onto or objects have fallen...

Page 4: ...y 47 Adjusting Focus Manually 49 Setting the White Balance 50 For Playback Displaying Data Code 52 Setting the World Clock 53 Returning to a Pre Marked Position 55 Searching the Tape Photo Search Date...

Page 5: ...years to come To get the most out of your new camcorder We recommend that you read this manual thoroughly there are many sophisticated features which will add to your recording enjoyment Getting star...

Page 6: ...ive you outstanding picture quality Advanced digital technology allows you to add special effects and scene transitions to your recordings Digital Video Digital Effects Image Stabilizer PCM Digital So...

Page 7: ...e into an AC outlet 6 Remove the DC coupler after use Place the camera on its side before removing the coupler since the coupler may drop out when you press the battery release knob Slide across the b...

Page 8: ...ower cable into an AC outlet One of the two charge indicators flashes red to show that charging is in progress Single flashes mean that the battery pack is less than 50 charged Double flashes mean tha...

Page 9: ...AC outlet you do not need to remove attached battery packs but charging will not take place until you remove the DC coupler from the adapter You can find detailed notes for using the batteries in the...

Page 10: ...emove the cassette by pulling it straight out 4 Press the PUSH mark on the compartment until it clicks and wait for it to close 5 Click the cover back into place OPEN EJECT 2 3 4 5 Loading and unloadi...

Page 11: ...assettes directly from the tape case to the camcorder do not open the tape protect cover or touch the tape itself Do not use cassettes where the tape has been damaged or rejoined they may damage the c...

Page 12: ...s the camera s Easy Recording program It allows you to simply point and shoot without making any manual adjustments see p 37 2 Slide the MOVIE PHOTO switch to MOVIE 3 Slide the LENS COVER switch to OP...

Page 13: ...tch to CLOSE Return the LCD screen flush to the camera body and replace the LCD cover Unload the cassette Set the POWER switch to OFF Disconnect the power source Notes Make sure that your fingers do n...

Page 14: ...the tape and usage conditions may affect recording mosaic like noise may appear in the image and the sound may be distorted during playback For important recordings therefore set the camera to SP mode...

Page 15: ...zoom control the faster the zoom speed The T and W buttons on the wireless controller adjust the picture angle but not the zoom speed 11 optical zoom D ZOOM ON The zoom control continues to work as us...

Page 16: ...be careful not to leave it exposed to bright sunlight or it may damage the unit or the LCD screen when attached to the camera You may be able to move the Finder Unit out of direct sunlight by changin...

Page 17: ...ss controller When you lift the LCD panel up vertically so that it faces the opposite direction see diagram opposite you can watch yourself during recording or let your subject monitor recording REC R...

Page 18: ...position is usually labelled SAVE or ERASE OFF 1 Attach a power source press down and slide the POWER switch to VCR 2 Load the cassette 3 Press down the e play side of the multi switch to start playba...

Page 19: ...hold the multi switch lever away from the lens during normal fast forward Rewind playback For reverse playback at about 9 5 times normal speed turn and hold the multi switch lever towards the lens dur...

Page 20: ...on to return to normal playback The camera automatically returns to playback after about 30 seconds of slow playback Slow Reverse Playback To play back in reverse at about 1 5 normal speed press the 4...

Page 21: ...t the TV VIDEO selector on the television to VIDEO If you are connecting the camera to a VCR set the input selector on the VCR to LINE VIDEO S VIDEO INPUT AUDIO L R S 150 S video Cable STV 150 Stereo...

Page 22: ...f an attached Docking Unit there will be no output from the AUDIO VIDEO OUT terminal of the camera itself If you are going to use the TV as a monitor while you are shooting remember to keep the TV vol...

Page 23: ...erminal on the RF unit to the antenna input on the TV Use the coaxial cable with F connectors If your TV has flat twin lead cable use the 75 300 ohm adapter Connecting the RF unit TV with coaxial ante...

Page 24: ...wind the wires around the screws Turn the TV on start playback on the camera see p 19 and set the TV and the RF unit to the video channel The video channel is the channel which is not used by a broadc...

Page 25: ...movement you can mount the camera on a tripod or any flat surface at a suitable height and operate it with the wireless controller When you are using a tripod be careful not to leave an attached Find...

Page 26: ...ent or change in picture angle should have a definite purpose Avoid unnecessary or half hearted movements Pan Use pans to record a landscape or follow a moving subject Decide the area you want to cove...

Page 27: ...Backlight p 65 3 Brightness p 65 4 Date and time set p 52 VCR menu q Remote sensor p 31 w Recording mode p 15 e Audio monitor p 63 r Mix balance p 63 t Stereo mono p 23 y Data code p 52 u Date and tim...

Page 28: ...select dial 5 Press the MENU button to close the menu Notes You can only see eight options on the screen at the same time Pointers at the top bottom of the screen indicate that there are more options...

Page 29: ...lizer on or off from the IMAGE S option at the camera menu The i mark appears in the display when the stabilizer is on The image stabilizer cannot be turned off when the POWER switch is set to the Eas...

Page 30: ...eries Remote sensor Inserting batteries Notes When using the wireless controller in brightly lit places or outdoors the effective range will be less The camera may have difficulty picking up the remot...

Page 31: ...year the next part of the display starts flashing 4 Set the months days hours and minutes in the same way Return to the full menu by pressing in the select dial 5 Press the MENU button when finished a...

Page 32: ...recording release the button select a new picture and then press down the start stop button lightly once more If the subject is unsuitable for autofocus p 69 the camera may not be in focus despite dis...

Page 33: ...ing you will enter record search mode directly 3 Turn the select dial to select REC SEARCH 4 Press in the select dial to enter record search mode The record search options appear on the screen Turn th...

Page 34: ...a scene has recorded properly and then go on to shoot the next scene without producing any noise in the picture 1 Make sure the camera is in record pause mode 2 Press and release the c record review b...

Page 35: ...disappears after 4 seconds MENU Selecting from the program menu In addition to setting the recording programs you can turn the digital effects on off and select record search 1 Set the camera to reco...

Page 36: ...indoor outdoor modes 16 9 effect Digital Effects Also autofocus and image stabilization cannot be turned off Notes To leave the menu without making any changes select the RETURN option The program men...

Page 37: ...l for recording high speed sports scenes in brightly lit conditions Normal playback will be slightly jerky but you will get clear images which can be analyzed frame by frame during slow or paused play...

Page 38: ...r glare free recordings of subjects lit by a concentrated light source SPOTLIGHT This program allows you to record in dimly lit places It is generally best used for close ups of slow or stationary sub...

Page 39: ...cording the scene gradually fades in from a black screen When you stop recording it gradually fades out Fade Trigger When you start recording the picture begins as a thin vertical line in the center o...

Page 40: ...1 E Using the Full Range of Features Records a monochrome image with a sepia tint Sepia This effect converts on screen action to a series of still images giving an effect similar to slow motion Strobe...

Page 41: ...es when turned off To turn digital effects of completely choose EFFECT OFF ON for the D EFFECT option at the camera menu Turning your chosen effect on off 1 Put the camera in record pause mode with th...

Page 42: ...to Easy Recording the digital effect is deactivated and its name flashes purple in the display for a few seconds and then disappears When you switch the POWER switch back to P the name of your chosen...

Page 43: ...details of playing back a tape that has new sound on stereo 2 see page 63 For greater creative control over audio recording you can connect an external microphone to the camera via the DU 100 Docking...

Page 44: ...nd noise from interfering with the sound track It does not operate with an external microphone WS is displayed Turn it off when you want the microphone to be as sensitive as possible 1 Open the camera...

Page 45: ...t stop button to end recording Notes Once the countdown has begun press the start stop button to turn it off Cancel the self timer at any stage by switching the power off or sliding the LENS COVER swi...

Page 46: ...ock or exposure shutter speed adjustment when the program selector is set to the Easy Recording position The number flashes in the display when you select the highest possible value in the current sho...

Page 47: ...ord pause mode in the Auto recording program 2 Select the SHUTTER option at the camera menu 3 Turn the select dial up or down to select the shutter speed The camera shows the current shutter speed in...

Page 48: ...at the point set by autofocus AF appears in the display You can now adjust the focus manually Press the FOCUS side of the multi switch again when you want to return to autofocus Focus lock FOCUS EXP...

Page 49: ...mode In daylight especially for close ups and where the subject is of one dominant color WHITE BAL SET 1 Open the camera menu and point the arrow at WHITE BAL 2 a For the Indoor Outdoor or Auto settin...

Page 50: ...alance by first returning to the AUTO setting and then reselecting SET Try to record with light from a single source Correct white balance cannot be obtained for two types of lighting at once You cann...

Page 51: ...A DATA and CAM D T 3 Press the MENU button once more to close the menu Displaying Data Code Notes To avoid accidental recording make sure that you slide the tab on the cassette so that it exposes the...

Page 52: ...recording simply set the time zone the recording was taken in and the camera adjusts the time for you MENU 1 24 1 2 3 4 5 6 7 8 9 10 11 12 13 14 15 16 17 18 19 20 21 22 23 2 3 5 6 7 9 8 10 4 12 11 13...

Page 53: ...recording can be edited to a VCR showing the local time but when editing via the digital terminal only the original date and time can be recorded In this case you need to reset the date and time befo...

Page 54: ...from the display and the time code reappears Notes Press the ZERO SET MEMORY button once more to cancel the zero set memory before you forward rewind the tape The zero set memory may not function corr...

Page 55: ...ture up to a maximum of 10 times e g press the button 5 times to move forward 5 still pictures PHOTO SEARCH DATE SEARCH appears in the middle of the display alongside the or or mark and for photo sear...

Page 56: ...edited tape will be slightly lower than that of the original By connecting the camera to another VCR you can edit your recordings in order to remove unwanted scenes or combine different shots to crea...

Page 57: ...IN appears in the display when you press play on the playback device Then press the a pause button to start pause recording If the cables are not connected properly the camera displays the caution CHE...

Page 58: ...when connecting to equipment not bearing the LANC m symbol m REMOTE terminal Copyright signal Certain pre recorded software tapes are copyright protected If you try to play back such a cassette COPYR...

Page 59: ...fore using it to carry the camera Attach the shoulder strap Remove the LCD cover Remove the cover by pushing it in at the center and pulling it off from the top first If you plan to use the Finder Uni...

Page 60: ...light also flashes The indicator is not constant different levels will be shown when you subject the battery pack and camcorder to different conditions When using the camcorder in cold areas such as s...

Page 61: ...l charge by connecting a power source to the camera overnight You do not need to turn the camera on for charging to take place If you use the camcorder regularly the back up battery will remain charge...

Page 62: ...R see p 28 2 Choose the output Open the VCR menu and point the arrow at A MONITOR Select the output and return to the main menu STEREO1 for just stereo 1 STEREO2 for just stereo 2 MIX FIXED when you w...

Page 63: ...sources of electric or magnetic radiation They may cause picture interference or permanently damage the camera Do not expose the camera to water Cover the camera when you are recording in rain or mis...

Page 64: ...you turn the camera off using the POWER switch LCD Clean the LCD screen using a commercially available glass cleaner Where there is a big change in temperature moisture may form on the surface of the...

Page 65: ...hough you can always play back your recordings on the LCD screen your camera can only be connected to TVs which use its NTSC system This TV system is used in the following countries American Samoa Bah...

Page 66: ...N DETECTED is displayed for approximately 4 seconds Then the power indicator flashes and the h mark flashes in the display If there is a cassette in the camera it stops automatically and REMOVE THE CA...

Page 67: ...The LENS COVER switch is set to CLOSE p 13 You are attempting to play back or record from a copyright protected cassette p 59 The tape heads are badly contaminated p 65 Refer to this checklist first i...

Page 68: ...e g shiny car surfaces Fast moving objects Slanted subjects Dark subjects Night scenes Without much contrast e g a white wall Behind glass Many subjects at different distances Horizontal stripes Note...

Page 69: ...ing p 65 The video heads need cleaning p 65 The TV VIDEO selector on the TV isn t set to VIDEO p 22 If connected using the optional RF unit the video channel has not been selected The screen displays...

Page 70: ...RESET button on the camera body behind the LCD panel using the tip of a ball point pen or similar camera functions return to their default setting Remove the cable and then reconnect it or turn the p...

Page 71: ...Holder TV Antenna SC 1000 Soft Carrying Case DC 600 DC Coupler VL 10Li Battery Video Light FU 100 Finder Unit and Case RU 100 RF Unit S 150 S video Cable STV 250 Stereo Video Cable DU 100 Docking Uni...

Page 72: ...100 RF Unit This optional converter allows the camera to be connected to the antenna terminal of any TV It can be a useful accessory while traveling as you may need it if you want to connect the came...

Page 73: ...900 Use it in place of the DC Coupler that is supplied with the CH 900 This mark identifies genuine Canon video accessories When you use Canon video equipment we recommend Canon brand accessories or p...

Page 74: ...al DC terminal S video terminal MIC terminal LANC terminal DV IN OUT terminal P 58 Strap attachment bar P 60 phones terminal P 44 AUDIO VIDEO OUT terminal P 23 Stereo microphone START STOP button P 13...

Page 75: ...ase switch P 8 MULTI CONNECTOR cover P 22 c record review button P 35 Multi switch lever P 19 51 53 Multi switch P 19 51 53 Select dial P 29 RESET button P 71 MULTI CONNECTOR P 22 MENU button P 29 RES...

Page 76: ...P 19 SLOW button P 21 START STOP button P 13 MENU button P 29 TV SCREEN button P 78 DATA CODE button P 52 REW button P 20 button P 21 PAUSE button P 20 START STOP ZOOM W T ZERO SET MEMORY SEARCH SELE...

Page 77: ...5 mins Yellow less than 5 mins Red final few secs finally it tells you when you have completely run out of tape The camera is ejecting the tape p 11 The safety mechanism is activated Unload the casset...

Page 78: ...zer is turned on p 30 Camera menu p 28 VCR menu p 28 Program menu p 36 The remote sensor is turned off p 31 Self timer countdown p 46 Audio mode p 44 Data code p 52 5 5 2 2 1 1 PHOTO SEARCH DATE SEARC...

Page 79: ...mode p 33 Setting the AF AE mark flashes white AF AE locked mark lights up green Record search p 34 Recording programs p 36 Manual exposure display p 47 Exposure locked Brighter than standard exposure...

Page 80: ...automatically when a new tape is loaded Appears each time you turn the power on until you set the date and time p 32 Appears when the battery pack is exhausted p 9 61 Appears when the tape has reached...

Page 81: ...Canon Inc Using the DU 100 Docking Unit supplied Specifications ZR BP 608 Battery Pack Power Supply rated 7 2 V DC Power Consumption while recording with the AF turned on 5 9 W Television system EIS...

Page 82: ...to TV or VCR 22 D Date and Time 32 Date Search 56 Docking Unit 22 Displaying Data Code 52 DC Coupler 8 Digital Effects 40 Digital Video 7 Digital Zoom 16 DV terminal 58 E Easy Recording 37 Editing 57...

Page 83: ...1 Remote Sensor 31 Rewind 20 S Sand Snow 39 Screen Displays 78 Scroll 40 Self Timer 46 Sepia 41 Shoulder Strap 60 16 9 43 Specifications 82 Sports 38 Spotlight 39 SP Modes 15 Storage 64 Strobe 41 S vi...

Page 84: ...all defects encountered in normal use of the DV Camcorder and does not apply in the following cases a Loss of or damage to the DV Camcorder due to abuse mishandling improper packaging by you alteratio...

Page 85: ...gital video equipment is used for commercial professional or industrial purposes This limited warranty does not cover the cabinet exterior finish of the digital video equipment video cassette tapes he...

Reviews: