


Thank you for purchasing this
controller. Please take a few minutes
to read this quick installation guide
before you install the controller.
ATTENTION:
Perform all installation work at
an electrostatic discharge (ESD)-
safe workstation that meets the
requirements of EIA-625,
Requirements for Handling
Electrostatic Discharge Sensitive
Devices
. You must perform all
actions in accordance to the
latest revision of the IPC-A-610
ESD-recommended practices.
MegaRAID® SAS 9361-24i RAID Controller
Quick Installation Guide
Overview
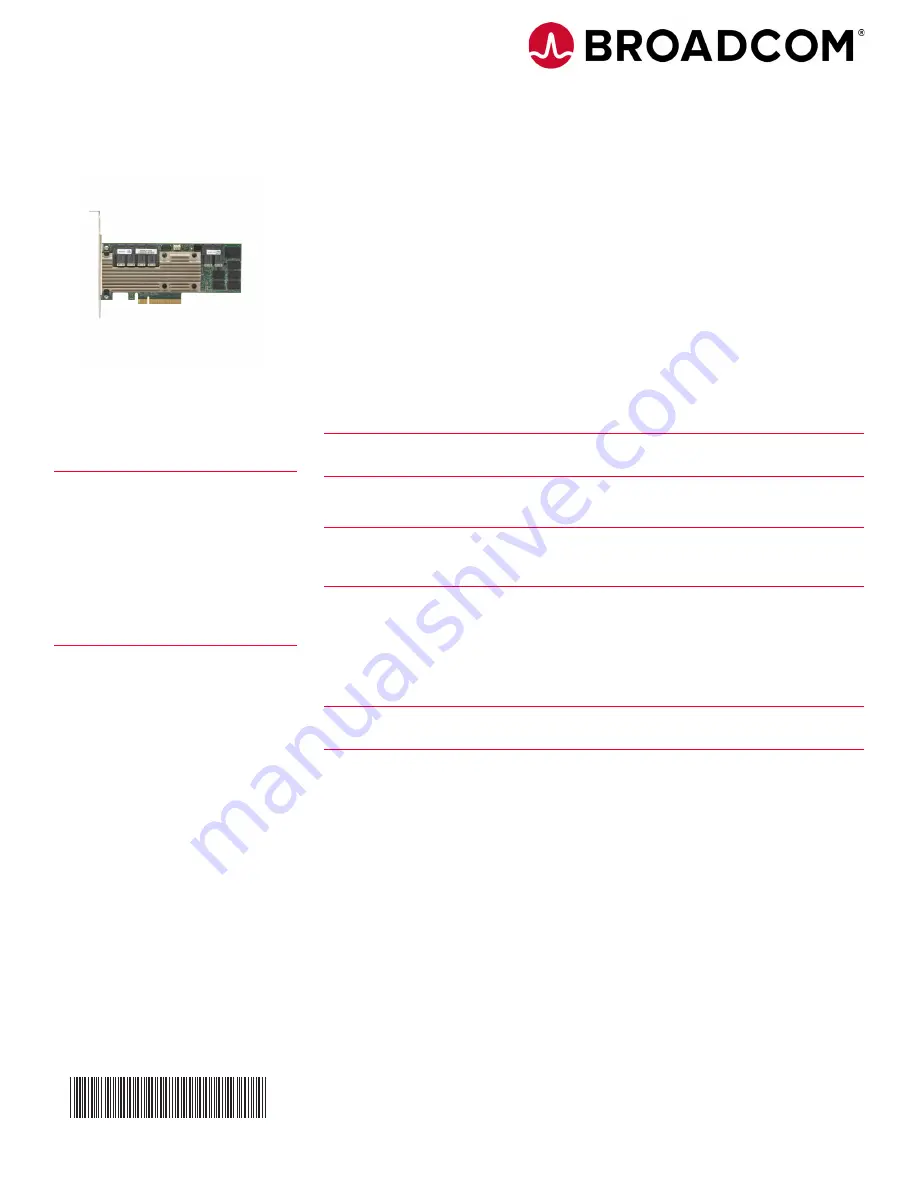
The MegaRAID® SAS 9361-24i RAID controller is a PCI Express (PCIe) 3.0, low-profile controller with RAID
control capability, based on the SAS3324 RAID On-a-Chip (ROC) device. The controller uses 4 GB of DDR3
1866-MHz memory and controls 24 internal Serial Attached SCSI (SAS)/Serial Advanced Technology
Attachment (SATA) ports through six SFF-8643 mini-SAS HD internal connectors. The MegaRAID SAS
9361-24i RAID controller supports data retention by using NAND flash memory down on the controller,
backed up by a CacheVault Power Module 02 (CVPM02).
Installing the MegaRAID SAS 9361-24i RAID Controller
To install the controller, follow these steps:
1.
Unpack the controller.
Unpack the controller in a static-free environment. Remove it from the
antistatic bag, and inspect it for damage. A low-profile bracket is included with the RAID controller. If you
notice any damage, contact Broadcom or your reseller support representative.
ATTENTION:
To avoid the risk of data loss, back up your data before you change your system
configuration.
2.
Prepare the host computer.
Turn off the host computer, and unplug the power cords from the
rear of the power supply.
CAUTION: Disconnect the computer from the power supply and from any networks to which you
will install the controller, or you risk damaging the system and experiencing electrical
shock.
3.
Remove the cover from the host computer.
4.
Insert the controller into an available PCIe slot.
Locate an empty x8 PCIe slot adequate for your
controller. Remove the blank bracket panel on the rear of the computer that aligns with the empty PCIe
slot. Save the bracket screw, if applicable. Align the controller to the PCIe slot. Press down gently, but
firmly, to seat the controller correctly in the slot. The following figure shows how to insert the controller
into a PCIe slot.
NOTE: The shape, size, and locations of the components on the controller and its bracket might vary
from this illustration. The controller requires a x8 PCIe slot.
3-03578
5972-4859-P0


