


bab
yjogger
.com
This child restraint system conforms to all applicable
Federal motor vehicle and safety standards.
This child restraint conforms to
ASTM F2015:13a and 16CFR1225.
Este sistema de retención infantil cumple con todas las
leyes y normas de seguridad vigentes. De acuerdo a la
ASTM F2015:13a and 16CFR1225.
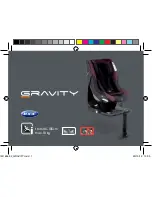
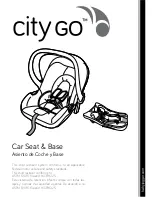
Car Seat & Base
Asiento de Coche y Base