INSTANT DVD 2.0 Page 16
INSTANT DVD 2.0 Page 17
8. Installation Summary
By now you should have completed the following:
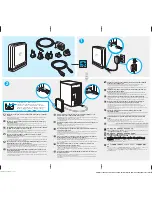
1.) Made all of the Audio and Video connections between Instant DVD and your Audio/Video equipment.
2.) Connected Instant DVD to the Power Supply and USB Port on your PC.
3.) Installed USB drivers and verified the device is properly installed
4.) Installed all necessary software applications required for proper operation.
5.) Now you are ready to Start Making DVD Movies.
8. Start Making DVD Movies
Now you are ready to start capturing video. We have created the Capture Wizard application to allow you to quickly
capture and export video on your PC without learning how to edit video or author a DVD. Use the Capture Wizard
application to test video capture and playback of video before moving on to Video Studio 7 or DVD Movie Factory.
We have created a simple getting started Wizard that allows you to verify your connections and make the proper
setup choices before capturing video.
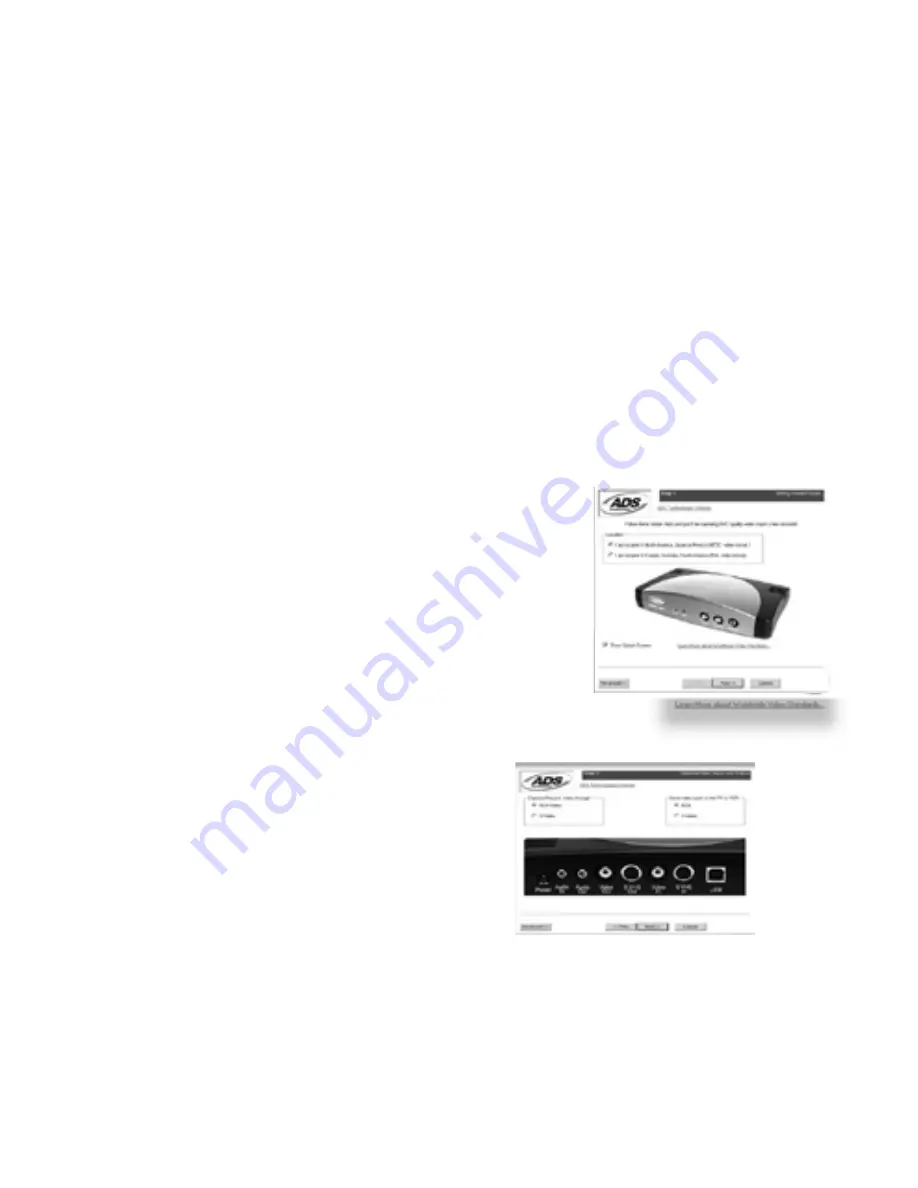
USB Instant DVD Capture Wizard
Step One: Open Cap Wiz.
Click the Cap Wiz icon on your Desktop
Or Click “Start” -> “Programs” -> “ADS Tech Instant DVD” and click on
“Capwiz”
Choose worldwide video standard based on country – For Users in North
America, you will select NTSC. For Users in Europe and many other coun-
tries you will select PAL.
For more information on these standards, click on “Learn more about world-
wide video standards”
Step Two: Select Video Inputs &Outputs
Choose RCA or S-Video based on your video source