


Reviews:
No comments
Related manuals for CDT861M-NEW
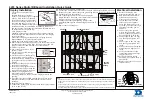
4203 Series
Brand: Daktronics Pages: 2

D-LCH75-MC410-B
Brand: Dahua Technology Pages: 23
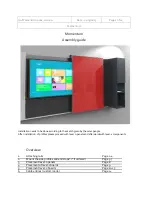
Momentum
Brand: Vanerum Pages: 14
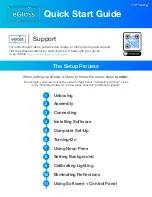
eGlass
Brand: pathway Pages: 13

H-7805
Brand: U-Line Pages: 9
MES2436
Brand: EGAN Pages: 2
Quartet InvisaMount Glass Board
Brand: ACCO Brands Pages: 7
CS7-CLR-DBL
Brand: Copernicus Pages: 10
WHBM2840
Brand: Displays2go Pages: 3
VIP Mobile flip chart
Brand: BORKS Pages: 2
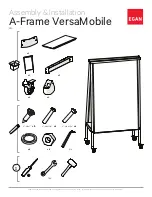
A-Frame VersaMobile
Brand: EGAN Pages: 5

i3SIXTY
Brand: i3-TECHNOLOGIES Pages: 9
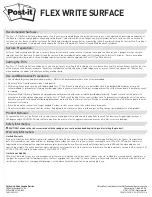
Post-it Flex Write Surface
Brand: 3M Pages: 4

ZK-IWBP
Brand: ZKTeco Pages: 41

QuicKISS
Brand: BENDHEIM Pages: 2
Prest Mobile
Brand: Ghent Pages: 2
945-238
Brand: Jula Pages: 7
Presenter P-40
Brand: Da-Lite Pages: 8


