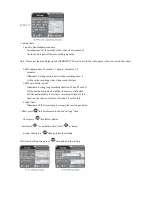
Note: in the state of this mode, you can short press the " led light
" to turn on the light, can be used as a USB
table lamp.
10. PC camera function
> Install the CD driver software at the computer.
> Turn on the camera, after the vibration stopped, please
connect it with the computer, at that time, a " camera" Icon
will be appeared in "my computer", it enters into PC camera
function.
> Using the " third-party" applications software can also view
real-time video of PC camera and save real-time video into
the local computer, e.g. Amcap etc.
Note: in the state of this mode, you can turn on the white LED lights for a better image effect.
11. Charging
> Put the matched AC adaptor into socket, then connect with
camera for Li-battery recharging. The red indicator turns on
when charging, it turns off after the battery is full charged.
The charging time is about 3 hours.
> To avoid the charge time be longer, it is proposed to charge
with the adapter, and the
computer charging is not
recommended.
Note: After connect with charger, camera will turn off automatically after 3 minutes, it's still charging after turns
off.
12. Taking video when charging
Put the AC adaptor into socket, then connect with camera, the camera will turn on automatically and enter into the
standby mode. The red light will constantly on indicating it's charging. In the mean time, each function is still
available for operating.
Note: when the camera turns off automatically, if you want to use it again, disconnect the camera from the adaptor
for about 5 seconds and then connect it again, the camera will restart
13
.
TV-out function
> Please connect the plug of 2.5' AV cable with the camera’s
TV-OUT port, the yellow plug connect with TV video input
port(yellow), white plug connect with TV audio input
port(white). Please set the signal input according to the user
manual of TV.
> Turn on camera, after few seconds, the red and blue light
turn on at the same time, the last photo or video will be
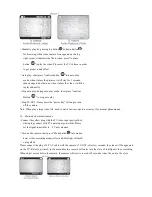
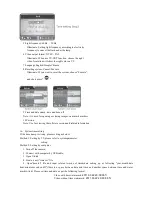
appeared on the TV. The interface is shown as picture 1.


