Chapter 8 Wireless LAN
WAP5805 User’s Guide
49
Note: If you are configuring the WAP5805 from a computer connected to the wireless LAN
and you change the WAP5805’s SSID, channel or security settings, you will lose
your wireless connection when you press
Apply
to confirm. You must then change
the wireless settings of your computer to match the WAP5805’s new settings.
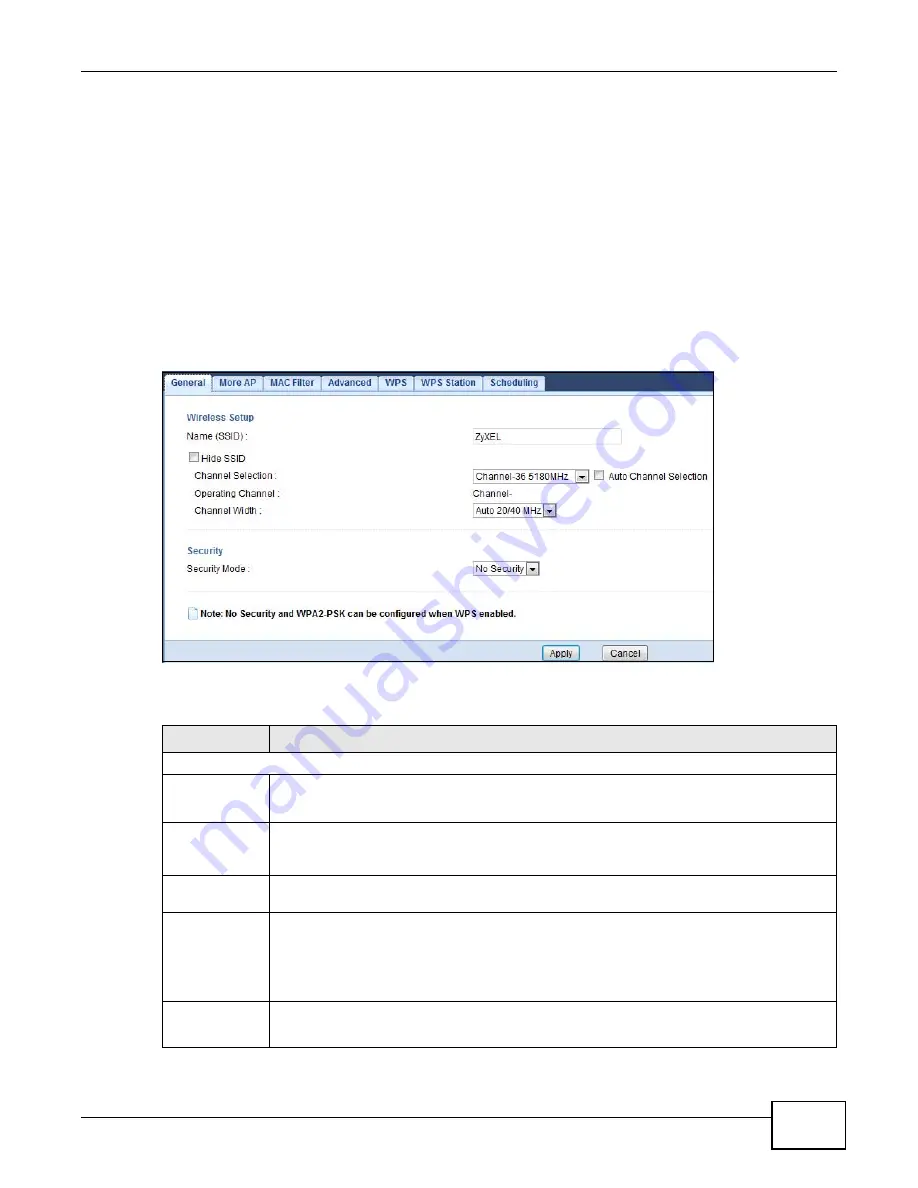
Use this screen to select the wireless security mode for each SSID.
Click
Configuration > Network > Wireless LAN
to open the
General
screen. The screen varies
depending on what you select in the
Security Mode
field. Select
No Security
to allow wireless
clients to communicate with the access points without any data encryption.
Note: If you do not enable any wireless security on your WAP5805, your network is
accessible to any wireless networking device that is within range.
Figure 27
Configuration > Network > Wireless LAN > General
The following table describes the general wireless LAN labels in this screen.
Table 16
Configuration > Network > Wireless LAN > General
LABEL
DESCRIPTION
Wireless Setup
Wireless LAN
This is turned on by default.
The current wireless state is reflected in this field.
Name (SSID)
The SSID (Service Set IDentity) identifies the Service Set with which a wireless client is
associated. Enter a descriptive name (up to 32 printable characters found on a typical
English language keyboard) for the wireless LAN.
Hide SSID
Select this check box to hide the SSID in the outgoing beacon frame so a wireless client
cannot obtain the SSID through scanning using a site survey tool.
Channel
Selection
Set the operating frequency/channel depending on your particular region.
Select a channel from the drop-down list box. The options vary depending on the frequency
band and the country you are in.
This option is only available if
Auto Channel Selection
is disabled.
Auto
Channel
Selection
Select the check box to have the WAP5805 automatically scan for and select a channel
which is not used by another device.
Summary of Contents for WAP5805
Page 8: ...8 PART I User s Guide...
Page 9: ...9...
Page 30: ...30 PART II Technical Reference Expert Mode...
Page 31: ...31...


