background image


How to start the software 


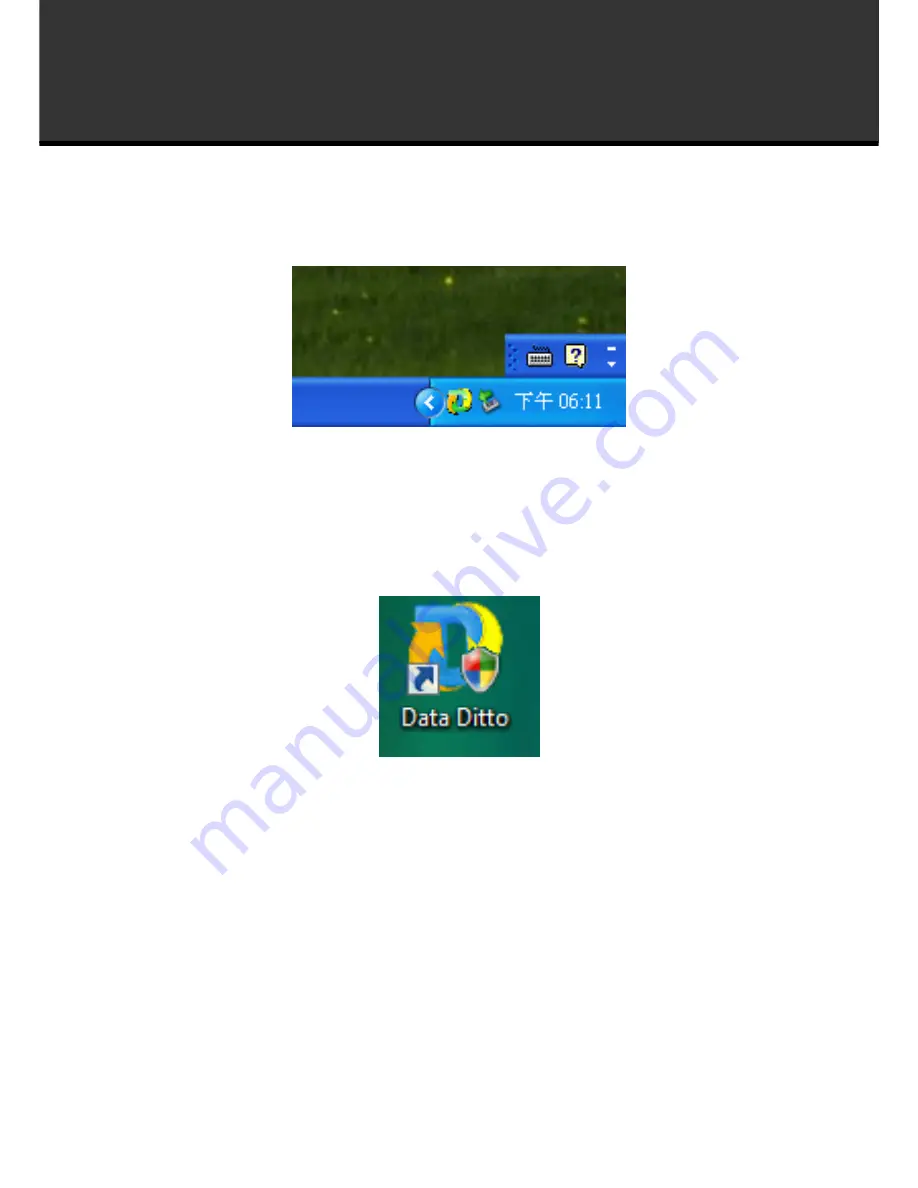
For Windows XP 

After restarting system from finishing software installation, the software will auto start and you 

will find a icon appear in tray bar as below: 


For Windows Vista   

After restarting system from finishing software installation, you will find a shortcut on the desktop 

as below. 

Double-click it to start the software. 


Summary of Contents for ZNS8022 - SOFTARE

Page 1: ......

Page 2: ...1 Please connect ZNS8022 to your PC after finished assembly 2 Insert Installation CD to your CD ROM drive and initiate the auto run program The wizard will run and install all necessary files to your...

Page 3: ...2 How to install the software of ZNS8022 4 Click YES to accept the License Agreement Or click No to cancel the installation 5 Select a language to install then click OK to continue...

Page 4: ...3 How to install the software of ZNS8022 6 Select I accept then click Next 7 Select the path to install DriveClone then click Next...

Page 5: ...4 How to install the software of ZNS8022 8 Click OK to continue the installation process 9 Click Restart Now and you can operate ZNS8022 after restarting the PC...

Page 6: ...shing software installation the software will auto start and you will find a icon appear in tray bar as below For Windows Vista After restarting system from finishing software installation you will fi...

Page 7: ...File Backup immediately or delete the job that is no longer required Refer to Schedule of File Backup for details 2 Enter a name for your new job 3 Select the file s you want to back up You can also...

Page 8: ...nter the File Type Extension and File type description Click Browse to add file type icon Click Add Group to create a new file type group b Remove File Type Click to delete the file type you don t wan...

Page 9: ...y The shortest time interval is 1 day The longest time interval is 7 days You can also view details of your backup run System Snapshot or delete a backup Refer to Schedule of File Backup for details O...

Page 10: ...ect a location on the network you may be prompted to provide a username and password If your system does not respond when you try to save disk image to a network location please contact your network a...

Page 11: ...to specify Schedule Settings By doing so you can choose to repeat the update the image at a certain time of the day based on pre set time interval The shortest time interval is 1 day The longest time...

Page 12: ...lick the drive entry only 6 Click OK to begin the restoration process Or click Cancel to return to Main Console 7 Click Finish to complete the restoration process b Restore Files To restore file s ple...

Page 13: ...lder is selected click Choose a folder to specify a folder on your local hard drive to contain the restored files The restored files will be kept in their original folder hierarchy 4 Click Start Resto...

Page 14: ...on you need to have at least two hard drives on your PC The target hard drive should have enough space to store the data of the source hard drive 1 Select Clone and then click Clone Drive 2 Select the...

Page 15: ...tition 2 Select the Source Hard Drive and then select a Source Partition top pane NOTE If there is only one hard drive installed in a PC you can skip the drive selection step and proceed to selecting...

Page 16: ...artition s of any hard drive s You can select to image one or more partitions from a hard drive simultaneously If you prefer to back up the entire hard drive select a source hard drive instead of part...

Page 17: ...discs It will prompt you to insert another disc when needed If there are some data on the disc you will be asked whether you wish to erase the disc If you want to continue click Erase Click Change to...

Page 18: ...number and click OK to begin restoration 5 Click OK to complete the process and restart your computer c Start up Disc c 1 Create Start up Disc 1 Click Start up Disc to start creating the start up disc...

Page 19: ...ves with Complete Backup image d 2 Schedule 1 Schedule of Back Up My Computer You must first create a complete backup of your system prior to see the following functionalities 1 1 Detail View detailed...

Page 20: ...he scheduled backup time Data Ditto will start the back up process according to the pre set schedule 2 Schedule of File Backup 2 1 Detail View the detailed information about the backup jobs you have c...

Page 21: ...ctory pagefile sys and files in _ temp directory c Hiberfil sys d Files with the extension named with rit and tmp e Temporary files of Word f Files in Data Ditto 3 Pro s Setup folder g Files in Backup...

Reviews: