137
10.4 Cloud Service Settings
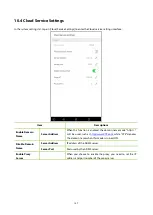
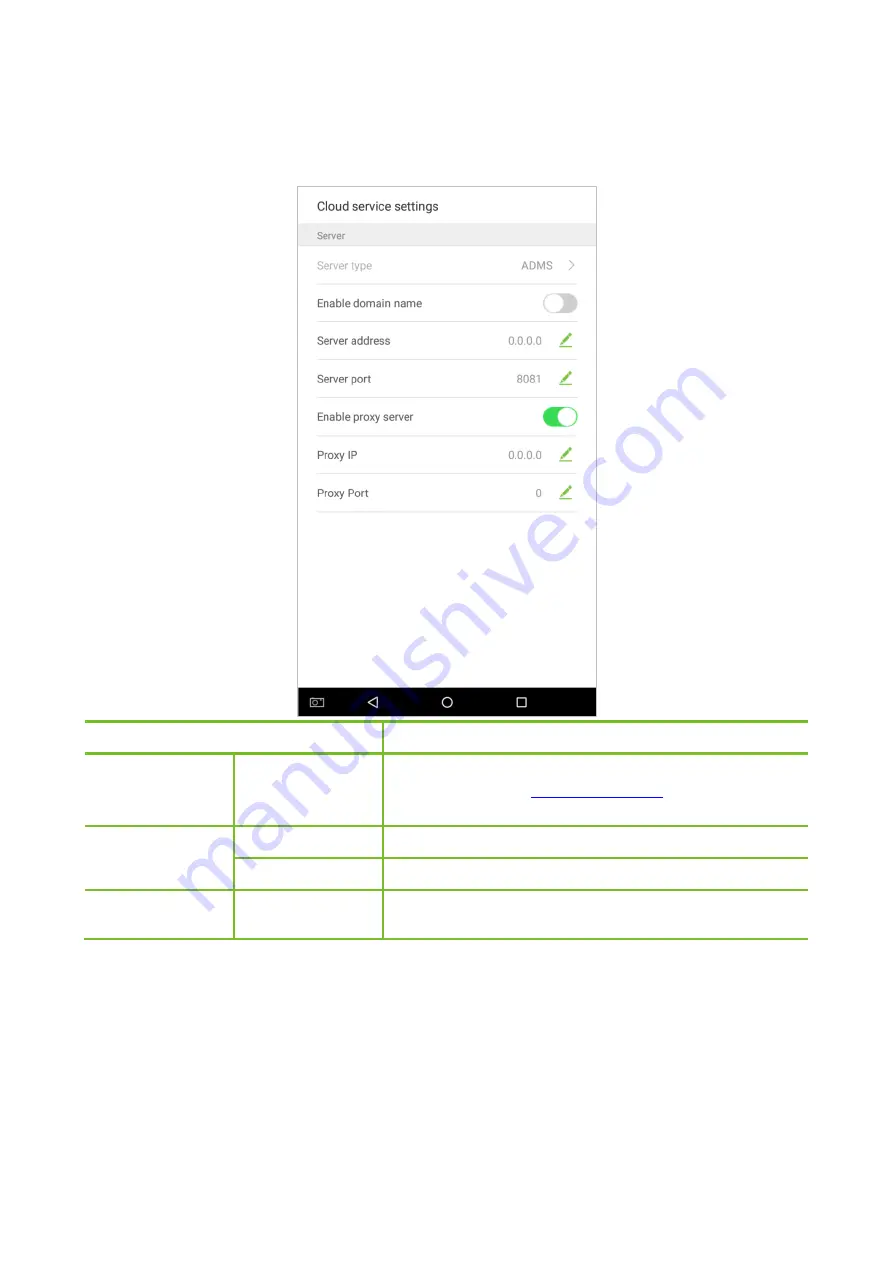
In the system settings list, tap on [Cloud Service Settings] to enter the Cloud service settings interface:
Item
Descriptions
Enable Domain
Name
Server Address
When this function is enabled, the domain name mode “http://...”
, while “XYZ” denotes
the domain name when this mode is turned ON.
Disable Domain
Name
Server Address
IP address of the ADMS server.
Server Port
Port used by the ADMS server.
Enable Proxy
Server
When you choose to enable the proxy, you need to set the IP
address and port number of the proxy server.
Summary of Contents for SpeedFace Series
Page 1: ...General User Manual Visible Light Face Recognition Version 1 0 Date December 2018...
Page 10: ...5 Change the theme 1 Tap on Choose theme and select a theme at the bottom of the interface...
Page 11: ...6 2 After the theme was set successfully it will be displayed on the standby interface...
Page 13: ...8 2 The wallpaper is set successfully and displayed on the standby interface...
Page 15: ...10 2 Verification is failed...
Page 17: ...12 2 Look at the camera make sure your face stay in the center of the camera...
Page 18: ...13 3 Successfully verified...
Page 19: ...14 4 Verification is failed...
Page 21: ...16 Verification is failed...
Page 24: ...19 2 Press the finger on the fingerprint reader to proceed with verification...
Page 25: ...20 3 Successfully verified...
Page 26: ...21 4 Verification is failed...
Page 29: ...24 2 Enter a password and press OK...
Page 30: ...25 3 Successfully verified...
Page 31: ...26 4 Verification is failed...
Page 34: ...29 2 Successfully verified...
Page 39: ...34 2 Tap on Start on the employee creation wizard...
Page 44: ...39 4 Tap on the rightwards arrow to complete adding the photo...
Page 51: ...46 Tap on to encrypt the password tap on to make the password visible as shown below...
Page 54: ...49 Press Delete Overwrite in the dialog window that pops up...
Page 55: ...50 Click Done after the registration a new employee is created successfully...
Page 59: ...54 2 Select Verification Mode and then select a verification mode...
Page 65: ...60 2 Automatically finds employees with information that is relevant to the search query...
Page 66: ...61 3 3 Edit an Employee 1 Select an employee on the employee list...
Page 72: ...67 2 In the attendance event creation wizard tap on Start...
Page 75: ...70 4 Successfully created...
Page 76: ...71 4 2 Edit Attendance Events 1 Select an employee attendance event...
Page 79: ...74 2 A window will appear Tap on OK...
Page 80: ...75 3 The event is now deleted and will not appear on the list...
Page 84: ...79 1 Enter the number of time rule maximum 50 rules in the search bar...
Page 90: ...85...
Page 93: ...88 3 Automatically finds the employees with information that is relevant to the search query...
Page 96: ...91 2 Enter the Employee photos interface...
Page 98: ...93 5 Show search results...
Page 105: ...100 2 Set Time select Hour and Minute...
Page 107: ...102 4 Tap on the Bell button and a window will pop up Select a ringtone and tap on OK...
Page 109: ...104 9 2 Edit Alarms 1 Select an alarm from the alarm list...
Page 113: ...108 3 A window will appear Tap on OK...
Page 114: ...109 4 The event is now deleted and will not appear on the list...
Page 122: ...117 2 Tap on Set Time and swipe up and down to set the hour and minute Tap on OK...
Page 123: ...118 10 2 2 Date and Time Format Settings 1 Tap on Date Format and select a date format...
Page 128: ...123 3 Set the time When the Repeat daily switch is turned on the following will display...
Page 129: ...124 4 Tap on the Time button and swipe up and down to set the corresponding time Tap on OK...
Page 130: ...125 5 When the Repeat Daily switch is disabled the following will display...
Page 134: ...129 2 In the Fixed mode selection menu select the attendance status that you would like to set...
Page 135: ...130 Set this mode to disabled 1 Select the Status Mode as Disable mode...
Page 139: ...134 10 3 4 Verification Settings Configure settings for attendance verification parameters...
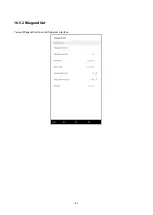
Page 145: ...140 10 5 2 Wiegand Out Tap on Wiegand Out to enter the below interface...


