


F18 User Manual V1.0
- 30 -
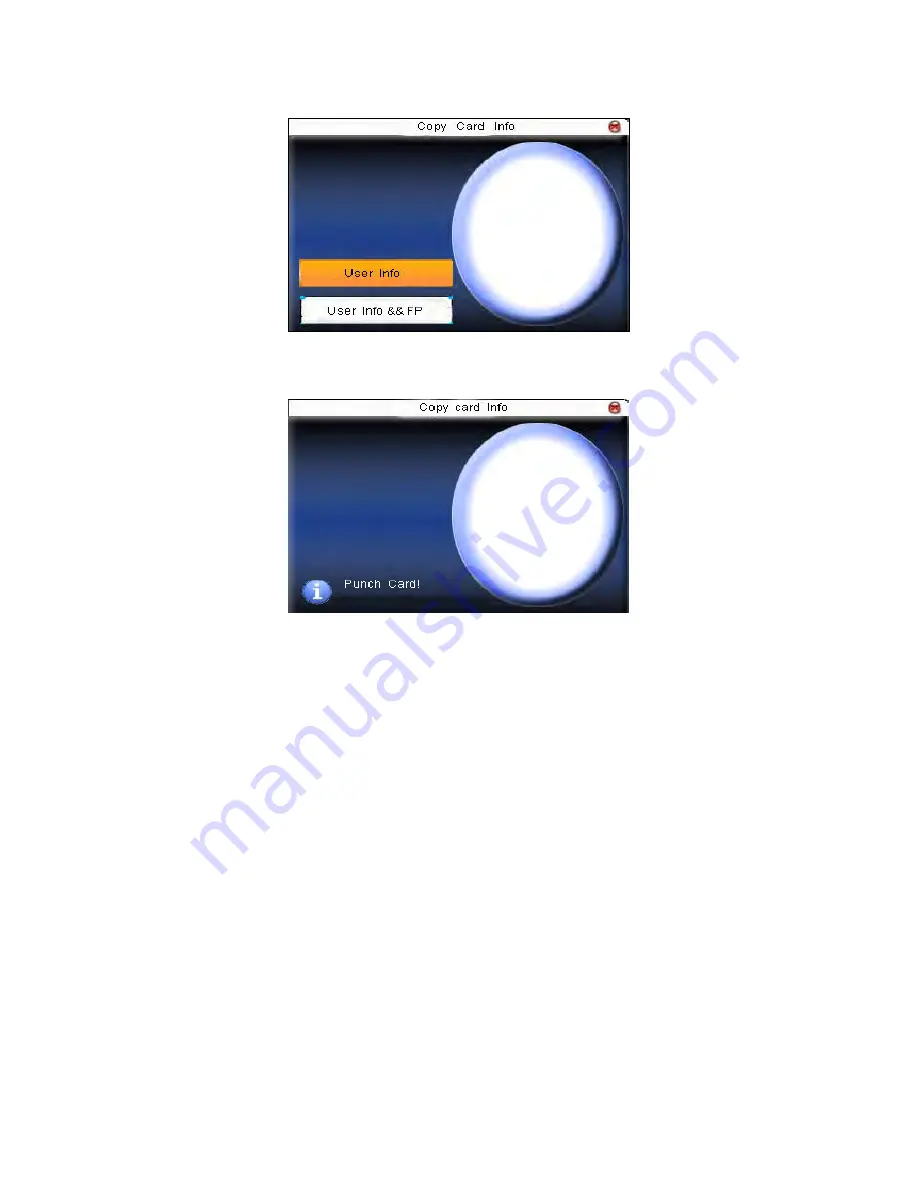
Press
▲
/
▼
to select “only copy user information” or “copy user
information and fingerprint”, and then press
OK.
2.3.5 Set card parameter value
Set password of Mifare card and decide whether the information should
be saved or not.
Fingerprint card password: After the password is set, the device will
write password into the enrolled fingerprint card. Then the fingerprint
Summary of Contents for F18
Page 2: ......
Page 4: ......
Page 8: ......
Page 83: ...Error Use the Home tab to apply 1 to the text that you want to appear here 75...


