background image


Page  26


Note:   

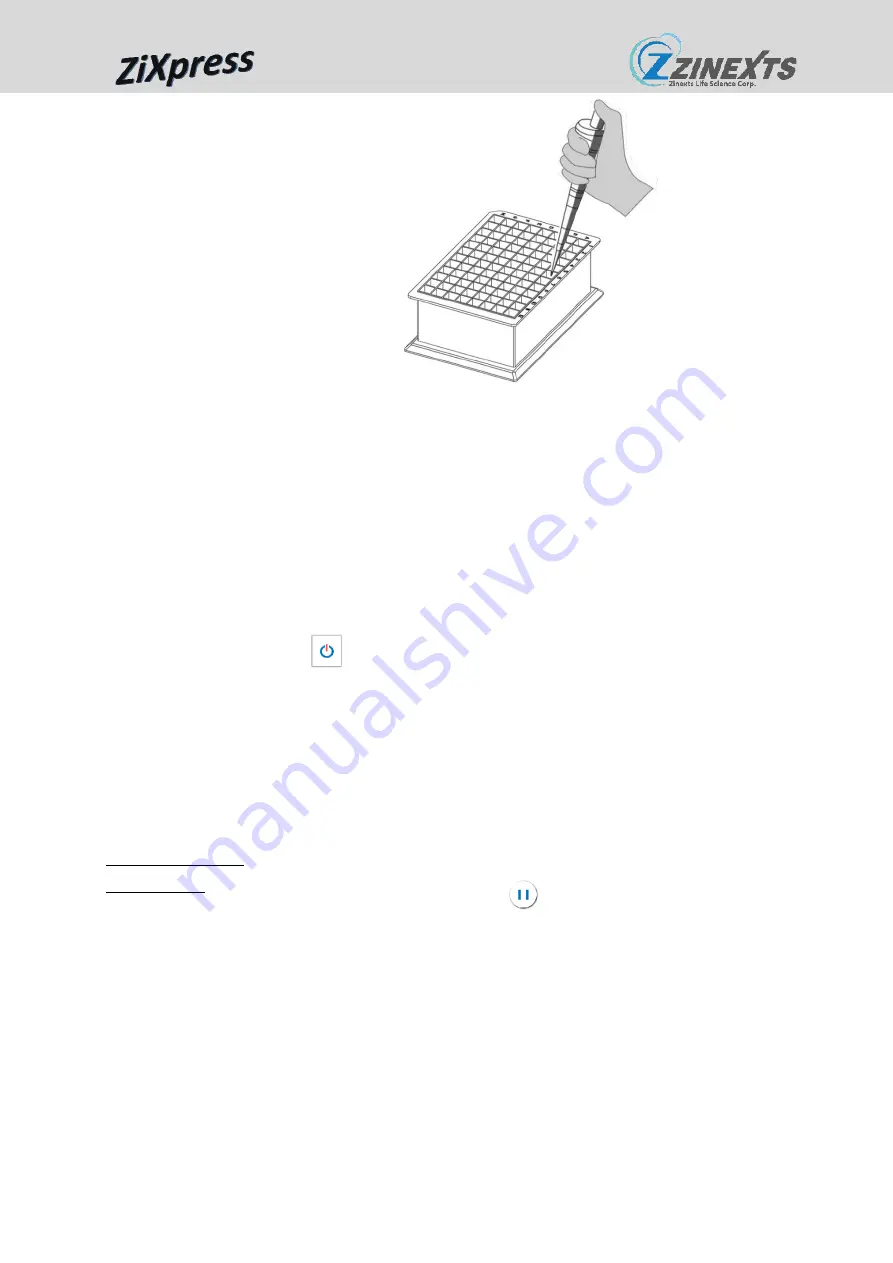
Store the purified nucleic acid at 4°C (short-term, less than 
10 days) or aliquot and store at -70°C (long-term) before 
performing any downstream analysis. 


(12) 

Discard the used consumables into biohazard waste. 


(13) 

If you are not using the instrument in short-term, press 

  button to get into “sleeping mode”. 


Pause & Restart 
Procedures 

(1) 

If you want to stop / pause the procedure during the 

operation, please press 

  button. 

Summary of Contents for ZiXpress 32 Dx system

Page 1: ...d Purification System ZiXpress 32 Dx system Catalog No ZP01021 Rev Date 13 05 2022 Manual No QW IH01 06 Version 1 3 Instruction Manual Obelis s a Bd G n ral Wahis 53 1030 Brussels Belgium Tel 32 2 732...

Page 2: ...nvironment Requirements 6 2 4 Dimension and Weight 7 3 Instrument Overview 8 4 Installation 10 4 1 Composition of the ZiXpress DX32 system 10 4 2 Operating Environment Conditions 12 4 3 Initial Settin...

Page 3: ...x system the majority of nucleic acid purification processes will be done automatically inside of ZiXpress 32 Dx system it dramatically reduce the human error and use the lab force much more efficient...

Page 4: ...ors damage or other unexpected events resulting from miscarried following safety guideline Safety Symbols Labels Safety The meanings of safety precaution marks are as follows Warning WARNING indicates...

Page 5: ...each If you heard or smelled anything during the operation please immediately disconnect the power and contact your local representative agent Caution Never attempt to remodel the ZiXpress 32 Dx syste...

Page 6: ...lways wear appropriate gloves a mask and safety goggles etc when handling any infectious samples About Infectious Wastes When handling or disposing of infectious materials follow the laboratory guidel...

Page 7: ...ples per batch Consumable 2 2 ml 96 Deep Well Plate Collection Efficiency 100 copies mL positive detecting rates 95 Inter Well Purification Accuracy CV 3 Heat Block Temperature Room temperature to 80...

Page 8: ...Page 7 Dimension Weight Dimensions 438 x 360 x 499 mm Weight 25 kg EMC EN61326 1 Safety EN60101 1 EN60101 2 Transportation Environment temperature 20 55 C Relative humidity 80...

Page 9: ...Page 8 INSTRUMENT OVERVIEW Front view Rear view Touch Panel Handler Door Window Power inlet Fixing block sensor USB Port Rear cover Power switch...

Page 10: ...Page 9 Inside view Magnetic Pillar Mixing Sleeves Reagent plate Temperature Control UV Lamp Mixing Sleeves Track...

Page 11: ...lowing parts are included in the package Contact your local representative if you notice any missing part s A B C D E F Quantity A Instrument x1 B User Manual x1 C Power Cord x1 D 2 2ml Deepwell 96 Pl...

Page 12: ...ion damages or improper handling and operation Extraction Kits Quantity A 2 2ml Deepwell 96 Plate x12 plates B 8 Tip Comb x24 Note Extraction kits have to be purchased separately Please contact your l...

Page 13: ...stable temperature Warming a cold room suddenly or moving the instrument from a room with low temperature to a warm room may cause condensation inside the device that might resulting in abnormal extr...

Page 14: ...ch as a slanted surface or a place subject to vibrations It may cause injury or device failure Do not use the ZiXpress 32 Dx system in direct sunlight or close to a heating device It may shorten the l...

Page 15: ...er of the instrument from two sides to move it out of the transportation box Do not hold the door or the plastic outer covering while transporting the instrument Caution Improper handling of the movem...

Page 16: ...it in the Fixing Block Sensor Spot following the guideline below 1 Plug in the power cord to the electric outlet 2 Use a Phillips head screwdriver to release the red screws 3 Remove the Fixing Block 4...

Page 17: ...Page 16...

Page 18: ...ks 1 Insert Fixing Block 1 Put the Fixing Block to fix the Magnetic Pillar frame 2 Install the Fixing Block 3 Use Phillips head screwdriver for the red screw 4 Close the door 2 Disconnect the plug fro...

Page 19: ...some other equivalent parcel Functional Descriptions Main Menu Home UV Light Light Setting Hibernate LED Light After pressing button the icon will change into the instrument s light will turn off UV L...

Page 20: ...ssing button you can do the instrument adjustment check test Sleeping mode After pressing button the instrument will get into the sleeping mode If you want to wake up the instrument touch the screen a...

Page 21: ...wear appropriate gloves and a mask since the device may be contaminated Important Before starting the extraction put on appropriate gloves a mask and safety goggles if required by the operation Be ca...

Page 22: ...2 Connect the plug of the power cable to the outlet 3 Turn the power switch on and wait for the Touch Panel to turn on and displaying ZiXpress 32 Dx system initializing The system will process self t...

Page 23: ...Page 22 4 Open the door 5 Set up the mixing sleeves on the mixing sleeve track Caution Make sure the sleeves have entered completely...

Page 24: ...Page 23 6 Remove carefully the aluminum foil sealing membrane on the reagent plate Add samples to Well 1 and Well 7 7 Place the reagent plate s into the instrument...

Page 25: ...Page 24 8 Close the door before starting the instrument 9 Select protocol Select the pre installed protocols This figure is the standard protocol in ZiXpress 32 Dx system...

Page 26: ...xtraction process Note The process time and remaining process time will be displayed on the screen 11 While the extraction procedure is finished transfer the extracted products located at Well 6 and W...

Page 27: ...C long term before performing any downstream analysis 12 Discard the used consumables into biohazard waste 13 If you are not using the instrument in short term press button to get into sleeping mode...

Page 28: ...Page 27 2 To restart the procedure press button Stop the Process 1 During the process if you want to stop pause the procedure please press button 2 To stop the process press button...

Page 29: ...ansfer the extracted products located at Well 6 and Well 12 into nuclease free tubes Note You can apply quality checking do downstream study or storage them as what you expect 2 Remove the used plasti...

Page 30: ...trument body by removing dust gently with a dry soft cloth If the outside of the ZiXpress 32 Dx system is heavily soiled or if any samples that may cause infection are adhered to the outside of the Zi...

Page 31: ...testing program does not run Forget to remove the fixing block from instrument Turn off the instrument and remove the fixing block Technical problem Contact your local representative agent The beepin...

Page 32: ...Address 16F No 93 Sec 1 Xintai 5th Rd Xizhi Dist New Taipei City 221416 Taiwan R O C Tel 886 2 2246 3579 Fax 886 2 2242 1179 Mail info zinexts com Product of Origin Taiwan R O C Technical Support Zine...

Page 33: ...r any problem that is caused by i Conditions malfunctions or damage not resulting from defects in material or workmanship ii Any consumption spare parts including fuses light bulbs UV lights LED light...

Page 34: ...Page 33 Zinexts Life Science Corp www zinexts com 16F No 93 Sec 1 Xintai 5th Rd Xizhi Dist New Taipei City 221416 Taiwan R O C Tel 886 2 2246 3579 Fax 886 2 2243 8570 Mail info zinexts com...

Reviews: