


SOUND
&
LANGU
A
GE
CONTR
OL
54
SOUND & LANGUAGE CONTROL
VOL
CH
ENTER
BACK
MUTE
CC
MENU
EXIT
Analog Broadcasting System Captions
Select a caption mode for displaying captioning information
if provided on a program. Analog caption displays informa-
tion at any position on the screen and is usually the pro-
gram's dialog.
Caption/Text, if provided by the broadcaster, would be
available for both digital and analog channels on the
Antenna/Cable.
This TV is programmed to memorize the caption/text mode
which was last set when you turn the power off.
This function is only available when C
Caap
pttiio
onn Mode is set
O
O nn.
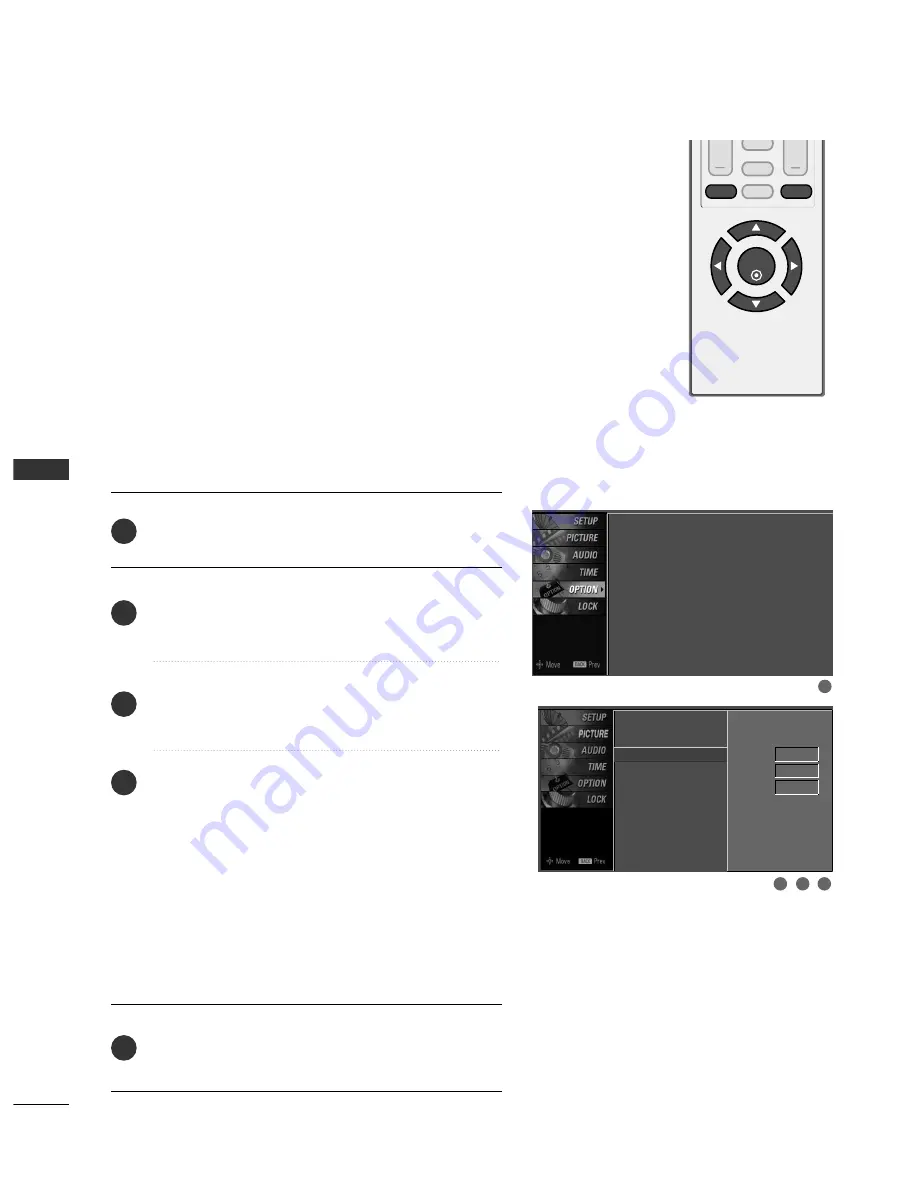
Press the M
MEEN
NU
U button and then use
D
D
or
E
E
button
to select the O
OPPT
TIIO
ON
N menu.
Press the
G
G
button and then use
D
D
or
E
E
button to
select C
Caap
pttiio
onn..
Press the
G
G
button and then use
F
F
or
G
G
button to
select A
Annaallo
ogg..
Use
D
D
or
E
E
button to select C
CC
C1
1
~
4
4, T
Teexxtt1
1
~
4
4
■
C
CA
APPT
TIIO
ON
N
The term for the words that scroll across the bottom of
the TV screen; usually the audio portion of the pro-
gram provided for the hearing impaired.
■
T
TEEX
XT
T
The term for the words that appear in a large black
frame and almost cover the entire screen; usually
messages provided by the broadcaster.
Press the EEX
XIIT
T button to return to TV viewing or press
the B
BA
AC
CK
K button to return to the previous menu.
1
2
3
4
5
1
3
4
2
Language
: English
Key Lock
: Off
Caption
: Off
Low Power
: Off
Language
Key Lock
Caption
G
Low Power
Mode
On
Analog
Text1
Digital
Service3
Digital Option


