background image

6

Before Use (Continued)

Precautions

Handling the unit

Shipping the unit
The original shipping carton and packing materials
come in handy. For maximum protection, re-pack the
unit as it was originally packaged at the factory.

Setting  up the unit
The picture and sound of a nearby TV, VCR or radio
may be distorted during playback. In this case, position
the unit away from the TV, VCR or radio, or turn off the
unit after removing the disc.

Keeping unit surfaces clean
Do not use volatile liquids, such as insecticide spray,
near the unit. Do not leave rubber or plastic products in
contact with the unit for a long period of time. They will
leave marks on the surface.

Cleaning the unit

Cleaning the cabinet
Use a soft, dry cloth. If the surfaces are extremely dirty,
use a soft cloth lightly moistened with a mild detergent
solution. Do not use strong solvents such as alcohol,
benzine, or thinner, as these might damage the surface
of the unit.

To obtain a clear picture
The unit is a high-tech, precision device. If the optical
pick-up lens and disc drive parts are dirty or worn, the
picture quality will be poor.
Regular inspection and maintenance are recommended
after every 1,000 hours of use. (This depends on the
operating environment.)
For details, please contact your nearest dealer.

Notes on Discs

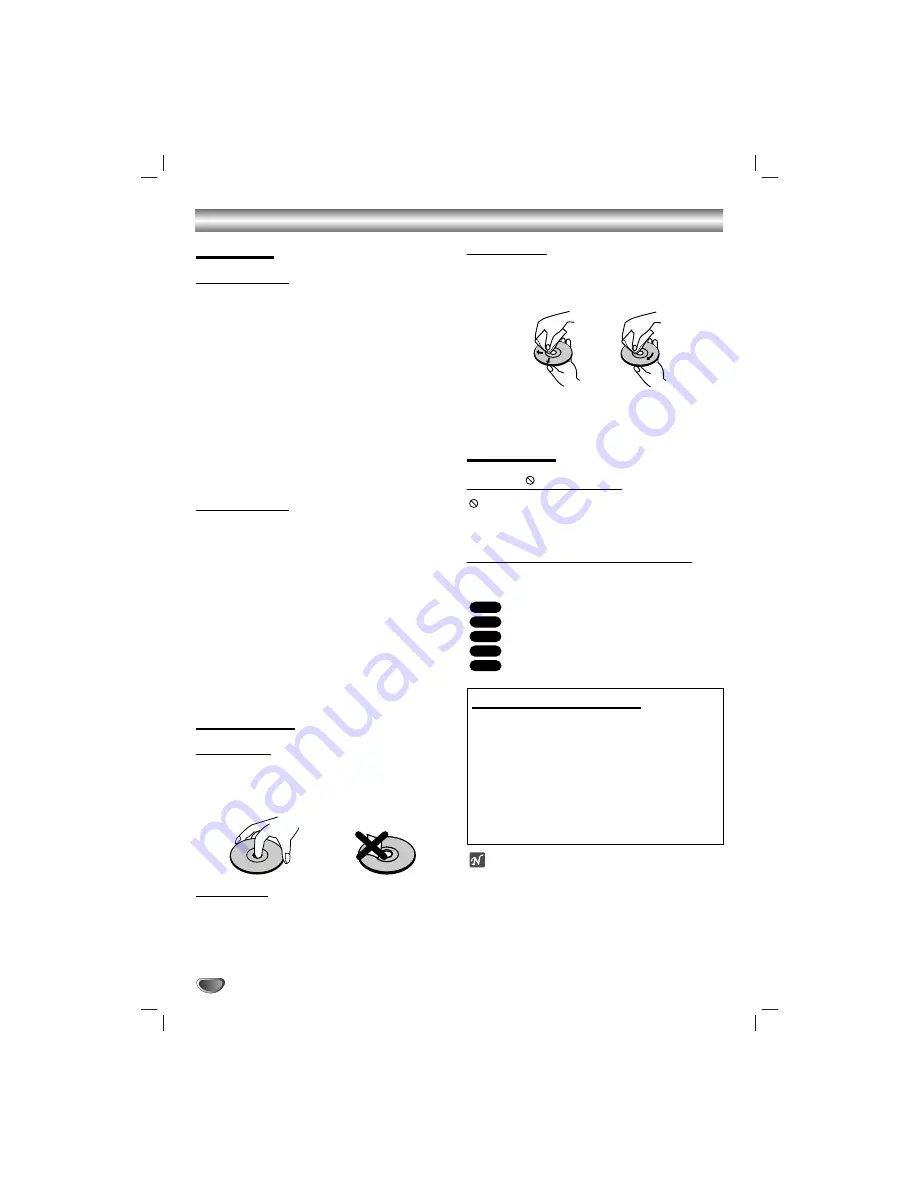
Disc handling 

Do not touch the playback side of the disc.
Hold the disc by the edges so that fingerprints will not
get on the surface.
Do not stick paper or tape on the disc.

Storing discs

After playing, store the disc in its case.
Do not expose the disc to direct sunlight or sources of
heat, or leave it in a parked car exposed to direct sun-
light, as there may be a considerable temperature
increase inside the car.

Cleaning discs

Fingerprints and dust on the disc can cause poor pic-
ture quality and sound distortion. Before playing, clean
the disc with a clean cloth. Wipe the disc from the cen-
ter outward.

Do not use strong solvents such as alcohol, benzine,
thinner, commercially available cleaners, or anti-static
spray intended for older vinyl records.

Disc Symbols

About the

symbol display

may appear on the TV screen during operation. This

icon means the function explained in this owner’s  man-
ual is not available on that specific DVD video disc.

About the disc symbols on manual pages

A section whose title has one of the following symbols are
applicable only to those discs represented by the symbol.

No

Yes

Setting the Output Source

You must select one of your output sources (DVD or
VCR) to view on the TV screen. 

• If you want to view DVD deck output source:

Press CD/DVD on the remote or DVD/VCR on the front
panel until READING indicator in the display window lights
and output source of DVD deck is viewed on the TV screen.

• If you want to view VCR deck output source:

Press VCR on the remote or DVD/VCR on the front panel
until VCR indicator in the display window lights and output
source of VCR deck is viewed on the TV screen.

otes

If you insert a disc while the unit is in the VCR mode,
the unit will switch to DVD mode automatically.

If you insert a cassette tape without prevention tab
while the unit is in the DVD mode, the unit will switch
to VCR mode automatically.

DVD Video discs.

Audio CDs.

MP3 disc.

WMA disc.

JPEG disc.

JPEG

WMA

MP3

CD

DVD

Summary of Contents for DVT723

Page 1: ...Warranty Model Number DVT723 Main Set DVT723 Speakers SH32SD SY SH32SD WY DVD VCR Combo receiver HC302SD A0 NA1ULIA_124C CD R R CD R RW For service support Call Toll Free Number 1 800 243 0000 Copyrig...

Page 2: ...und to comply with the limits for a Class B digital device pursuant to Part 15 of the FCC Rules These limits are designed to provide reasonable protection against harmful interference when the product...

Page 3: ...ne wider than the other A grounding type plug has two blades and a third grounding prong The wide blade or the third prong are pro vided for your safety If the provided plug does not fit into your out...

Page 4: ...pe Counter Memory Feature 25 DVD Operation 26 28 Playing a DVD 26 General Features 26 Moving to another TITLE 26 Moving to another TRACK 26 Search 26 Pause 26 Still Picture and Frame by Frame Playback...

Page 5: ...This unit can only play DVDs labeled 1 or ALL If you try to play any other discs the message Check Regional Code will appear on the TV screen Some DVDs that have no region code label may still be subj...

Page 6: ...not expose the disc to direct sunlight or sources of heat or leave it in a parked car exposed to direct sun light as there may be a considerable temperature increase inside the car Cleaning discs Fin...

Page 7: ...e audio video output of an external source Audio system TV Monitor Another VCR Cassette Compartment VCR deck Insert a video cassette here EJECT Z Z Ejects the tape in the VCR deck PLAY B Play back a r...

Page 8: ...und mode Volume etc indicators A cassette is loaded in the VCR deck JPEG file disc inserted A disc is loaded in the DVD deck Lights when a disc is loaded in the DVD deck and flashes when the disc tray...

Page 9: ...ex PLAY To use the VCR first press the VCR button To use the DVD first press the CD DVD button POWER Switches unit ON and OFF CD DVD VCR select Selects the output source CD DVD or VCR to view on the...

Page 10: ...udio system TV Monitor another VCR DVD VCR OUT VIDEO OUT AUDIO OUT Left Right Connect to a TV with video and audio inputs AC Power Cord Plug into the power source SPEAKER CONNECTORS Connect the six su...

Page 11: ...Y Pb Pr cables C 2 2 Connect the Left and Right AUDIO OUT jacks of the unit to the audio left right in jacks on the TV A using the supplied audio cables Progressive Scan connection If your television...

Page 12: ...nt of the unit OR Radio Antenna Connections Connect the supplied FM AM antennas for listening to the radio Connect the AM loop antenna to the AM antenna connector Connect he FM wire antenna to the FM...

Page 13: ...ly to avoid excessive volume output to the speakers Only 2 channel stereo Front Left Front Right Subwoofer is abailable in VCR mode thus sound might not be heard from cen ter or rear speakers during V...

Page 14: ...may be used to enhance mono signals by making them seem larger The Matrix mode may also find use in auto systems where the fluctuations from poor FM stereo reception can otherwise cause disturbing su...

Page 15: ...ill continue to be shown until you press MEMORY ENTER The tape counter and the remaining tape length indicator appear only when a cassette is inserted Also the remaining tape length indicator appears...

Page 16: ...plays on separate left and right chan nels and the NORMAL system plays monaural sound The normal track is always played so the cassette can be played on a unit that does not have VHS Hi Fi AUDIO MODE...

Page 17: ...DAY option Use b b B B to choose the date The day of the week will display automatically 5 5 Use V V to choose the YEAR option Use b b B B to choose the year 6 6 Use V V to choose the TIME option Use...

Page 18: ...f the features on the on screen display example shown below If no button is pressed for 10 seconds the on screen display disappears OFF A B CHAPT TITLE Items Title Number Chapter Number Time search Au...

Page 19: ...ring If you are using the COMPONENT PROGRESSIVE SCAN VIDEO OUT jacks but are connecting the DVD Player to a standard analog television set Progressive Scan to Off If you are using the Component Video...

Page 20: ...ubwoofer Return Press MEMORY ENTER to return to the previous menu Others The DRC Vocal and Auto Play settings can be changed Press 3 3 4 4 to select the desired item and press MEMORY ENTER The setting...

Page 21: ...suitable alternative is found play back will stop You must enter the 4 digit password or change the rating level in order to play the disc 5 5 Press MEMORY ENTER to confirm your rating selection then...

Page 22: ...atically muted during special effect modes so there is no sound during search During high speed picture search mode a short period is needed to stabilize tape speed when re entering the PLAY mode Slig...

Page 23: ...the program timer 1 1 Turn on unit and the TV 2 2 Insert a video cassette with the safety tab intact 3 3 If you are recording from another source via audio video input jacks at the rear or front pane...

Page 24: ...Disc Insert the disc you wish to copy in the DVD deck and close the disc tray 2 2 Insert VHS Tape Insert a blank VHS video tape into the VCR deck 3 3 Press PLAY B on the DVD deck The DVD will go into...

Page 25: ...rd 5 5 Press STOP x x once or twice when recording or playback finishes 6 6 Press BACKWARD The tape automatically stops when the tape counter returns to about 0 00 00 Tape Remaining This function show...

Page 26: ...s receiver is 1 one General Features ote Unless stated otherwise all operations described use the remote control Some features may also be available on the Setup menu Moving to another TITLE When a di...

Page 27: ...ess REPEAT The Repeat Chapter icon appears on the TV screen 2 To repeat the title currently playing press REPEAT a second time The Repeat Title icon appears on the TV screen 3 To exit Repeat mode pres...

Page 28: ...t you want to erase 3 Press CLEAR The Marker number will be erased from the list 4 Repeat steps 2 and 3 to erase additional Marker numbers 5 To remove the MARKER SEARCH menu press SEARCH Special DVD F...

Page 29: ...P3 WMA Disc compatibility with this unit is limited as follows 1 Sampling Frequency only at 44 1kHz MP3 32 44 1kHz WMA 2 Bit rate within 32 320kbps MP3 32 128kbps WMA 3 CD R physical format should be...

Page 30: ...The Repeat icon and OFF appears on the menu screen Search 1 Press and hold or for about two seconds during playback The player will now go into SEARCH mode 2 Press and hold or repeatedly to select th...

Page 31: ...ext file or to the previous file Still Picture 1 Press PAUSE STEP during slide show The unit will now go into PAUSE mode 2 To return to the slide show press PLAY or press PAUSE STEP again To flip the...

Page 32: ...list and then press MEMORY ENTER PROG indicator disappears on the menu screen Repeat Programmed Tracks To repeat the track currently playing press REPEAT The Repeat icon and TRACK appears on the menu...

Page 33: ...y band appears on the display and TV screen The last received station is tuned in 2 2 Use TRK PRESET v V on the remote control repeatedly to select the preset station you want Each time you press the...

Page 34: ...stop at a station with a very weak signal Mute Press MUTE to remove the sound You can mute your unit in order for example to answer the telephone MUTE indicator flashes in the display Press MUTE agai...

Page 35: ...trol is too far from the unit There is an obstacle in the path of the Remote Control and the unit The batteries in the Remote Control are exhausted This Remote Control uses the same buttons for VCR an...

Page 36: ...8376 Somali 8379 Spanish 6983 Sudanese 8385 Swahili 8387 Swedish 8386 Tagalog 8476 Tajik 8471 Tamil 8465 Tatar 8484 Telugu 8469 Thai 8472 Tibetan 6679 Tigrinya 8473 Tonga 8479 Turkish 8482 Turkmen 847...

Page 37: ...io More than 65 dB EE mode Dynamic range More than 70 dB EE mode DVD Specifications Laser system Semiconductor laser wavelength 650 nm Frequency response DVD PCM 96 kHz 20 Hz to 44 kHz DVD PCM 48 kHz...

Page 38: ...Authorization RA During the Warranty Period Zenith will send you a return shipping label After you obtain RA for return please box your unit with a copy of the sales receipt and enough packing materi...

Reviews: