206-3360-O
O P E R AT I O N M E N U S S E T U P M E N U
P A G E 2 5
Customize
the look
of your
on-screen
menus.
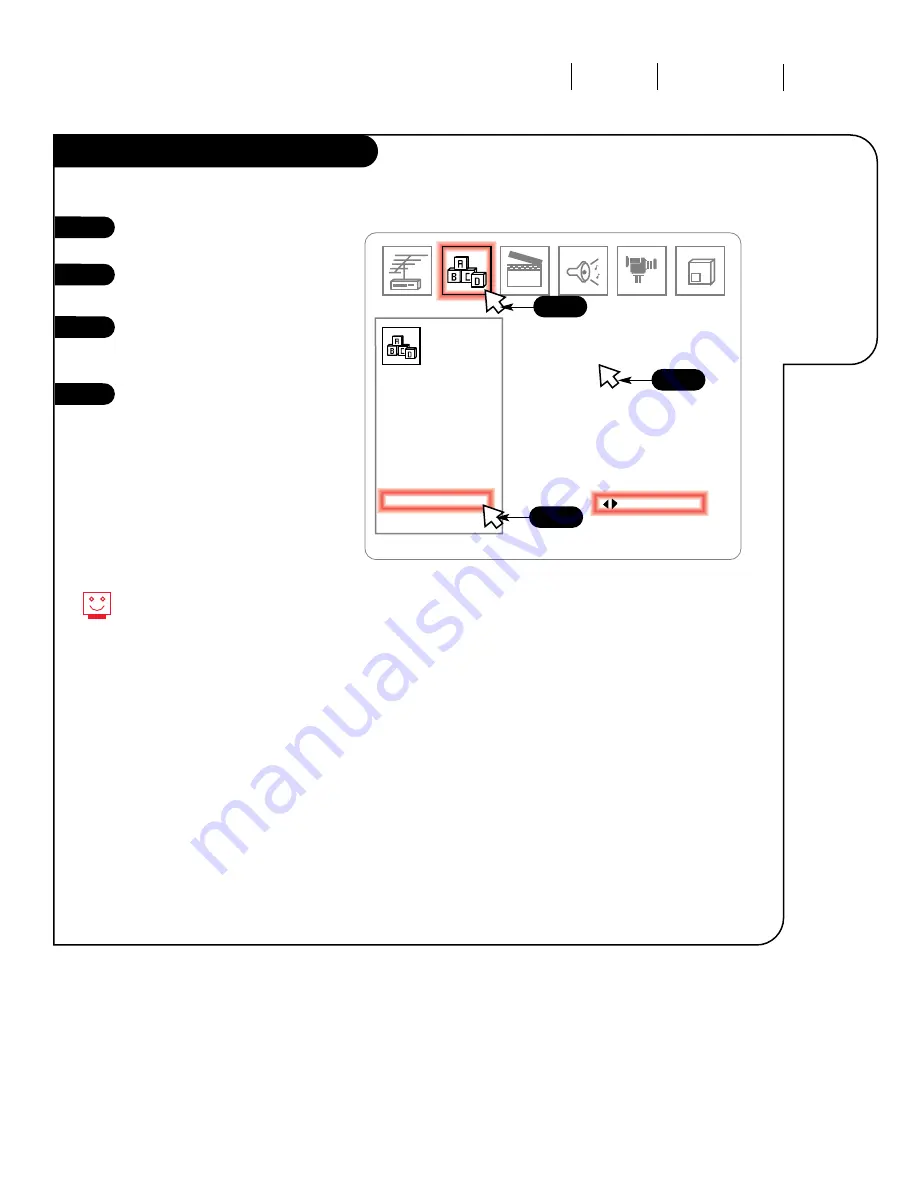
Background
Click on your Setup Menu icon in
the menu display.
Select Background by clicking on
it in the menu.
Choose whether you want an
opaque background Off or On by
clicking on it again.
Click on the screen for normal TV
viewing.
Turning your Background On makes
reading the menus easier.
1
2
3
4
Quick Start
Ch. Search
Add/Del/Surf
Clock Set
Captions
Caption/Text
Language
Background
Projo Setup
Off
Setup
Menu
123
1
4
2/3