Zeiss PhotoScope 85 T* FL Series, Instructions For Use Manual
The Zeiss PhotoScope 85 T* FL Series is a versatile and high-performance spotting scope that allows you to capture stunning photographs of distant subjects. To make the most of your PhotoScope, don't forget to download the free Instructions for Use manual from our website. This comprehensive manual provides detailed guidance on how to fully utilize the features and capabilities of your PhotoScope, ensuring you achieve exceptional results in your wildlife and nature photography.
Share
Download


Reviews:
No comments
Related manuals for PhotoScope 85 T* FL Series
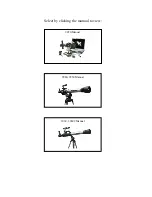
9920
Brand: EASTCOLIGHT Pages: 30
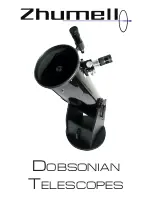
Dobsonian
Brand: Zhumell Pages: 11
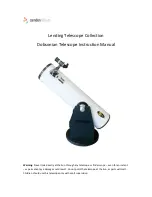
Dobsonian
Brand: CAMDEN Pages: 11
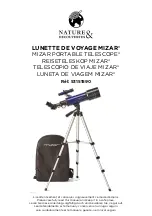
MIZAR
Brand: NATURE & DECOUVERTES Pages: 19
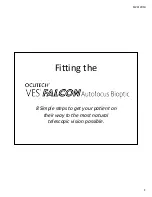
VES FALCON Autofocus Bioptic
Brand: Ocutech Pages: 10
Galaxy Tracker 375
Brand: EASTCOLIGHT Pages: 3

EVERGLADE SS-560
Brand: Carson Pages: 4
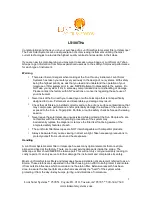
LS100THa
Brand: Lunt Solar Systems Pages: 5
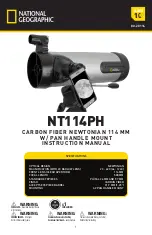
NT114PH
Brand: National Geographic Pages: 12
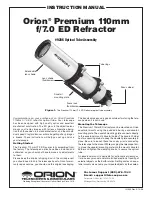
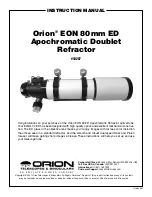
Premium 110mm f/7.0 ED Refractor
Brand: Orion Pages: 4
LS152TH A Series
Brand: Lunt Solar Systems Pages: 4
EON 10287
Brand: Orion Pages: 4

FLT-110
Brand: William Optics Pages: 12
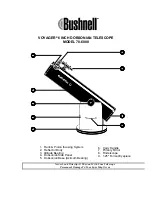
VOYAGER 78-6000
Brand: Bushnell Pages: 9
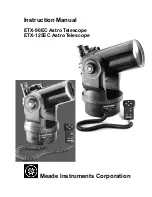
ETX-125EC
Brand: Meade Pages: 28
52598
Brand: Orion Pages: 16

NG50MM
Brand: National Geographic Pages: 12
CF700mm
Brand: National Geographic Pages: 8


