P5110 / P5115 User Manual
69
¾
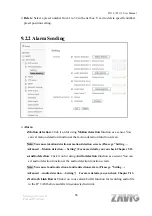
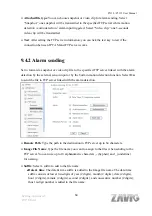
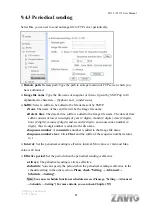
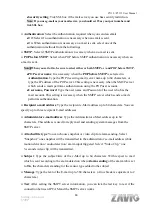
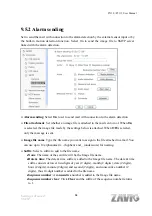
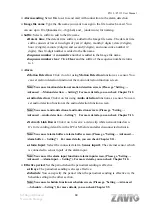
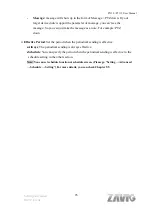
Alarm sending
: Select
On
to set to send mail with connection to the alarm detection.
¾
Image file name
: Type the file name you want to assign to the file to attach a mail. You
can use up to 10 alphanumeric, - (hyphen) and _ (underscore) for naming.
¾
Suffix
: Select a suffix to add to the file name
z
Date & time
: The date & time suffix is added to the Image file name. The date & time
suffix consists of lower two-digits of year (2 digits), month (2 digits), date (2 digits),
hour (2 digits), minute (2 digits) and second (2 digits), and consecutive number (2
digits), thus 14-digit number is added to the file name.
z
Sequence number
: A
consecutive
number is added to the Image file name.
z
Sequence number clear
: Click
Clear
and the suffix of the sequence number returns
to 1.
¾
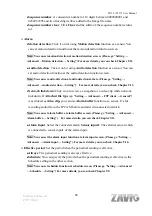
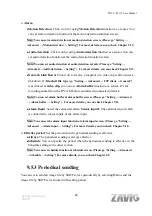
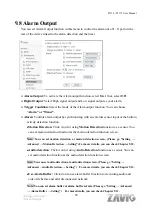
Alarm
z
Motion Detection
: Click it on for using
Motion Detection
function as a sensor. You
can set motion detection function at the motion detection function screen.
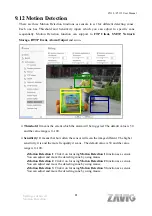
Note: You can set motion detection at motion detection screen. (Please go “Setting
ĺ
Advanced
ĺ
Motion detection
ĺ
Setting”) For more details, you can check Chapter 9.12.
z
Audio detection
: Click it on for using
Audio detection
function as a sensor. You can
set audio detection function at the audio detection function screen.
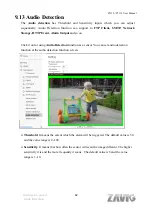
Note: You can set audio detection at audio detection
screen
. (Please go “Setting
ĺ
Advanced
ĺ
Audio detection
ĺ
Setting”) For more details, you can check Chapter 9.13.
z
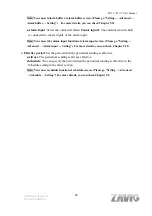
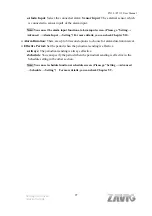
Network Link Down:
Click it on to receive a video clip while network link down.
It’s for recording video file in the IP CAM before and after disconnected network.
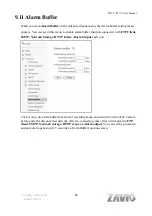
Note: You can set alarm buffer at alarm buffer screen. (Please go “Setting
ĺ
Advanced
ĺ
Alarm buffer
ĺ
Setting”) For more details, you can check Chapter 9.11.
z
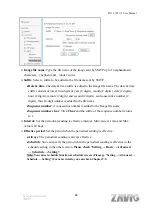
Alarm Input
: Select the connected alarm.
Sensor input1
: The external sensor which
is connected to sensor input1 of the alarm input.
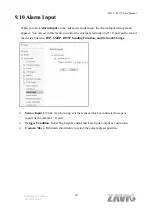
Note: You can set the alarm input function at alarm input screen. (Please go “Setting
ĺ
Advanced
ĺ
Alarm input
ĺ
Setting”). For more details, you can check Chapter 9.10.
¾
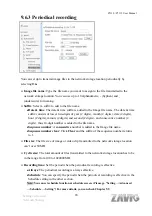
Effective period
: Set the period when the periodical sending is effective.
z
Always
: The periodical sending is always effective.
z
Schedule
: You can specify the period when the periodical sending is effective in the
Schedule setting in the other section.
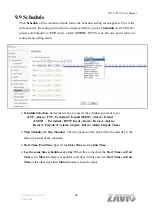
Note: You can set schedule function at schedule screen. (Please go “Setting
ĺ
Advanced
ĺ
Schedule
ĺ
Setting”) For more details, you can check Chapter 9.9.
Setting-Advanced
Network Storage
Summary of Contents for F5110
Page 1: ...P5110 P5115 User Manual i ...

