background image

Be very careful when you replace the
pan supports to prevent the hob top
from damage.

After cleaning, dry the appliance with a soft
cloth.

Oven - Daily use

Warning!

 Refer to the Safety chapters.

Cooling fan

When the appliance operates, the cooling fan
activates automatically to keep the surfaces of
the appliance cool. If you deactivate the appli-
ance, the cooling fan continues to operate until
the temperature in the appliance cools down.

If there is a fault in the cooling fan, contact
the customer service.

Switching the top oven, top oven grill or
the main oven on and off

Ignition of top and main oven gas burner:

Push the gas oven control knob and turn it to

 . Keep it pushed for some seconds, but no

more than 15 seconds. Do not release it until
the flame comes on.

Ignition of top oven grill burner:

Push the gas oven control knob and turn it to

   . Keep it pushed for some seconds, but no

more than 15 seconds. Do not release it until
the flame comes on.

If the top oven gas burner or grill burner
does not come on or if it accidentally goes

out:

1.

Release the gas oven control knob and turn
it to the “ Off“ position.

2.

Open the oven door.

3.

After one minute, try to light the oven gas
burner again.

You cannot operate the top oven, when the
grill is in use.

After ignition:

1.

Release the gas oven control knob.

2.

Close the oven door.

3.

Turn the gas oven control knob to the nec-
essary temperature setting.

Ovens safety device:

The top and main oven has a thermocouple. It
stops the gas flow, if the flame goes out.

Turning off the oven burner

To put out the flame, turn the knob to the off po-
sition.

Turning off the oven burner

To put out the flame, turn the knob to the off po-
sition.

Automatic ignition

Sometimes when the appliance is in operation
you can hear noises, these are normal and do
not refer to any defects.
The top oven and the main oven have an
automatic ignition system which ignites again
the burner if the flame accidentally goes out.
If the gas supply is cut out the automatic
ignition will continue to ignites the burner. Turn
the gas oven control knob to the off position.

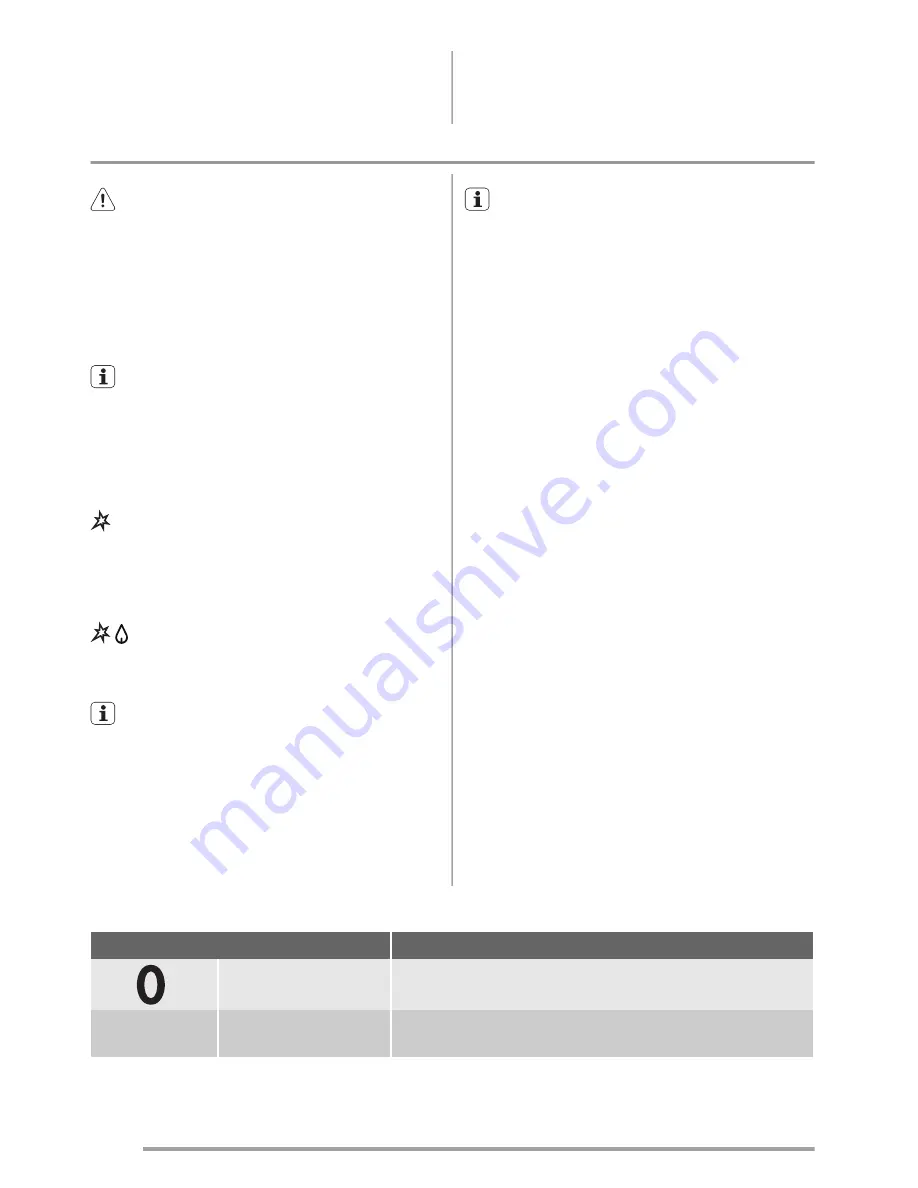
Top Oven Functions

Oven function

Application

Off position

The appliance is off.

Gas mark 1 - 8

Range of temperature

adjustment

Range of temperature adjustment for conventional cooking. To
set the temperature, turn the knob counterclockwise.

10


www.zanussi.com

Summary of Contents for ZCG55

Page 1: ...EN User manual Cooker ZCG55 IE GB ...

Page 2: ... the appliance carefully read the supplied instructions The manufacturer is not responsible if an incor rect installation and use causes injuries and damages Always keep the instructions with the appliance for future reference Children and vulnerable people safety Warning Risk of suffocation injury or permanent disability This appliance can be used by children aged from 8 years and above and perso...

Page 3: ...the possibility of electric shock If the supply cord is damaged it must be replaced by the manu facturer an authorized Service or similarly qualified persons in or der to avoid a hazard Safety instructions Installation Warning Only a qualified person must install this appliance Remove all the packaging Do not install or use a damaged appliance Obey the installation instruction supplied with the ap...

Page 4: ...a qualified person Before installation make sure that the local distribution conditions nature of the gas and gas pressure and the adjustment of the ap pliance are compatible Make sure that there is air circulation around the appliance The information about the gas supply is on the rating plate This appliance is not connected to a device which evacuates the products of combustion Make sure to conn...

Page 5: ...bjects in the appliance directly on the bottom do not put aluminium foil directly on the bottom of the appliance do not put water directly into the hot appli ance do not keep moist dishes and food in the appliance after you finish the cooking be careful when you remove or install the accessories Discoloration of the enamel has no effect on the performance of the appliance It is not a defect in the...

Page 6: ...eaning pads solvents or metal objects If you use an oven spray obey the safety in structions on the packaging Do not clean the catalytic enamel if applica ble with any kind of detergent Do not clean the burners in the dishwasher Internal light The type of light bulb or halogen lamp used for this appliance is only for household appli ances Do not use it for house lighting Warning Risk of electrical...

Page 7: ... of the top oven Cooking surface layout 2 5 4 3 1 1 Steam outlet 2 Semi rapid burner 3 Auxiliary burner 4 Rapid burner 5 Semi rapid burner Control panel 1 2 3 1 1 Hob control knobs 2 Main oven temperature control 3 Top oven Grill control Accessories Oven shelf For cookware cake tins roasts Deep roasting pan To bake and roast or as pan to collect fat The roasting pan grid 7 www zanussi com ...

Page 8: ... Accessories can become hotter than in normal use During this period an odour can be emitted This is normal Make sure the room is well ventilated Preheat the two ovens Heat up one oven at a time Hob Daily use Warning Refer to the Safety chapters Lighting the burners Warning Be very careful when you use open fire in a kitchen environment The manufacturer declines all responsibility in case of misus...

Page 9: ... the sym bol Warning Always turn the flame down or switch it off before you remove the pans from the burner Hob Helpful hints and tips Warning Refer to the Safety chapters Energy savings If possible always put the lids on the pans When the liquid starts to boil turn down the flame to barely simmer the liquid Use pots and pans with diameter applica ble to the dimension of burner Burner Diameters of...

Page 10: ...control knob and turn it to the Off position 2 Open the oven door 3 After one minute try to light the oven gas burner again You cannot operate the top oven when the grill is in use After ignition 1 Release the gas oven control knob 2 Close the oven door 3 Turn the gas oven control knob to the nec essary temperature setting Ovens safety device The top and main oven has a thermocouple It stops the g...

Page 11: ...only on the first and second level in the top oven and on all the levels in the main oven Grilling set The grilling set includes the roasting pan grid and the deep roasting pan You can use the roasting pan grid on the two sides Warning Risk of burns when removing the accessories from a hot oven You can use the grill ing set to roast larger pieces of meat or poultry on one level Put the roasting pa...

Page 12: ...We recommend to use the lower temperature the first time If you cannot find the settings for a special recipe look for the one that is almost the same Baking time can be extended by 10 15 mi nutes if you bake cakes on more than one level Cakes and pastries at different heights do not always brown equally at first If this occurs do not change the temperature setting The differences equalize during ...

Page 13: ...Milk Puddings 1 2 3 1 30 2 00 Scones 1 2 7 0 08 0 12 Choux Pastry 1 2 6 0 30 0 35 Éclairs Profiteroles 1 2 5 0 20 0 30 Flaky Pastry 1 2 6 0 25 0 40 Mince Pies 1 2 5 0 15 0 20 Pasta Lasagne etc 1 2 5 0 40 0 45 Meat Pies 1 2 7 0 25 0 35 Quiche Tarts Flans 1 2 5 0 25 0 45 Shepherd s Pie 1 2 7 0 30 0 40 Soufflés 1 2 5 0 20 0 30 Fish 1 2 4 0 20 0 30 Fish Pie 1 2 6 0 20 0 25 Beef Casserole 1 2 3 2 30 3 ...

Page 14: ... 0 08 0 12 Choux Pastry 3 6 0 30 0 35 Éclairs Profiteroles 3 5 0 20 0 30 Flaky Pastry 3 6 0 25 0 40 Mince Pies 1 4 5 0 15 0 20 Pasta Lasagne etc 3 5 0 40 0 45 Meat Pies 3 2 0 25 0 35 Quiche Tarts Flans 3 2 0 25 0 45 Shepherd s Pie 3 7 0 30 0 40 Soufflés 3 5 0 20 0 30 Fish 3 4 0 20 0 30 Fish Pie 3 6 0 20 0 25 Beef Casserole 2 3 2 30 3 00 Lamb Casserole 2 4 2 30 3 00 Convenience Foods Follow manufac...

Page 15: ...s over Turkey Goose 2 5 15 20 minutes per 500g 1lb up to 3500g 7lb then 10 minutes per 500g 1lb over 3500g 7lb Duck 2 5 25 35 minutes per 500g 1lb and 25 30 minutes over Pheasant 2 5 35 40 minutes per 500g 1lb and 35 40 minutes over Rabbit 2 5 20 minutes per 500g 1lb and 20 minutes over Grilling Always use the grilling function with maxi mum temperature setting Warning When grill operates closing ...

Page 16: ... can remove dirt more easily and it does not burn on Clean stubborn dirt with a special oven cleaner Clean all oven accessories with a soft cloth with warm water and cleaning agent after each use and let them dry If you have nonstick accessories do not clean them using an aggressive agents sharp edged objects or dishwasher It can destroy nonstick coating Stainless steel or aluminium applian ces Cl...

Page 17: ...r the trim attach the A trim part to the door Refer to picture Oven lamp Warning There is a danger of electrical shock Before you change the oven lamp Switch off the oven Remove the fuses in the fuse box or switch off the circuit breaker Put a cloth on the bottom of the oven for protection of the oven light and glass cov er Replacing the oven lamp 1 You can find the lamp glass cover at the back of...

Page 18: ...the flame keep the knob pushed for approximately 5 seconds The gas ring burns unevenly The burner crown is blocked with food residue Make sure that the injector is not blocked and the burner crown is clear of food particles or cleaning fluids Dry them with a cloth and clean stubborn marks away with a dry nylon brush for example an old toothbrush The oven does not heat up The oven is not switched o...

Page 19: ...al number S N Installation Warning Refer to the Safety chapters Technical data Dimensions Height 894 912 mm Width 550 mm Depth 600 mm Top oven capacity 34 l Main oven capacity 79 l Location of the appliance You can fit your freestanding appliance with cabinets on one or both sides and in the corner Do not install the appliance in a bed sitting room of volume less than 20 m or in a bath room shower...

Page 20: ...burner 2 9 119 10236 Grill 2 7 120 9212 Top Oven 1 9 99 6483 Main Oven 1 9 99 6483 Gas Connection Use a flexible pipe in compliance with the regu lation in force Be careful they do not come in touch with mobile parts or they are not squeezed Warning Only a qualified and competent person must do the gas installation Warning Before gas connection disconnect the mains plug from the mains socket or sw...

Page 21: ...ease the knob when the burner comes on Checking the hob burners 1 Lift the lid 2 Put in the burner crowns and caps Make sure that they are correctly seated 3 Put in the pan supports 4 Check each of the burners in turn by turning the burner control knob to the symbol 5 Release the knob when the burners come on Checking the oven burners 1 Push the gas oven control knob and turn it to position 2 Keep...

Page 22: ...all service work under this guarantee Any appliance or defective part replaced shall become the Company s property This guarantee is in addition to your statutory and other legal rights Exclusions Damage calls resulting from transport im proper use neglect light bulbs removable parts of glass plastic Costs for calls to put right appliance which is improperly installed calls to appliances out side ...

Page 23: ...f resi dence for this particular model or range of appliances The appliance guarantee is personal to the original purchaser of the appliance and can not be transferred to another user The appliance is installed and used in ac cordance with instructions issued by Electro lux and is only used within the home i e is not used for commercial purposes The appliance is installed in accordance with all re...

Page 24: ...rszawa Portugal 35 12 14 40 39 39 Quinta da Fonte Edifício Gonçalves Zarco Q 35 2774 518 Paço de Arcos Romania 40 21 451 20 30 Str Garii Progresului 2 S4 040671 RO Schweiz Suisse Svizzera 0848 848 111 Industriestrasse 10 CH 5506 Mägenwil Slovenija 38 61 24 25 731 Gerbičeva ulica 110 1000 Ljubljana Slovensko 421 2 32 14 13 34 5 Electrolux Slovakia s r o Electrolux Domáce spotre biče SK Galvaniho 17...

Page 25: ...25 www zanussi com ...

Page 26: ...26 www zanussi com ...

Page 27: ...27 www zanussi com ...

Page 28: ...www zanussi com shop 892957667 A 212013 ...

Reviews: