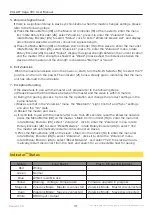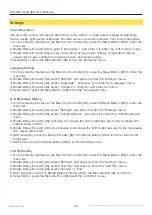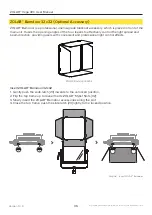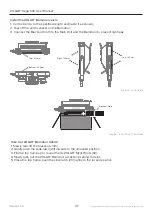
Tip: When you choose the basic intensity value in the flat area of the dimming curve, the dynamic range of the light
effect will be very low in this intensity. Change to another light effect or select another dimming curve to obtain
a more dynamic light effect.
Light Control
ZOLAR™ Vega 30C supports four Dimming Curves, the Dimming Curves are overall situation and
can be controlled through the main unit menu, Art-Net / sACN or DMX.
Dimming Curve
·
Exponential (default setting)
: The dimming precision is higher at lower intensity and lower at
higher intensity. Use this dimming curve if you want to use high precision at low intensity.
·
Logarithmic
: The dimming precision is lower at lower intensity and higher at higher intensity.
Use this dimming curve if you want to use high precision at high brightness.
·
Linear
: The intensity change is proportional to the value adjusted by the Rotary Encoder [26] .
·
S-curve
: The dimming precision is high at both lower and higher intensity, and lower at intensity
levels in between. Use this dimming curve for high precision at low and high intensity levels.
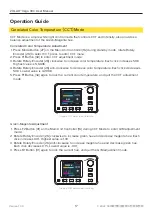
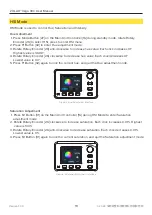
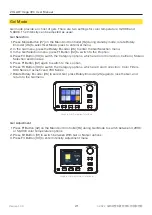
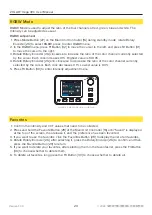
1. Press the Menu Button [28] on the Main Unit Controller [16] to enter the menu interface;
2. Rotate Rotary Encoder [26], select “Light Control” , and press the Rotary Encoder [26] to enter
the next level menu;
3. Select “Dimming Curve” and press the Rotary Encoder [26] to enter the next level menu;
4. Rotate Rotary Encoder [26], after selecting the dimming curve, press the Rotary Encoder [26] to
confirm;
5. Select “Exit” or press the Menu Button [28] to return to the original menu step by step
.
Set Dimming Curve
26
Version 1.0.0
Copyright © 2022 Shenzhen ImagineVision Technology Ltd. All Rights Reserved
ZOLAR™ Vega 30C User Manual
Summary of Contents for ZOLAR Vega 30C
Page 1: ...TM Vega 30C User Manual...


