Recording Video
The CMSClient software permits users to config smart IP cameras remotely. Selecting the
camera you want to config, right click mouse, then choose 'IPC Config'. Now, you will see
Network and Recording tabs.
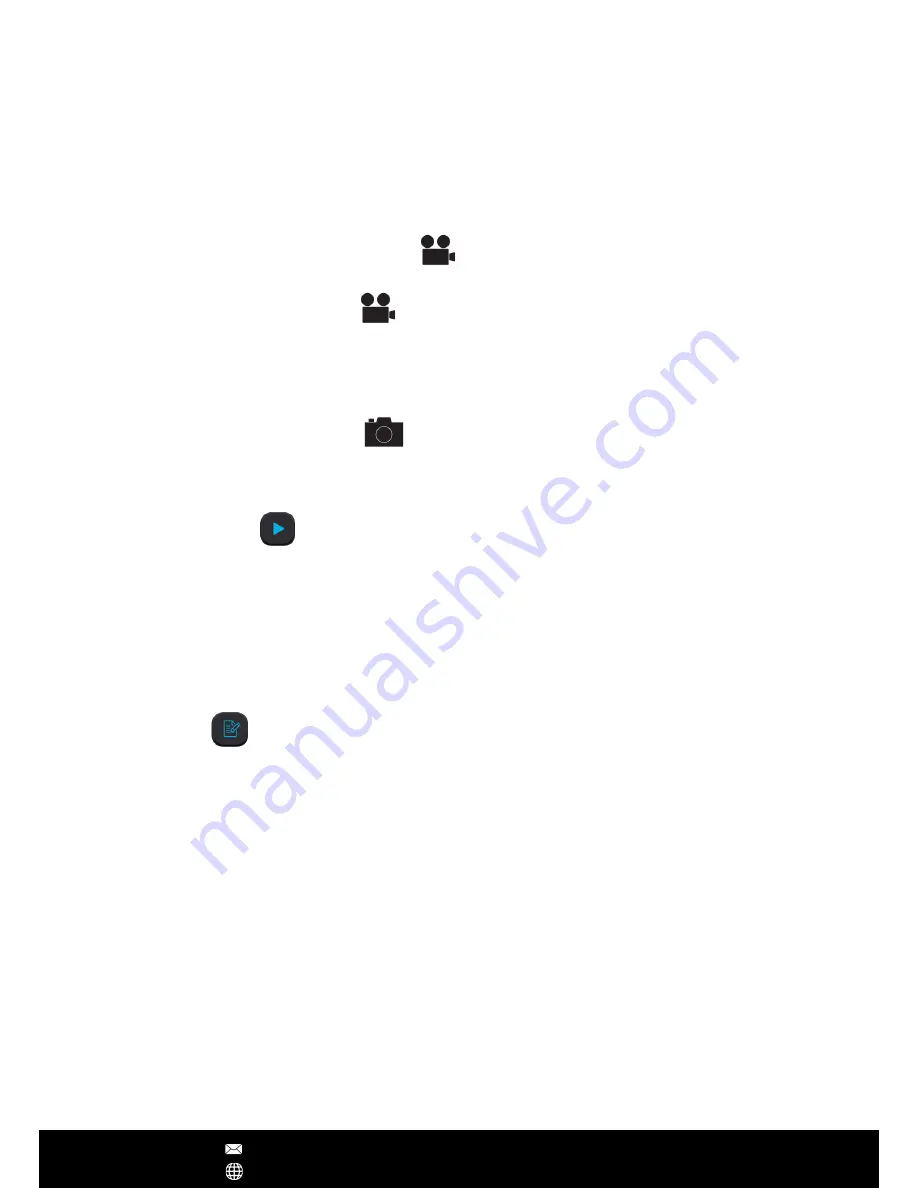
1. To commence recording, select the
button at the top right corner of the camera
viewing window. The icon will change to a blue colour.
2. To stop recording, press the
button again.
Note: If using more than one camera, right-click on ‘Device List’ and select ‘All Start Recording’
and ‘All Stop Recording’ to control the recording
Capturing an Image
To capture an image, select the
button at the top right corner of the camera viewing
window. The icon will change to a blue colour. A popup will indicate that the image has
been saved.
Playback Menu
To search through and playback recorded footage, follow these steps
1. Select ‘Local record file’
2. Select your camera device from the device menu
3. Change the ‘begin’ and ‘end’ time to your desired search range, then press
‘Search’
4. Your record files will be shown on the left. Double click a file to commence
playback
Log Menu
To check events that have occurred on each camera, follow these steps
1. Select either ‘Alarm’ or ‘Operation’ from the log type
2. Select either ‘All device’ or your specific device from device name
3. Change the ‘begin’ and ‘end’ time to your desired search range, then press ‘Search’
4. Your logged data is then listed below. To back-up the data as a .txt file, select ‘Backup’,
then save the file to your desired location
Changing File Save Directory
1. If saving to an external hard drive, insert the drive into your computer and note the
directory.
2. Select ‘Config’ from the main menu.
3. Select ‘Browse’, and navigate to your desired save location. Press ‘OK’.
Note: By default, 1024MB will be reserved on your save location. All other available storage will
be used for recorded footage. Maximum record time for each file is 60 minutes
CMSClient Operations
After Sales Support [email protected]
www.yooseecamera.com


