


www.yictechnologies.com
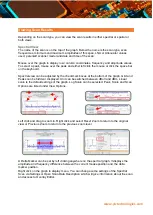
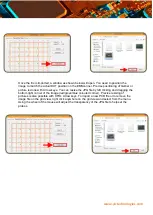
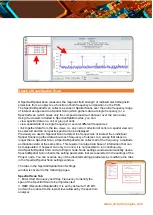
Spectral Scan Probes Tab
Select and activate the probes under the DUT. You can
activate the probes by either a left click on individual cells or
by left clicking and dragging the mouse and choosing Select
Cells; or clicking on Select All to activate all the probes.
Green indicates the activated probes.
You can deactivate the probes; either left click on already
selected cells or by left clicking and dragging the mouse and choosing Unselect Cells; or by
clicking on Select None to deactivate all the probes. When you mouse over the grid, row and
column coordinates are displayed. Using the wheel of the mouse will adjust the transparency
of the JPG file to help set the probes
By limiting the scan area, you reduce the scan time. In the case of Spectral Scan, ensure to
at least have 20% to 30% of the probes selected.
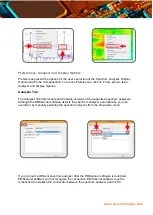
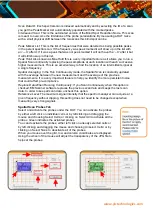
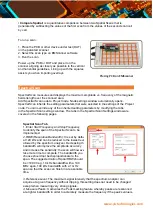
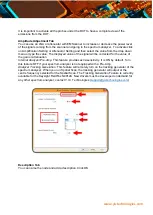
Overlay Editor (How to Superimpose Graphical Image of a DUT)
Overlay Editor superimposes the graphical image of the device under test
(DUT) onto Spectral Scan Probes to guide you in activating the probes.
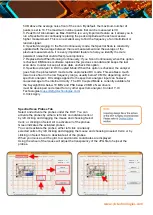
EMScanner software supports three file formats: JPG, HPGL and Gerber
RS-274x. Design files (HPGL and Gerber RS-274x) are imported at actual size.
Once you import the design file, you can rotate or mirror it, and/or drag it to a
desired position. JPG needs to be rotated and mirrored outside the EMScanner
application to match the actual DUT size and orientation; it can be resized
inside the Overlay Editor.
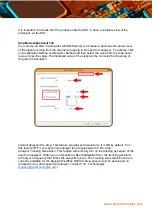
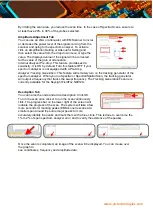
All scan types will inherit the overlay imported in this step. To change overlay
for a scan, select the scan and click or right click on the scan
and select Settings.
To import an overlay file, click Overlay Editor, select design file or JPG and click open.
HPGL 2 files can
not be directly
imported into
EMScanner
software. Please
contact Y.I.C.
Technologies for
conversion
instructions


