Customizing Your Phone
67
The SIP VP-T49G IP phone supports the file format of custom pictures in the following table:
Format
Resolution
File Size
*.jpg/*.png/*.bmp
<=1280*800
<=5MB
Uploading the Custom Picture via Web User Interface
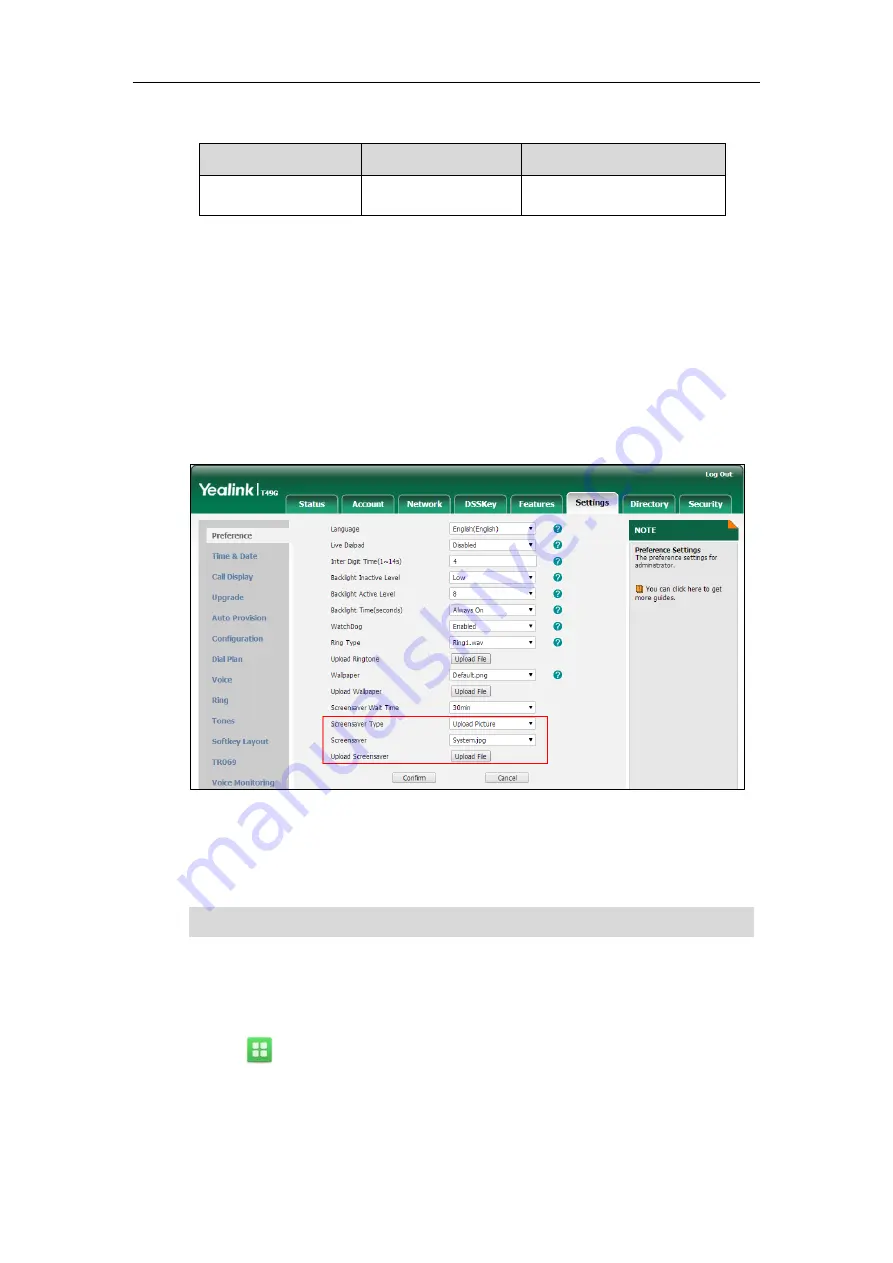
To upload a custom picture via web user interface:
1.
Click on
Settings
->
Preference
.
2.
Select
Upload
Picture
from the pull-down list of
Screensaver Type
.
3.
In the
Upload Screensaver
field, click
Upload File
to locate and upload the custom picture
from your local system.
This field appears only if
Screensaver Type
is set to
Upload Picture
.
The web user interface prompts “Upload success!”. The custom picture appears in
Screensaver
list. The first picture in the list is System.jpg. You can only delete the custom
picture by clicking
Del
in the
Screensaver
field.
Note
Configuring the Screen Saver
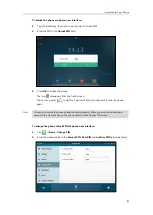
To configure the screen saver wait time via phone user interface:
1.
Tap ->
Basic
->
Display
->
Screensaver
.
2.
Tap the
Wait Time(s)
field.
You can only upload one custom image at a time via web user interface.
Summary of Contents for SIP VP-T49G
Page 1: ...nime VC_ Clou d ...
Page 8: ...User Guide for SIP VP T49G IP Phone viii ...
Page 14: ...User Guide for SIP VP T49G IP Phone xiv ...
Page 30: ...User Guide for SIP VP T49G IP Phone 30 ...
Page 158: ...User Guide for SIP VP T49G IP Phone 158 ...
Page 228: ...User Guide for SIP VP T49G IP Phone 228 ...
Page 313: ...Appendix 313 Appendix B Menu Structure ...


