4.2 Use the web based programming page
After getting correct IP, open an Internet Explorer browser on the
PC which is connected with the same network as the terminal
(Please ask your network administrator how to set your PC), then
input the
IP address in the Web page. At the end of IP address,
please add the port number “:9999”, for example:
http://192.168.123.1:9999 and press Enter. You will see the login
screen. The default account and password are
For admin user:
Account: root
Password: test
For normal user: (With this account you can not set some
parameters, e.g. SIP domain)
Account: user
Password: test
4.3 Network Settings
Click the menu Network->WAN Settings and Network->LAN
Settings to set the network parameters. Please consult your ISP or
network administrator about it.
DHCP is default network type. Your terminal will get the required
network parameters such as IP, subnet mask automatically. If your
network uses static IP, you should set local IP, subnet mask,
gateway IP, DNS1 and DNS2 first. If your network uses PPPoE,
you should set PPP password first
4.4 Set time and SNTP server
Click the menu Phone Setting->SNTP Settings to set your SNTP
server and time zone.
Note: If your service provider has pre-programmed some settings
such as Primary Server, Secondary Server, Time Zone, Synchronic
Time, and so on, you will not need to program these items.
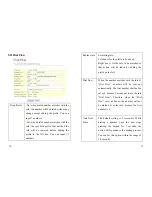
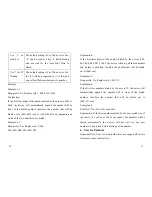
4.5 SIP Settings
After you have the IP setting completed as above, you should set
following parameters which are required to log in SIP
Server: Display Name, User Name, Register Name, Register
Password, Domain Server, Proxy Server, SIP Port, RTP Port,
DTMF setting.
4.6 Save Settings and Reboot
Simply chick the Save button and quit the browser after Configure
OK screen appears, and then click Reboot button.
4.7 Normal Operation
After the terminal reboots, it will show the time and the account
information.
4
5


