background image


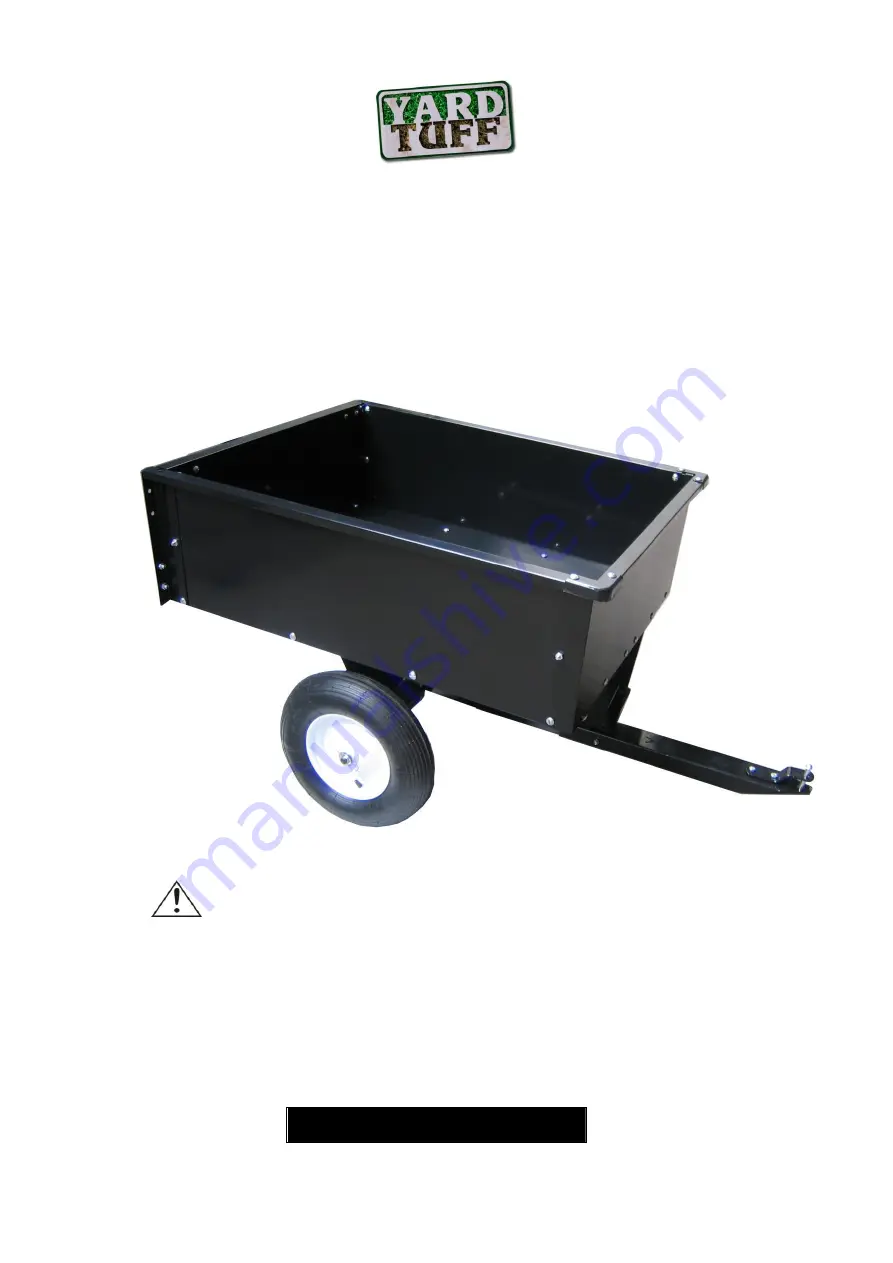
10 Cubic Foot Dump Cart 

OWNER’S MANUAL 


WARNING:


Read carefully and understand all 

ASSEMBLY AND OPERATION 

INSTRUCTIONS

 before operating. Failure to follow the safety rules and other 

basic safety precautions may result in serious personal injury. 


12232013

Model# FC-10 

Summary of Contents for FC-10

Page 1: ...MANUAL WARNING Read carefully and understand all ASSEMBLY AND OPERATION INSTRUCTIONS before operating Failure to follow the safety rules and other basic safety precautions may result in serious perso...

Page 2: ...t contacted us to determine if it can or should be performed on the 10 Cubic Ft Dump Cart For technical questions please call 1 218 943 6296 TECHNICAL SPECIFICATIONS Item Description Capacity 500 lbs...

Page 3: ...t Use safety goggles or safety glasses with side shields which comply with current national standards or when needed a face shield Use a dust mask if working in dusty work conditions This applies to a...

Page 4: ...ore starting to assemble cart Check Parts and Hardware Group together and check that all hardware and parts are included Refer to listing and illustration below If you are missing parts please call Cu...

Page 5: ...Page of 17 5 Hardware...

Page 6: ...ers and 4 7 Nuts Hardware Needed for Step 1 1 31 Cross Brace 4 29 Bolts 4 6 Washers 4 7 Nuts 2 27 Bottom Panels Step 2 Connecting Bottom Panels Attach Bottom Panels 27 as shown in Figure 2 using 2 29...

Page 7: ...e Needed for Step 3 2 1 Bolts 2 7 Nuts 2 6 Washers Step 4 Assemble Wheel Axel Supports As shown in Figure 4 below connect together the 2 Wheel Axle Supports 15 using 8 1 Bolts 8 6 Washers and 8 7 Nuts...

Page 8: ...10 6 Washers 10 7 Nuts Step 6 Attaching Wheel Axle and Tires Set Hitch Tongue 5 in place as shown below before inserting Wheel Axle 16 through Wheel Axle Support Next insert the Wheel Axle 16 into th...

Page 9: ...10 to top hole in Tongue Latch 11 Note hole locations from Figure 7 Now completely tighten 12 Bolt 9 Big washer and 8 Nut Hardware Needed for Step 7 1 11 Tongue Latch 2 32 Latch Spacers 1 10 Latch Sp...

Page 10: ...Figure 9 Use 2 29 Bolts 2 6 Washers and 2 7 Nuts for each side Hardware Needed for Step 9 1 22 Rear Cross Brace 2 21 Corner Brackets 4 29 Bolts 4 6 Washers 4 7 Nuts Step 10 Secure Rear Cross Brace Att...

Page 11: ...11 for bolt locations Hardware Needed for Step 11 2 21 Bolts 2 23 Washers 2 24 Nuts Step 12 Side Panel Installation Attach the Right Side Panel 19 to the Bottom Panels as shown in Figure 12 using 2 2...

Page 12: ...Corner Bracket being attached Attach right side the same way Hardware Needed for Step 13 2 20 Rear Corner Braces 10 29 Bolts 10 6 Washers 10 7 Nuts Step 14 Attach Front Panel Attach the Front Panel 28...

Page 13: ...24 Next insert the Tailgate Pins 26 into the holes on the bottom part of the Tailgate See Figure 16 for Tailgate Pin locations Secure Tailgate Pin 26 by adding 2 25 Washers and 2 33 Nuts to the Pin t...

Page 14: ...xamined before it is used Keep your 10 Cubic Ft Dump Cart in good repair by adopting a program of conscientious repair and maintenance If any abnormal vibrations or noise occurs have the problem corre...

Page 15: ...23 234B3 Tailgate 1 7 234A7 Hex Nut M8 72 24 234B4 Tailgate Latch 2 8 234A8 Nylon Lock Nut M6 1 25 234B5 Flat Washer 6 2 9 234A9 Big Flat Washer 6 1 26 234B6 Tailgate Pin 2 10 234A10 Latch Spring 1 27...

Page 16: ...Page of 17 16 DIAGRAM PARTS LIST...

Page 17: ...Page of 17 17 For replacement parts and technical questions please call 1 218 943 6296 WARRANTY One year limited parts warranty TG PO BOX 203 Miltona MN 56354 Made in China...

Reviews: