Yamato DP-6100GP Technical Manual Download Page 1

1

DP-6100 GP

Technical Manual

YAMATO CORPORATION

YAMATO TECH CORPORATION

P.O. Box 15070

#112-19425 Langley By-Pass

Colorado Springs, CO 80935-5070

Surrey, B.C. V3S 6K1

U.S.A.

Canada

Phone (719) 591-1500,  Fax (719) 591-1045

Phone (604) 533-2338, Fax (604) 533-0827
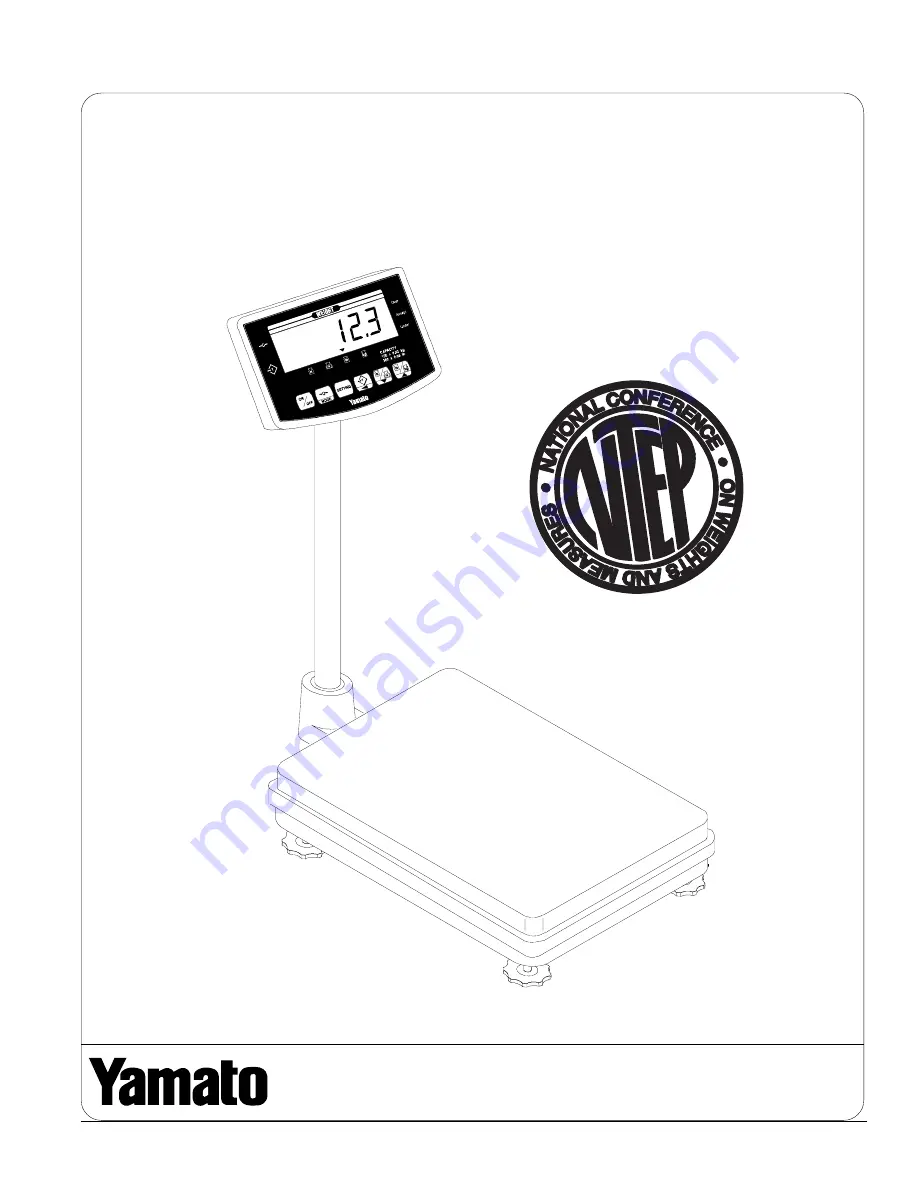
MODEL DP-6100GP
Technical Manual

Summary of Contents for DP-6100GP

Page 1: ...ORPORATION YAMATO TECH CORPORATION P O Box 15070 112 19425LangleyBy Pass Colorado Springs CO 80935 5070 Surrey B C V3S 6K1 U S A Canada Phone 719 591 1500 Fax 719 591 1045 Phone 604 533 2338 Fax 604 533 0827 MODEL DP 6100GP Technical Manual ...

Page 2: ... Parameters 6 V Calibration 7 VI Replacing Load Cell 8 VII Replacing A D Board 10 VIII A D Board Setup 11 IX Replacing CPU Board 12 X Specifications 13 Load Cell Specifications 14 XI Display and Keypad 15 XII Dimensions 16 XIII Appendix A Keyword Parameter Values 17 B Supplementary Keyword Parameter Values 20 ...

Page 3: ...ero indication push button lb kg toggle net grossweighing one touch and preset tare low battery indication over undermode checkweighing large easy to read1 5 LCD color keypad panel programmableauto shutoffforextendedbatterylife AdditionalStandardFeaturesinclude stainless steel platform and base new models only strain gauge load cell tiltable and rotatable display Options ACadaptor stainless steel ...

Page 4: ...de of Keyswitch Board see Figure 2 2b 7 Insert and remove Test Plug see Figure 2a into Connector If you do not have a test plug short Pins 1 4 on Connector Pins are located on front side of Keyswitch Board see Figure 2c Using needle nose pliers to connect pins works well Note If printer is attached Connector is occupied therefore short Pins 1 4 8 Turn scale on Display will blink momentarily then r...

Page 5: ...splays ROM version V1 01C V1 00G V1 01A V1 01B etc InternalCountIndicator Referencevalue To select desired Mode perform the following procedure 1 In not in enter TEST MODE see page 4 2 Use N G and kg lb to display desired Mode see Figure 3 Note Below numbers are examples of Mode display They will not be identical for every scale 3 Press SETTING to select Mode Figure 3 Mode Options SELECTING MODE P...

Page 6: ...cessary Keyword Parameter Values are listed in Appendix A a To increase Keyword press SETTING To decrease press and hold SETTING then press CLEAR b To increase Parameter press kg lb To decrease press N G Reminder Keyword Parameter Values are listed in Appendix A Important After Parameter is modified you must advance to next Keyword by pressing SETTING Otherwise modification will not be saved c Rep...

Page 7: ...model Span 1 calibration complete 4 Place weight 2 see Table 1 on platform then press SETTING press only once Display will flash then read 5 internal counts 30000 for the 60 lb model Span 2 is complete 5 Place weight 3 see Table 1 on platform then press SETTING press only once Display will flash then read 5 internal counts Span 3 is complete 6 Remove weight from platform and press to turn scale of...

Page 8: ...tach Load Cell to Lower Spider Note Lower Spider Load Cell Bolts are longer 6 Remove bolt which holds Ground Wire from load cell against Lower Spider Note Bolt does not need to be completely removed Load cell in now free from upper and lower spider The following steps remove load cell wiring harness from column and indicator housing 7 RemoveColumnCover Column Cover is located on back of indicator ...

Page 9: ...hrough small rectangular hole at back of indicator housing Remove and retain black rectangular gasket 13 Remove indicator from Column and cable and pull Cable from inside Column 14 Remove Base Collar Cover 1 screw from the underside of Base Collar To access Cover platform must be tilted 15 Feed Cable through Base Collar and pull Cable through round rubber seal in platform base Note Base Collar doe...

Page 10: ... D Board to the load cell cable Connector is located behind original position of battery housing 7 A D Board is now disconnected Note position of wires for proper reassembly 8 Free and remove A D Board by removing wire holder and cutting necessary wire ties CPUBoard Screw A D Board 10 pin Connector REPLACING A D BOARD Installing new A D Board 1 Installationisreverseofremoval Note Return wires to o...

Page 11: ...atteries only 1 Enter TEST MODE refer to page 4 2 Press kg lb two times to display ROM Version Indicator refer to page 5 3 Press CLEAR This will write the battery level value into the EEPROM 4 Press SETTING This will properly setup the A D board port value 5 Press kg lb one time Display will indicate Keyword Parameter Setup mode 6 Modify Keyword Parameters as shown on page 6 Begin with Step 3 7 En...

Page 12: ...orginal positions Each connector can fit in only one position 8 CPU Board is now remove REPLACING CPU BOARD Sealing Screws Board Cover CPUBoard Retaining Screw Screw A D Board 10 pin Connector Clasp Installing the CPU Board 1 Installation is reverse of removal Important Before installing make sure display window and display are free from dirt Important Reconnect all connectors Back side connect be...

Page 13: ...x 16 513 mm x 410 mm INDICATOR EDI 360 The display can be tilted and rotated display tube 7 segment fluorescent type 5 digits digit size 1 5 H x 0 75 W 38 mm x 20 mm enclosure plastic IPX2 drip proof DISPLAYCONTENT weight 5 digits upper limit 5 digits lower limit 5 digits tare 5 digits TARE push button tare and preset tare up to full scale capacity POWERSUPPLY CONSUMPTION 4 D cell batteries 6 volt...

Page 14: ...16 CreepRecovery 0 016 TemperatureEffectonLoad 0 014 10 C TemperatureEffecton 0 007 5 C Zero Balance CompensatedTemperature 10o Cto40o C Range SafeTemperatureRange 15o Cto80o C ZeroBalance 3 InputTerminalResistance 1263 30 Ω OutputTerminalResistance 1000 9 Ω InsulationResistance 5000MΩ RecommendedExitation 18 V Voltage Maximum Exitation Voltage 25 V SafeOverload 150 MaximumOverload 200 SPECIFICATI...

Page 15: ...15 DP 6100 GP Technical Manual DISPLAY AND KEYPAD ...

Page 16: ...16 DP 6100 GP Technical Manual 31 1 4 800mm Ø 1 5 8 2 1 2 65mm 20 513mm 17 436mm 25 640mm 12 1 4 315mm 16 410mm 7 180mm 4 1 2 115mm DIMENSIONS ...

Page 17: ...39 018 zero resettable limit 001 1 of full capacity 100 100 40 014 zero resettable limit 001 1 positive side of full cap 100 100 41 005 over capacity 001 1 division 0 divisions 010 10 divisions 44 do not modify 45 do not modify 46 do not modify 47 do not modify 48 do not modify 49 do not modify 51 001 sample count for stability 000 0 count 001 1 count 0 counts 060 60 counts 52 002 average count st...

Page 18: ...0 kg 011 150 lb 60 kg 012 300 lb 150 kg 59 001 signs 000 Japanese market 001 US market 002 other markets 60 001 zero reset during taring 000 enabled 001 disabled 61 004 not used 62 000 not used 63 004 not used 68 000 not used 69 000 preset tare 000 enabled 001 disabled 70 gravity compensation 001 016 do not use use equation to value local gravity m s 2 calculate value x 1000 9700 enter below 017 v...

Page 19: ...d 85 not used 86 not used 87 not used 92 001 calibration units 000 kg 001 lb 93 006 not used 94 040 not used 95 001 A D port setting 000 low 001 high 06 022 auto off timer 000 disabled 001 disabled 002 auto off after 1 min 003 auto off after 2 min 0 auto off after min 062 auto off after 60 min 11 000 printer 000 disabled 001 enabled 12 000 print time 000 disabled 001 enabled 13 000 year month day ...

Page 20: ...ue x 1000 9700 enter below 017 value 17 value 150 value 150 26 to 38 do not modify for system parameters 39 1 min zero re print 192 with printer 001 without printer 40 255 Auto Shut off with 000 disabled AC Adapter 001 enabled as set in Keyword 6 002 255 off 41 about 151 battery value automatically set 42 5 AC adaptor value 43 to 47 temp compensation 48 to 62 not used 63 248 new software APPENDIX ...

Reviews: