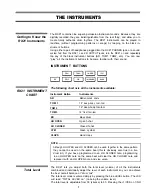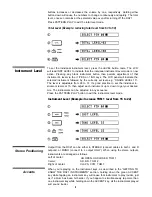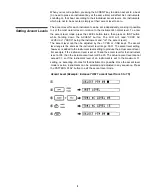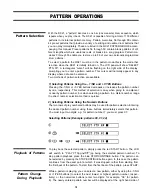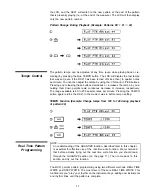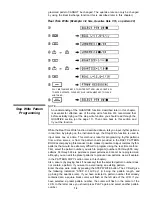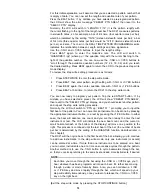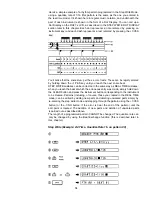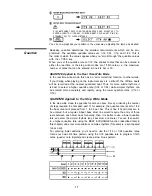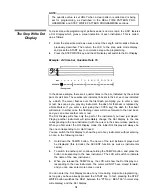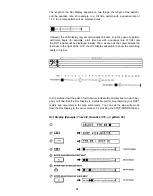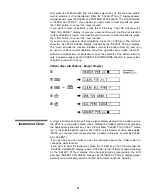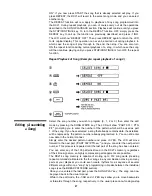
First, select the pattern number you wish to program (numbers 00 through 55 only:
patterns 56 through 99 are permanent preset patterns and cannot be re-programmed,
although you can edit the preset patterns to produce new patterns, as we’ll explain
in the PATTERN COPY SECTION later in this chapter).
Also, ensure (by playing back if necessary) that the selected pattern number does
not contain a pattern, if you want to avoid losing an existing pattern. Enter the
real time write mode by pressing the REAL TIME WRITE button. The LCD will give
the following indication: “REAL L=//,Q=1/
”
(// being the pattern length, and
being the quantize rate-we’ll explain these terms later). If you have selected
a pattern number that already contains data, a square black cursor will flash at the
left side of the LCD. If you have selected a preset pattern number, the cursor will
flash in the center of the LCD. In the latter case you should press PLAY again and
select another pattern number.
For this initial explanation, we’ll assume that you’ve selected a pattern number that
is empty of data. You can now set the length and quantize rate of your pattern.
Press the BEAT button. If, by mistake, you have selected a pre- programmed pattern,
the LCD will show the error message “PRESET PTN AREA!” then revert to the
“SELECT PTN” display. You should now select another pattern number.
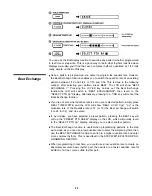
Normally, the LCD will switch to “LENGTH=// /16” (// is the pattern length) with
the cursor flashing to the right of the length number. The RX21 measures patterns
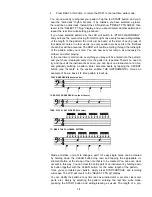
in sixteenth notes, so for example a bar of 4/4 time (four quarter notes per bar)
would be indicated by the setting “16/16” (sixteen sixteenth notes per bar); a bar
of 3/4 time (three quarter notes per bar) would be “12/16” (twelve sixteenth notes
per bar), and so on. The following chart indicates the relationship between Length
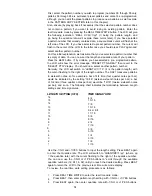
settings and time signatures.
LENGTH SETTlNG (II/16) TIME SIGNATURE
16 4/4
15 15/16
14
7 / 8
13 13/16
12 3/4 or 6/8
11 11/16
10 5 / 8
9 9/16
8 2/4
7 7/16
6 3/8
5 5/16
4 1/4
3 3/16
2 1 / 8
1 1/16
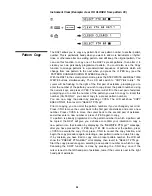
Use the -1/NO and +1/YES buttons to input the length setting. Press BEAT again
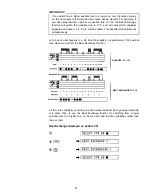
to enter the Quantize rate. The LCD will switch to “QUANTIZE=1/
” (where
= the quantize rate) with the cursor flashing to the right of the quantize number.
You can now use the -1/NO or +1/YES buttons to “scroll through” the available
quantize numbers (12, 24,16, 32) until you reach the desired setting. Press BEAT
again to return the LCD to the previous real time write mode display.
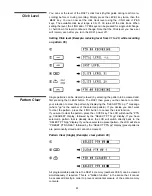
To review, the real time write setting procedure is as follows:
1. Press REAL TIME WRITE to enter the real time write mode.
2. Press BEAT, then enter pattern length setting with -1/NO or +1/YES buttons.
3. Press BEAT again, then enter quantize rate with -1/NO or +1/YES buttons.
12
Summary of Contents for RX-21
Page 1: ...YAMAHA AUTHORIZED PRODUCT MANUAL DIGITAL RHYTHM PROGRAMMER ...
Page 2: ...YAMAHA DIGITAL RHYTHM PROGRAMMER OWNER S MANUAL ...
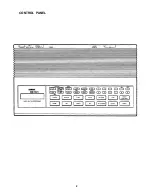
Page 4: ...CONTROL PANEL 2 ...
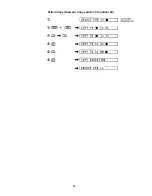
Page 27: ...Pattern Copy Example Copy pattern 79 to pattern 00 25 ...
Page 38: ...Load Data From Cassette 36 ...
Page 58: ...BLOCK DIAGRAM 56 ...
Page 61: ...SINCE 1887 YAMAHA NIPPON GAKKI CO LTD HAMAMATSU JAPAN OMD 136 85 11 10 0 CR Printed in Japan ...

