DX7-4X-EXP
Page 5 of 6
Install v2.11
www.musictechnologiesgroup.com
Preliminary
Install the DX7-4X-EXP Printed Circuit Board
Remove the DX7-4X-EXP board from the anti-static foam. Inspect the bottom of the board to
make sure none of the pins have been damaged. You should see one collection of 28 pins (2
parallel strips of 14 pins), and a strip of 7 pins.
Do NOT connect the cable to the board yet.
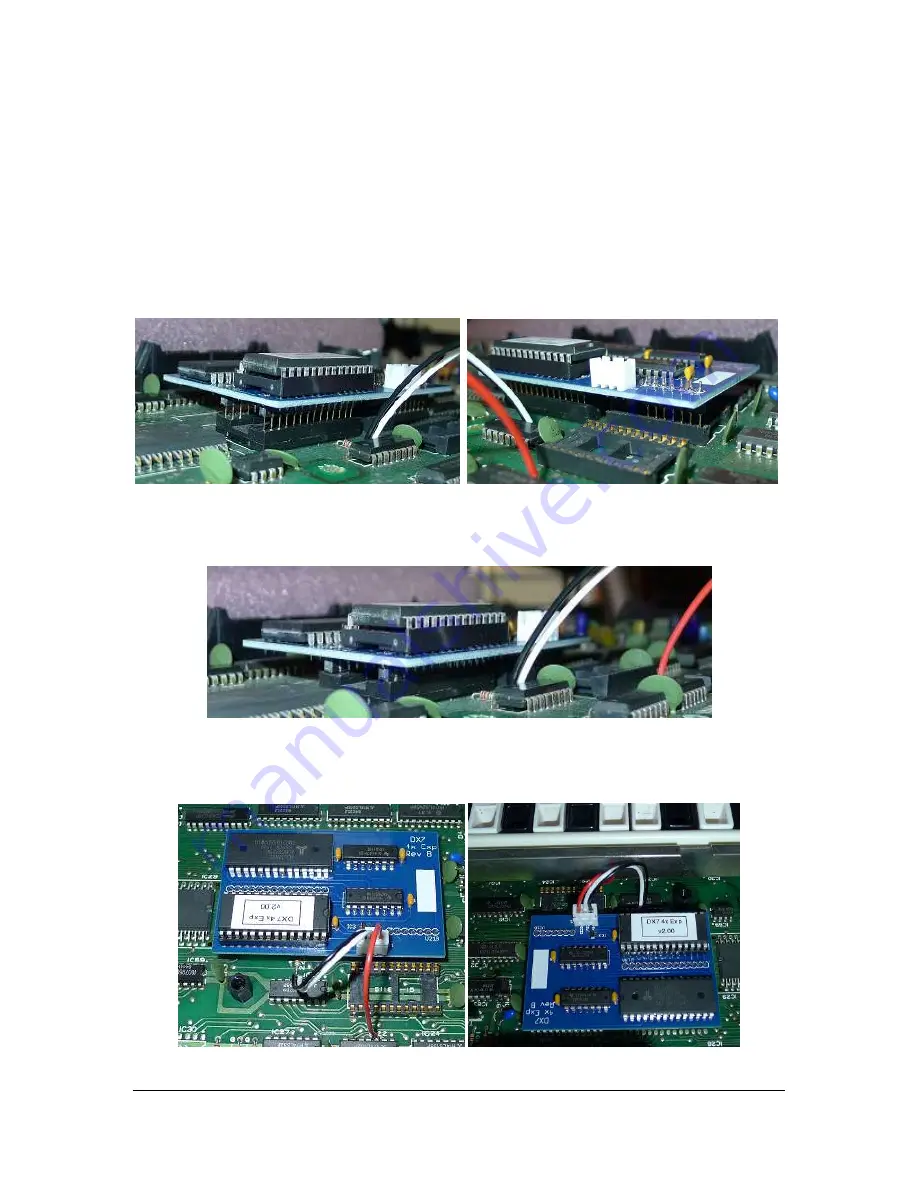
Place the DX7-4X-EXP board gently on the DX7 main board so that the 28 pins that form a DIP
package align with the vacated IC14 spot. The 7 pins along the edge should align with IC21. Do
not press the board in place yet. You can use a small mirror to check the pin alignment.
Once you are happy that all the pins are aligning with the desired locations, firmly and evenly
press the DX7-4X-EXP board in place. Make a visual check to see that the board is flush with the
sockets.
Carefully plug the 3-conductor cable back on the expander (it only goes in one way). Hold the
board in place while doing so by pressing down on the EPROM area (the chip with the white
label).
From keyboard playing side
Reverse angle with keybed and rail back in.


