Yaesu VXA-100, Operating Manual
The Yaesu VXA-100 is a versatile aviation handheld transceiver that ensures smooth communication while flying. Any user can easily operate this device by referring to the comprehensive Operating Manual available for free download at manualshive.com. Explore its advanced features and functionalities hassle-free with the user-friendly manual.
Share
Download


Reviews:
No comments
Related manuals for VXA-100
SC1000
Brand: Eartec Pages: 2
GMR2099-2CK
Brand: Uniden Pages: 2
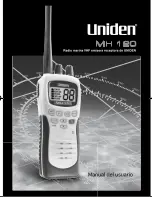
MH120
Brand: Uniden Pages: 32
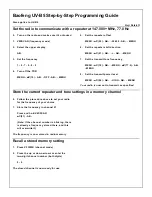
UV-B5
Brand: Baofeng Pages: 2
BF-88A
Brand: Baofeng Pages: 3
Badger 100
Brand: Badger Werx Pages: 20
WT04
Brand: CallToU Pages: 6
1225
Brand: Eagle Pages: 10
Rino 120
Brand: Garmin Pages: 2
Rino 130
Brand: Garmin Pages: 2
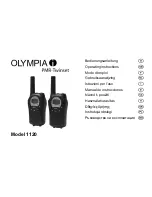
1120
Brand: Olympia Pages: 72

IC-910H
Brand: Icom Pages: 25

IP100H
Brand: Icom Pages: 57
IC-A3
Brand: Icom Pages: 2
IC-A23
Brand: Icom Pages: 2
IP100H
Brand: Icom Pages: 33
UA-1000
Brand: Nanan Hongda Electronic Pages: 21
GD-73 Series
Brand: Radioddity Pages: 23


