PartPro300 xT
26
7. LASER ENGRAVER(OPTIONAL)
The laser engraver module must be purchased separately. Carefully peruse product safety and usage information provided
in the laser engraver module user manual before using, operating, disassembling, replacing, or removing this product, and
comply with relevant safety reminders.
Recommended materials for laser engraving such as: paper, cardboard , leather, wood, plastic.
Before replacing the printing module with the laser engraver module, first eject the filament from the print nozzle. After ejecting
and removing the filament, select the "Change Module" option.
Wait for the printing module to return to the home position and then switch off the power.
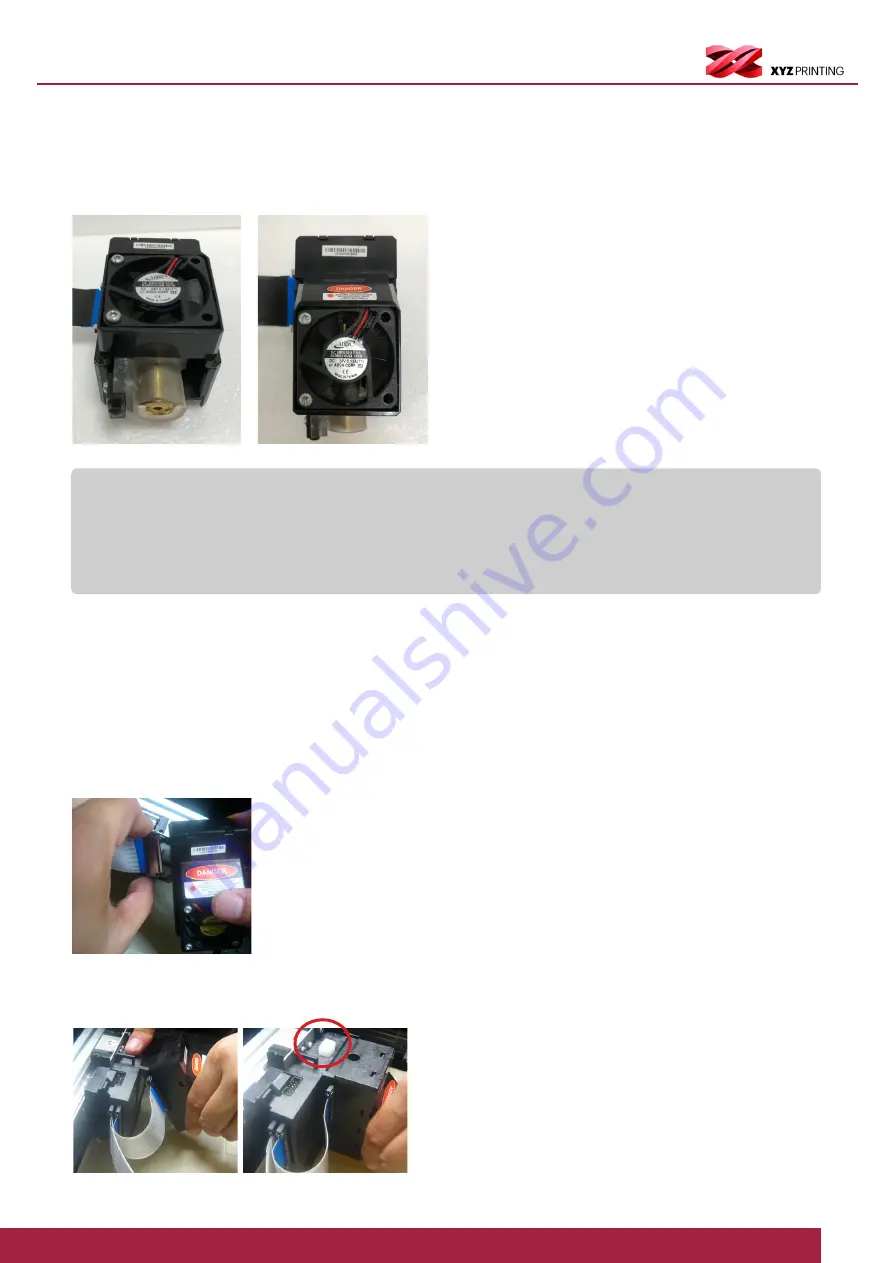
A. Installing the laser engraver module.
7.1 Changing and installing the laser engraver
Note:
Avoid using materials with light or white coloration or bright or smooth surfaces. Better results can be obtained
by using materials with gray or darker colors. Plastic materials (such as PP / ABS / PE) can be engraved. Avoid using
materials that are transparent, white, or lightly-colored that allows light penetration. The sculpting module is only capable
of sculpting planar objects.
The object should be placed flat on the build plate. Avoid sculpting warped or curved objects that are not completely flat.
①
Connect the bus (make sure it clicks into place).
②
Align the opposing angles for two sides of the laser engraver module, push forward to form a snap-fit into the slot to
complete proper installation.


