March 2016
P 4
da Vinci
HD23F1JS016
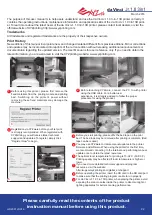
Remove the securing styrofoam
and fixing tapes on the print bed.
Insert the SD card that came with the printer into your
computer or download the latest XYZware from the official
Website and install it on the computer.
Be sure to remove the fixing tapes
at the back of the print bed.
Use the USB cable to connect the printer to PC. Connect
the power cord to the printer then turn on the power
switch.
Be sure to remove the paper
cardboard near the Y-axis.
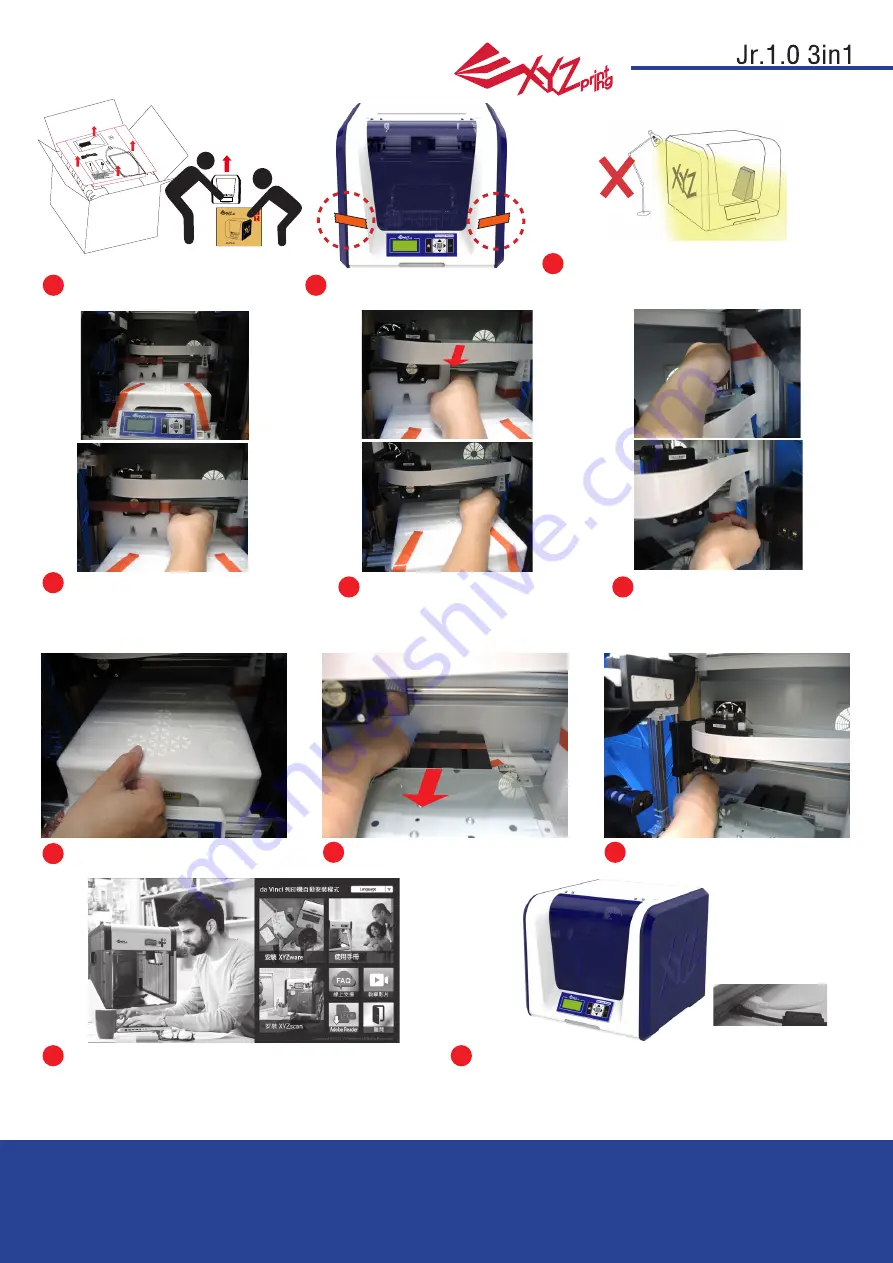
Unpacking the Product
7
9
8
6
10
9
Note: please use the original power adapter and power cord along with the printer in order to
prevent product damage or safety hazards caused by differences in voltage specifications.
Open the box and remove the
accessories and cushions.
Be sure to remove the fixing
cushion from the axis.
Remove the plastic bag and
the tapes.
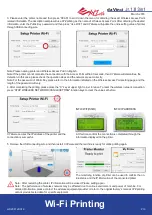
Please removal all fixed materials
before turning on the printer
to prevent the machine from
damage.
Remove all fixing tapes and the
cushion between print bed and
extruder module.
For better scanning result,when placing the
printer, avoid exposing the scanning modules
to direct sunlight or lighting apparatus.
1
2
3
5
4


